
Danmir Dungeons and Reward Routes
Walkthrough in English
| Type | Access reference |
|---|---|
| Level |
|
| Rewards |
 wooden key  ring of healing  crown armor  amulet of loss  stone skin amulet  ornamented shield  runic blade |
Requirements
- Enough free carrying capacity and inventory space for the entire reward.
- Level 30 to use the bridge switches.
- At least level 20. Individual rewards may have a higher requirement.
Items used in this quest
The walkthrough explains which items are obtained during the quest and where components are placed or consumed.


Walkthrough
Show walkthroughStep-by-step instructions, dialogue and highlighted views
Part 1Earth Golem Key
Before this stage
- Enough free carrying capacity and inventory space for the entire reward.
- 1
Locate the quest object in the view below. The next instruction identifies its numbered marker.
- 2
At marker 1 in View 1, use the dead tree. Receive 1 × wooden key (key number 5017).
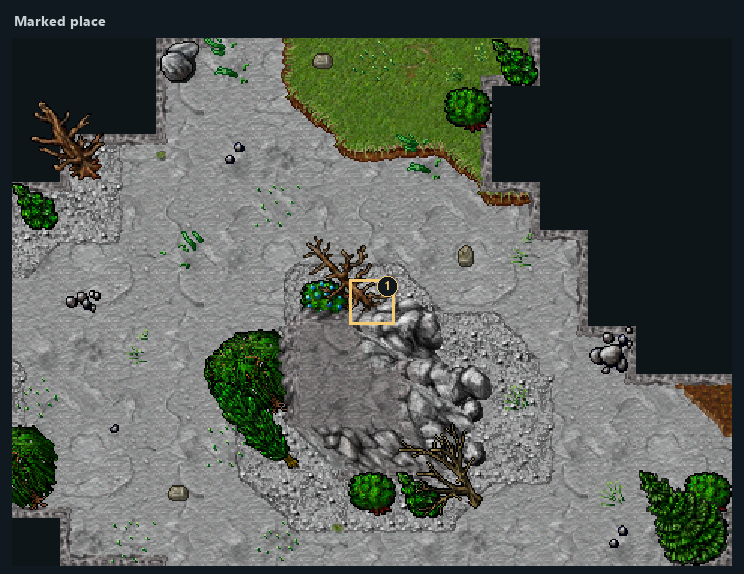
Highlighted places: 1 — Reward 1: wooden key.
- 1Reward 1: wooden key
Part 2Danmir — Drawbridges
Before this stage
- Level 30 to use the bridge switches.
- 1
Use the switch at marker 1 in View 2 to change the drawbridge across markers 1, 2, 3 in View 4.
- 2
Use the second switch at marker 1 in View 3 for the bridge across markers 4, 5, 6 in View 4.
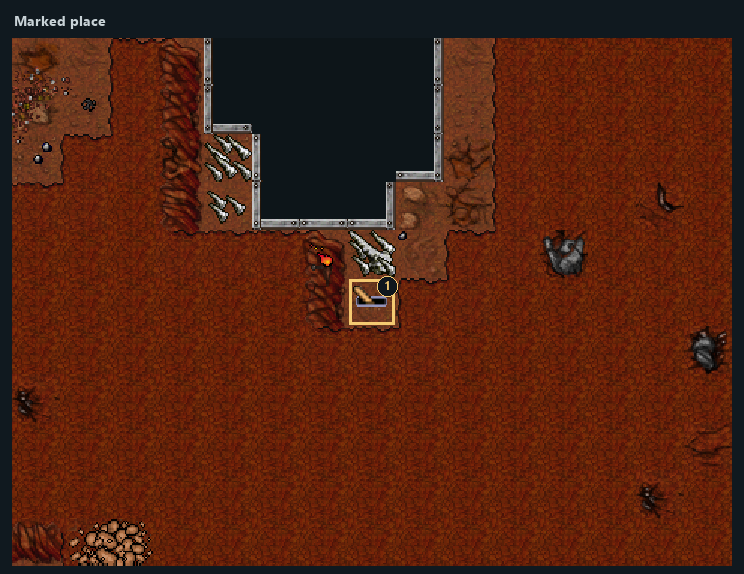
Highlighted places: 1 — Danmir — Drawbridges.
- 1Danmir — Drawbridges
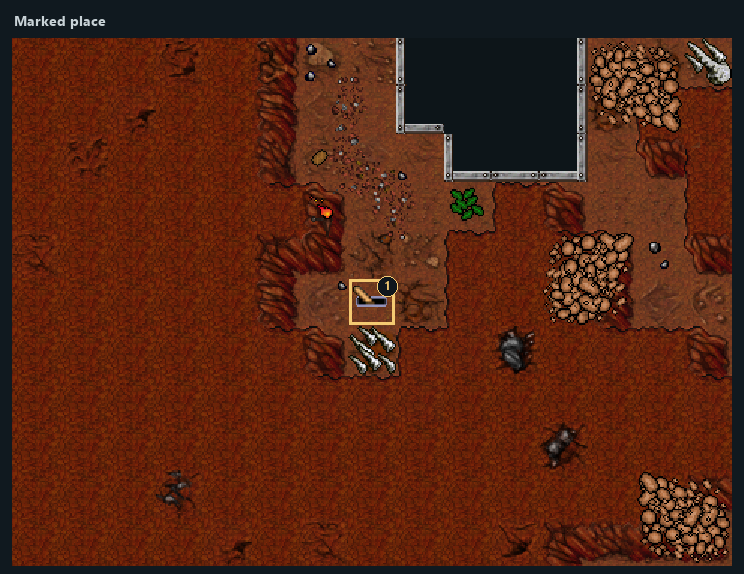
Highlighted places: 1 — Second bridge switch.
- 1Second bridge switch
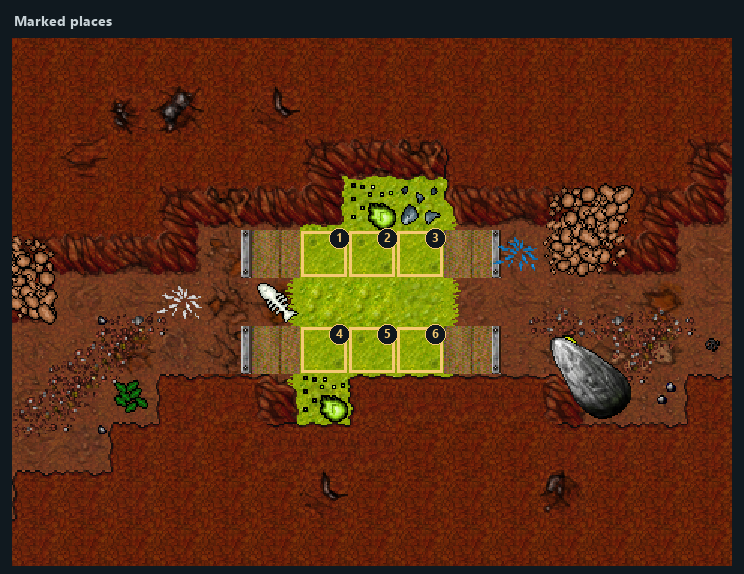
Highlighted places: 1 — Arrival or marked area; 2 — First drawbridge; 3 — Arrival or marked area; 4 — Arrival or marked area; 5 — Second drawbridge; 6 — Arrival or marked area.
- 1Arrival or marked area
- 2First drawbridge
- 3Arrival or marked area
- 4Arrival or marked area
- 5Second drawbridge
- 6Arrival or marked area
Part 3Danmir / Wall1 — Seal
- 1
Use the lever at marker 1 in View 5.
- 2
The stone wall at marker 2 in View 6 is removed.
- 3
Defeat the summoned encounter: 4 × Earth Golem, 2 × Demon.
- 4
Continue through the opened route.
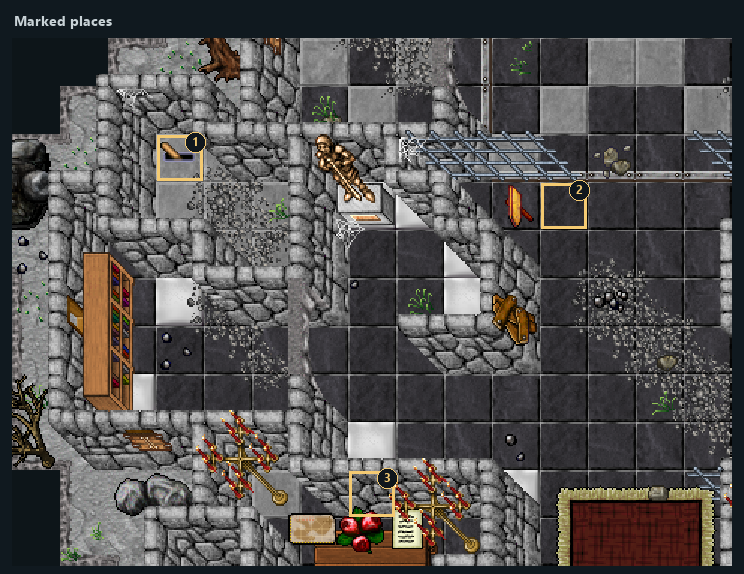
Highlighted places: 1 — Use this mechanism; 2 — Earth Golem; 3 — Demon.
- 1Use this mechanism
- 2Earth Golem
- 3Demon
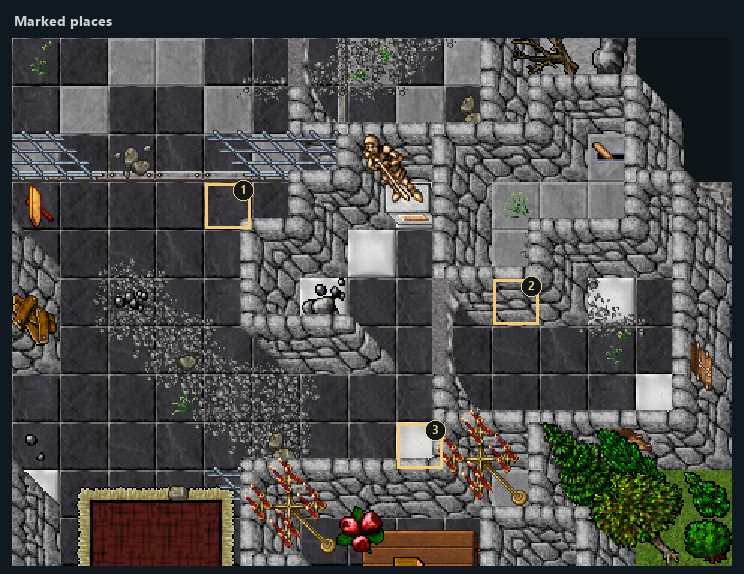
Highlighted places: 1 — Earth Golem; 2 — Opened barrier; 3 — Demon.
- 1Earth Golem
- 2Opened barrier
- 3Demon
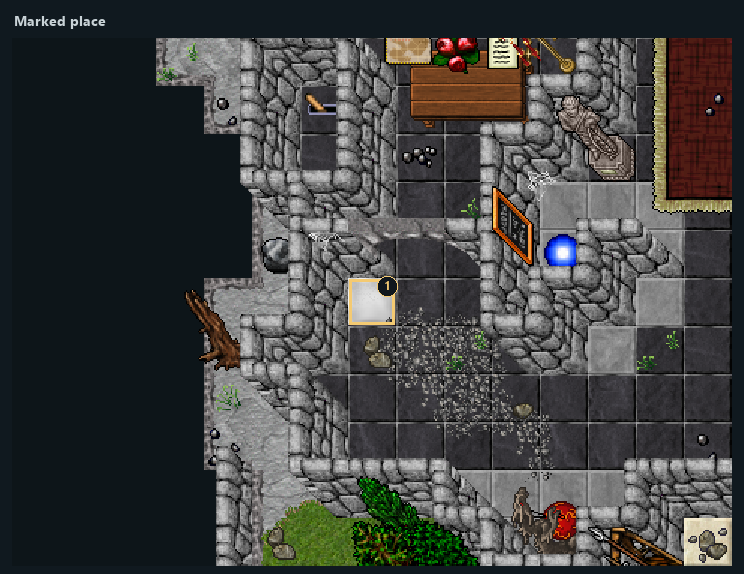
Highlighted places: 1 — Earth Golem.
- 1Earth Golem
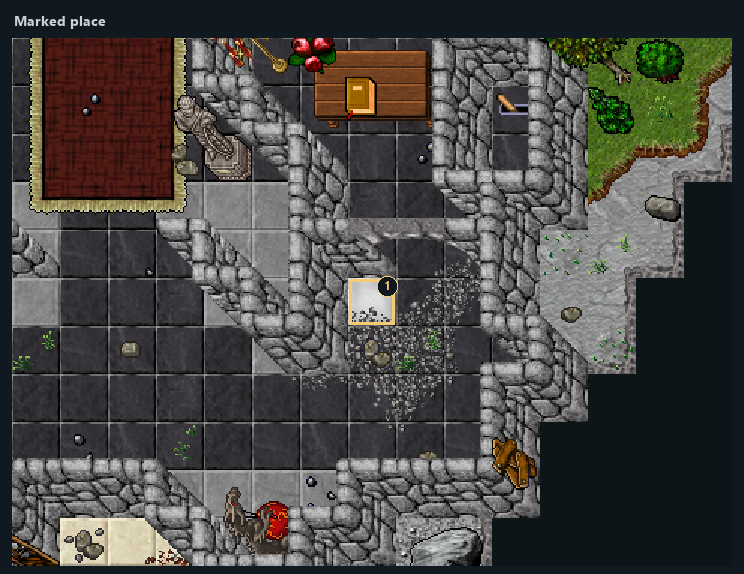
Highlighted places: 1 — Earth Golem.
- 1Earth Golem
Part 4Danmir / Wall2 — Seal
- 1
Use the lever at marker 1 in View 9.
- 2
The stone wall at marker 2 in View 10 is removed.
- 3
Defeat the summoned encounter: 6 × Demon.
- 4
Continue through the opened route.
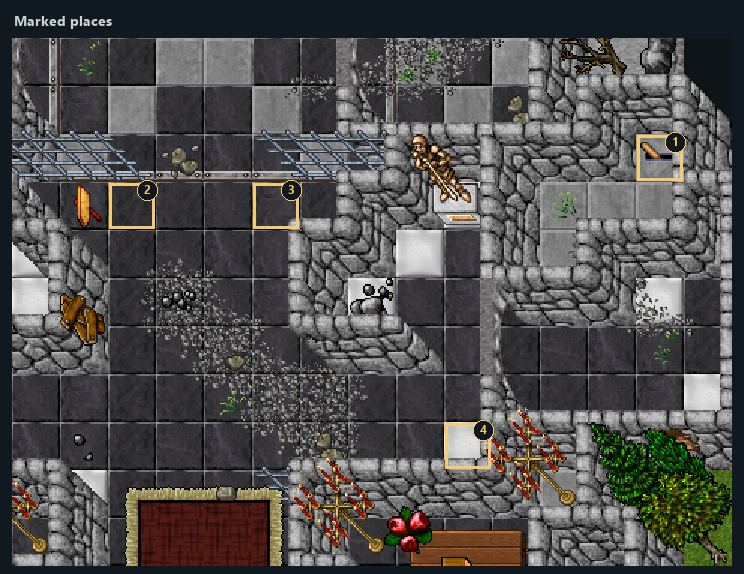
Highlighted places: 1 — Use this mechanism; 2 — Demon; 3 — Demon; 4 — Demon.
- 1Use this mechanism
- 2Demon
- 3Demon
- 4Demon
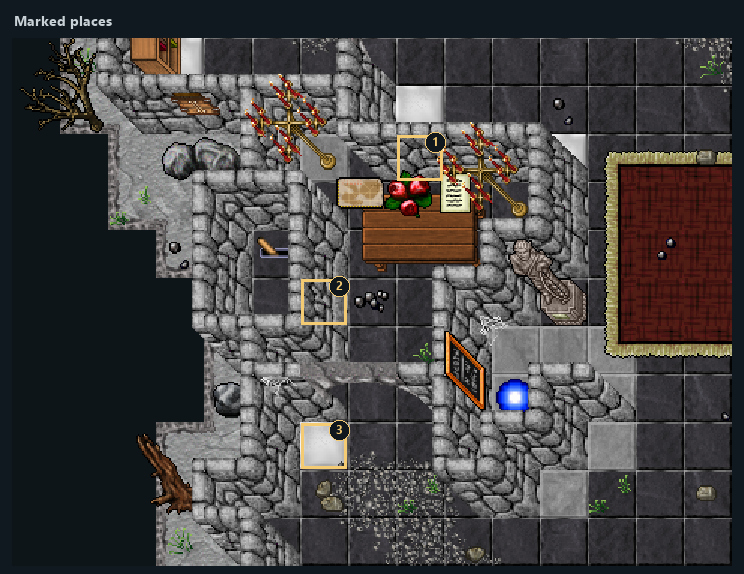
Highlighted places: 1 — Demon; 2 — Opened barrier; 3 — Demon.
- 1Demon
- 2Opened barrier
- 3Demon
Continue using View 8.
Part 5Danmir / Wall3 — Seal
- 1
Use the lever at marker 4 in View 11.
- 2
The stone wall at marker 2 in View 12 is removed.
- 3
Defeat the summoned encounter: 3 × Demon, 3 × Hellhound.
- 4
Continue through the opened route.
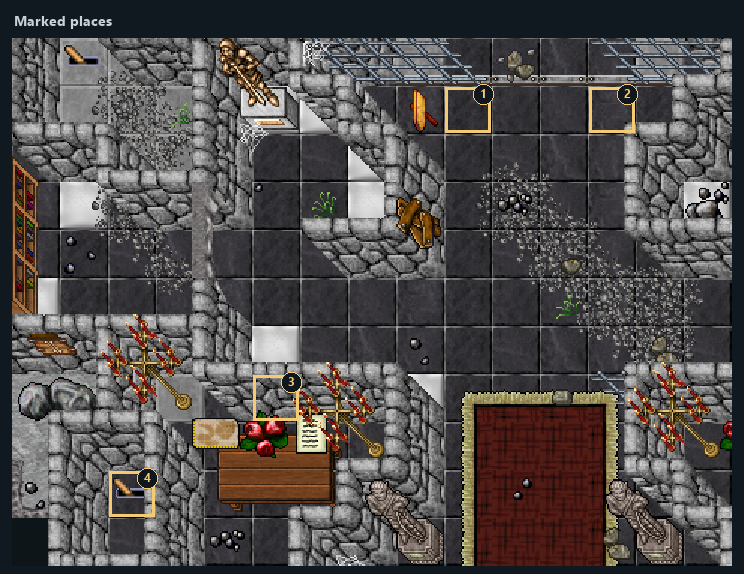
Highlighted places: 1 — Demon; 2 — Hellhound; 3 — Demon; 4 — Use this mechanism.
- 1Demon
- 2Hellhound
- 3Demon
- 4Use this mechanism
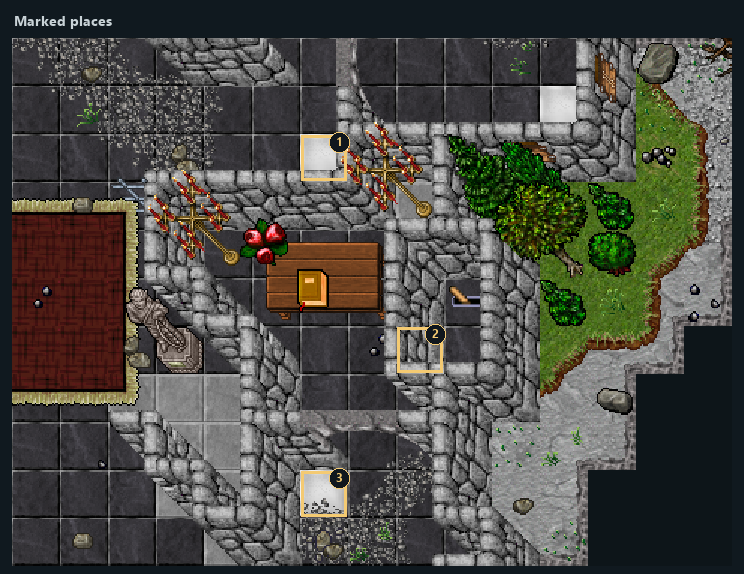
Highlighted places: 1 — Hellhound; 2 — Opened barrier; 3 — Hellhound.
- 1Hellhound
- 2Opened barrier
- 3Hellhound
Continue using View 7.
Part 6Danmir / Wall4 — Seal
- 1
Use the lever at marker 1 in View 13.
- 2
The stone wall at marker 3 in View 13 is removed.
- 3
Defeat the summoned encounter: 2 × Orshabaal, 2 × Hellhound, 2 × Demon.
- 4
Continue through the opened route.
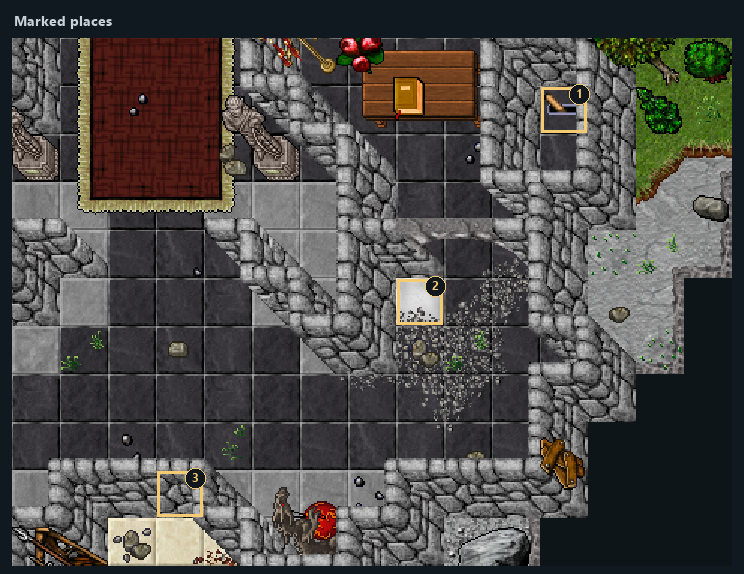
Highlighted places: 1 — Use this mechanism; 2 — Orshabaal; 3 — Opened barrier.
- 1Use this mechanism
- 2Orshabaal
- 3Opened barrier
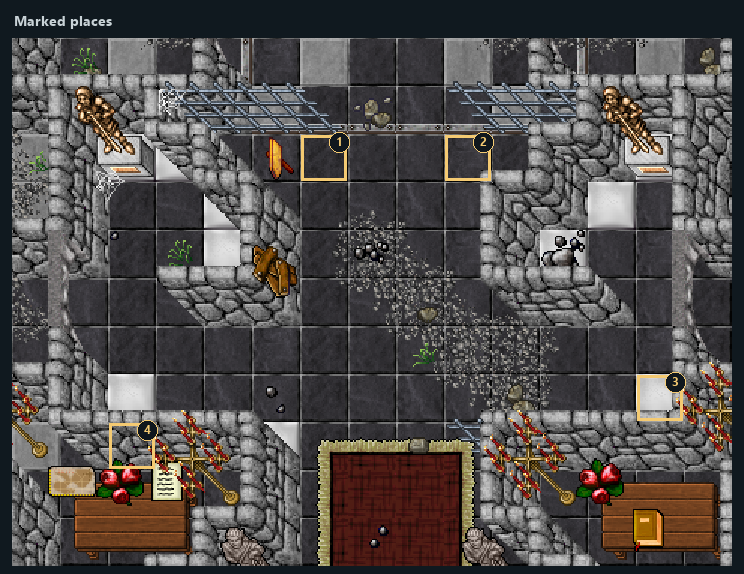
Highlighted places: 1 — Orshabaal; 2 — Hellhound; 3 — Hellhound; 4 — Demon.
- 1Orshabaal
- 2Hellhound
- 3Hellhound
- 4Demon
Continue using View 7.
Part 7Ancient Earth Golem — Opened Barrier
- 1
Defeat an Ancient Earth Golem. Its native death handler removes the named barrier at marker 1 in View 15.
- 2
Continue through the opened route.
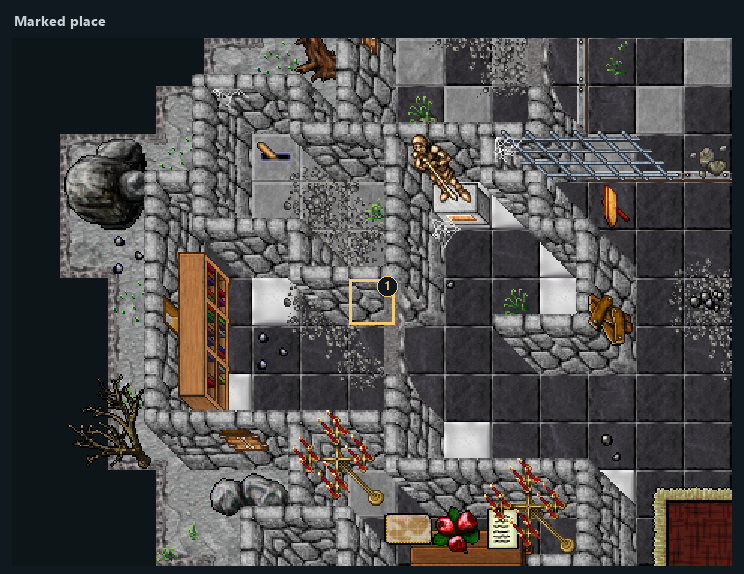
Highlighted places: 1 — Ancient Earth Golem — Opened Barrier.
- 1Ancient Earth Golem — Opened Barrier
Part 8Danmir / Items — Ritual
Items used in this stage
- 1
Place mysterious fetish at marker 1 in View 17 (one consumed).
- 2
Place mind stone at marker 1 in View 18 (one consumed).
- 3
Place beholder shield at marker 1 in View 19 (one consumed).
- 4
Use the lever at marker 1 in View 16.
- 5
You are transferred to marker 1 in View 20.
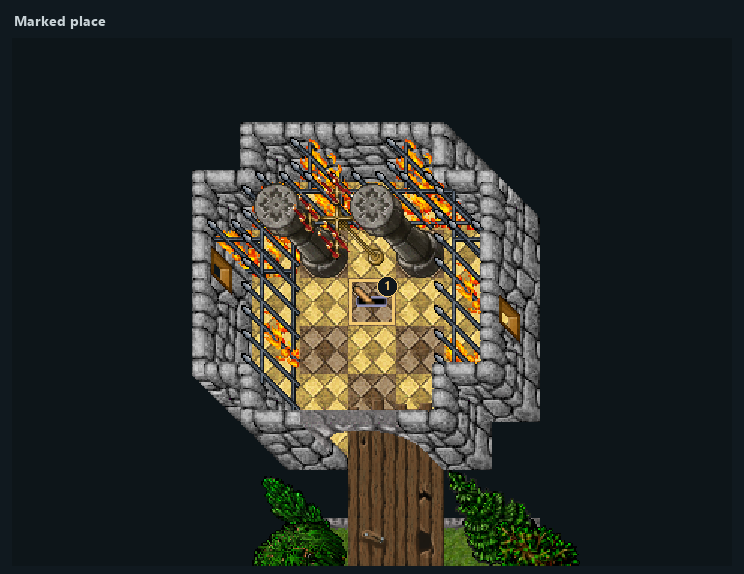
Highlighted places: 1 — Use this mechanism.
- 1Use this mechanism
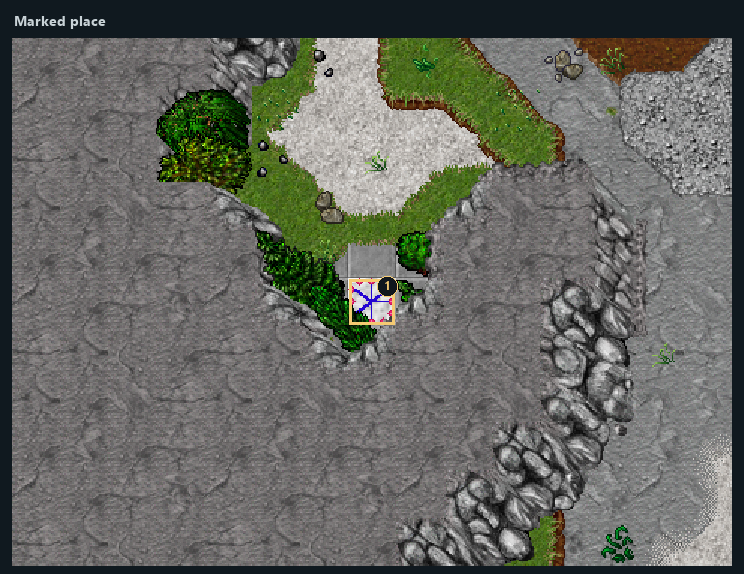
Highlighted places: 1 — Offering: mysterious fetish.
- 1Offering: mysterious fetish
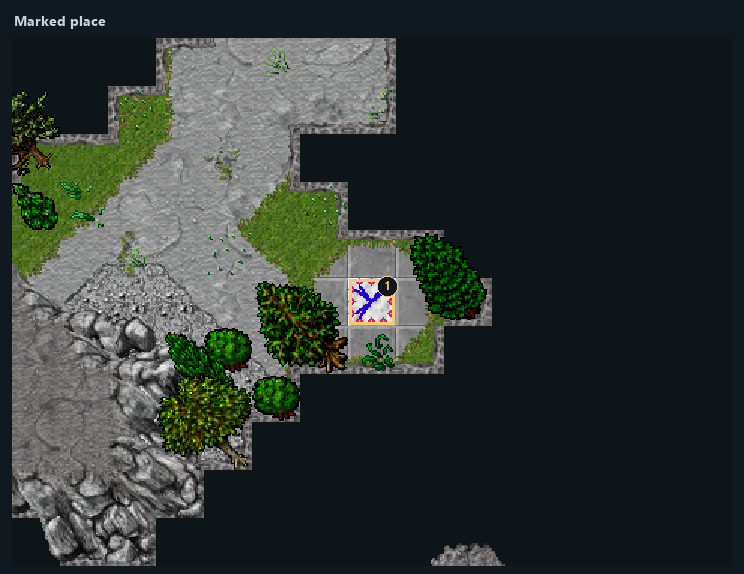
Highlighted places: 1 — Offering: mind stone.
- 1Offering: mind stone
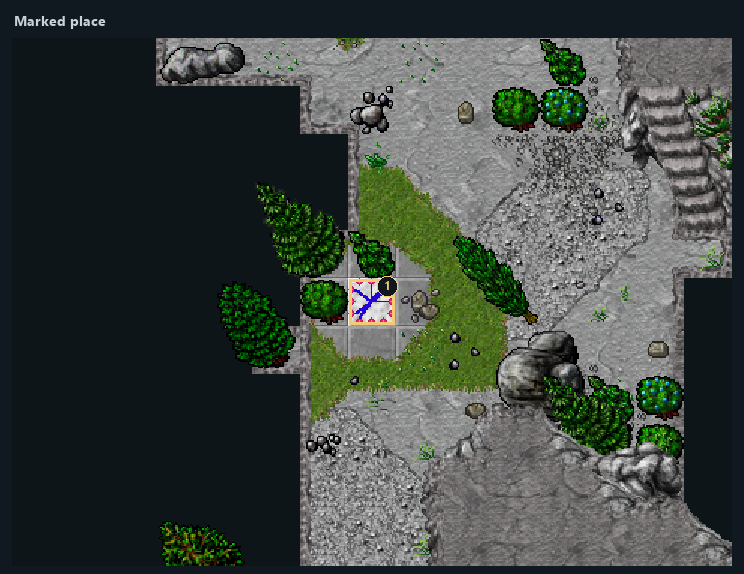
Highlighted places: 1 — Offering: beholder shield.
- 1Offering: beholder shield
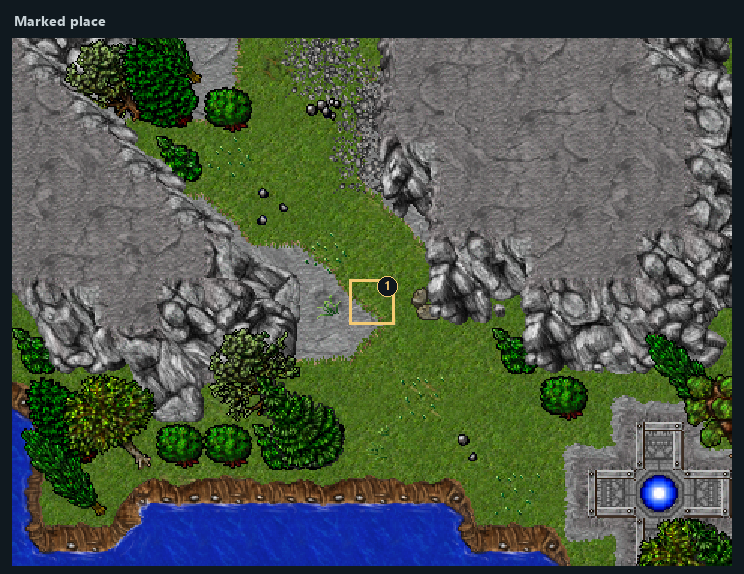
Highlighted places: 1 — Arrival area.
- 1Arrival area
Part 9Danmir / Dlstone — Seal
- 1
Use the lever at marker 1 in View 21.
- 2
The stone at marker 1 in View 22 is removed.
- 3
Continue through the opened route.
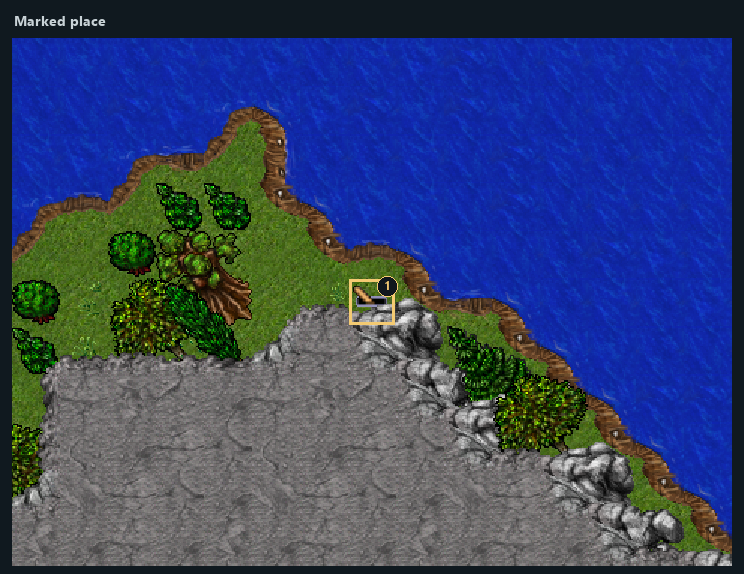
Highlighted places: 1 — Use this mechanism.
- 1Use this mechanism
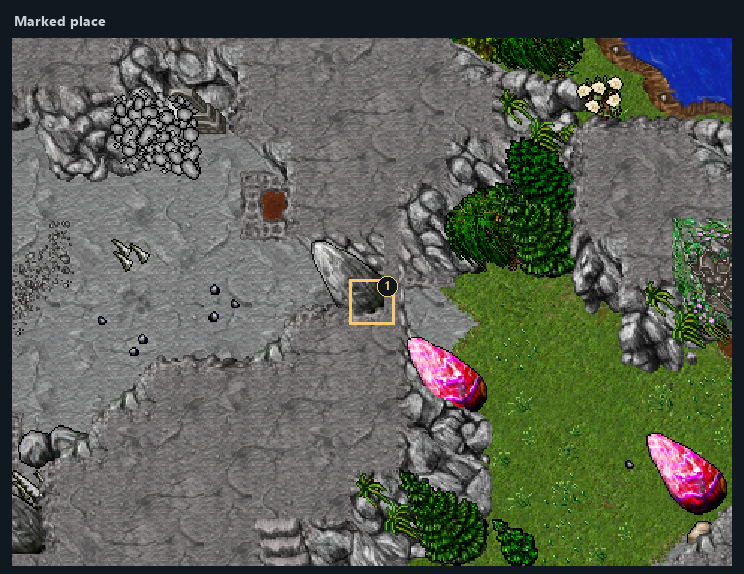
Highlighted places: 1 — Opened barrier.
- 1Opened barrier
Part 10Danmir / Hydrastone — Seal
- 1
Use the lever at marker 1 in View 23.
- 2
The stone at marker 1 in View 24 is removed.
- 3
Continue through the opened route.
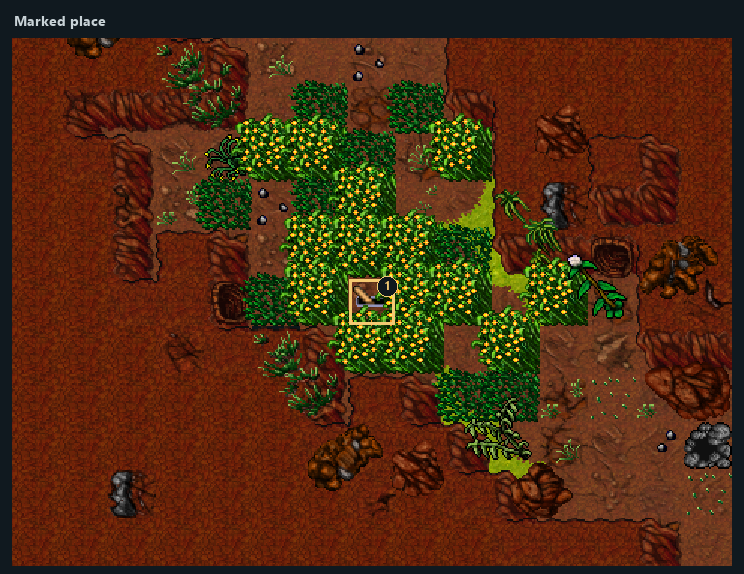
Highlighted places: 1 — Use this mechanism.
- 1Use this mechanism
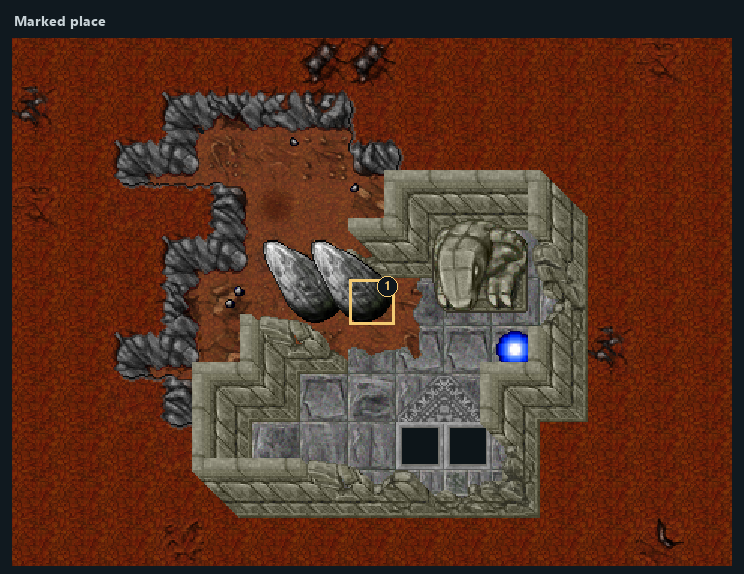
Highlighted places: 1 — Opened barrier.
- 1Opened barrier
Part 11Danmir / Scorp Stone — Seal
- 1
Use the lever at marker 1 in View 25.
- 2
The stone at marker 1 in View 26 is removed.
- 3
Continue through the opened route.
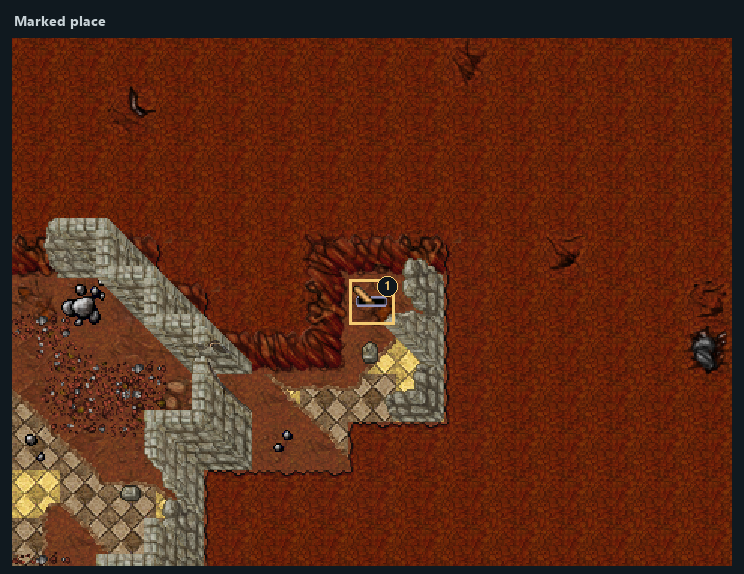
Highlighted places: 1 — Use this mechanism.
- 1Use this mechanism
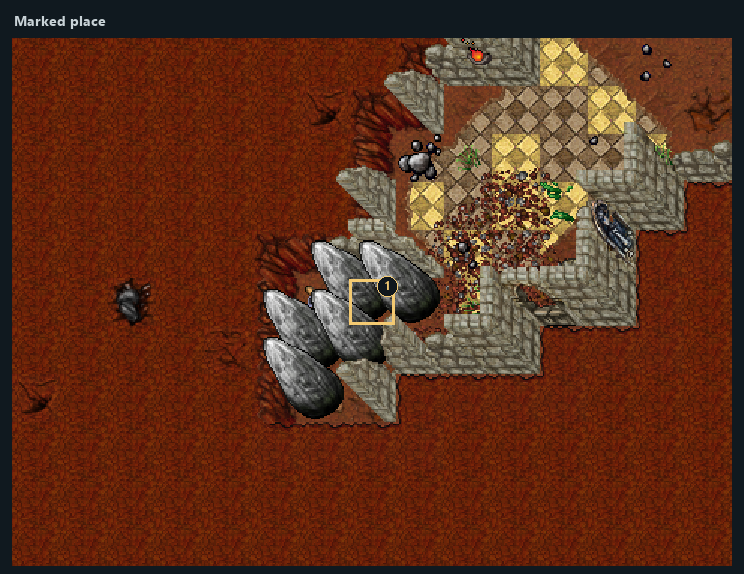
Highlighted places: 1 — Opened barrier.
- 1Opened barrier
Part 12Danmir / Tp Scorp — Mechanism
- 1
Use the lever at marker 2 in View 27.
- 2
Enter the portal at marker 1 in View 27 to reach marker 1 in View 28.
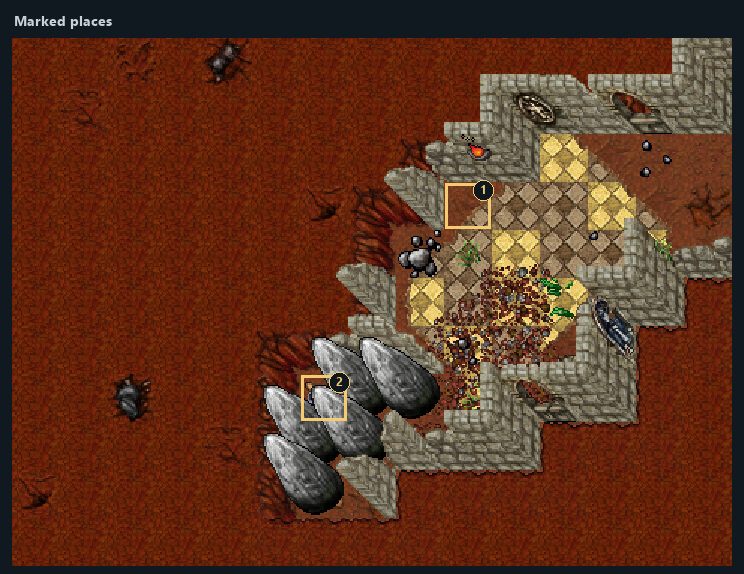
Highlighted places: 1 — Portal; 2 — Use this mechanism.
- 1Portal
- 2Use this mechanism
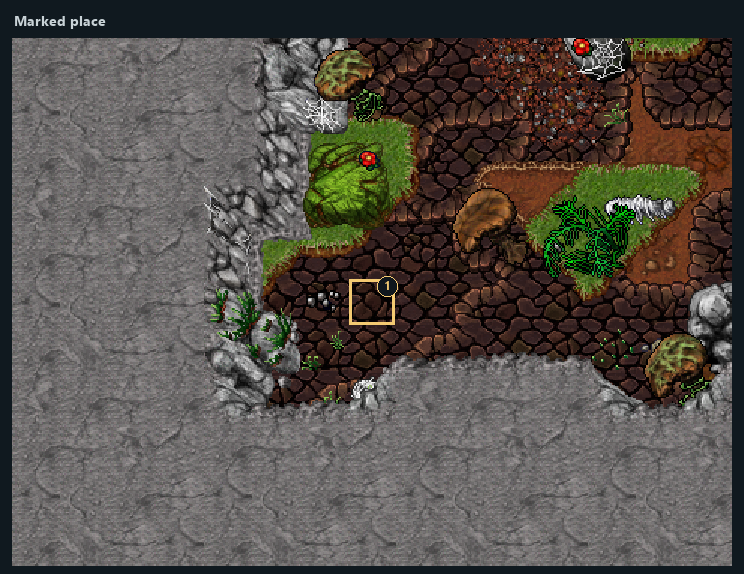
Highlighted places: 1 — Arrival area.
- 1Arrival area
Part 13Danmir / Hwall2 — Seal
- 1
Use the lever at marker 1 in View 29.
- 2
The stone wall at marker 1 in View 30 is removed.
- 3
Continue through the opened route.
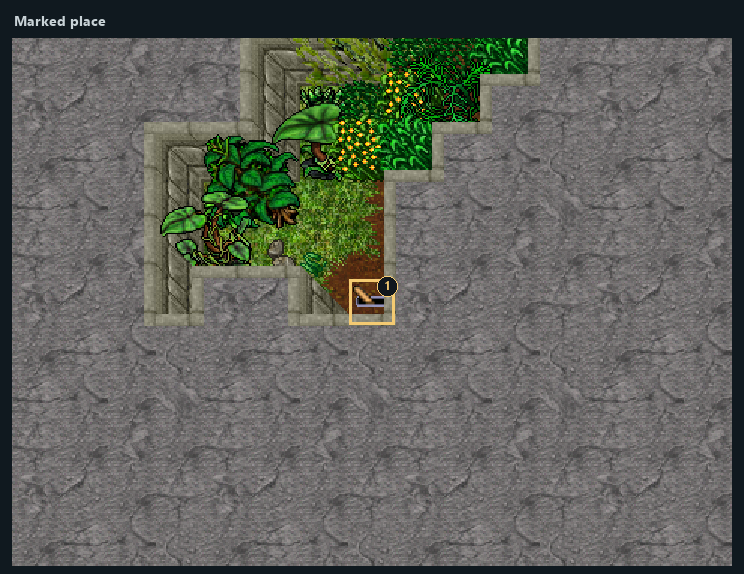
Highlighted places: 1 — Use this mechanism.
- 1Use this mechanism
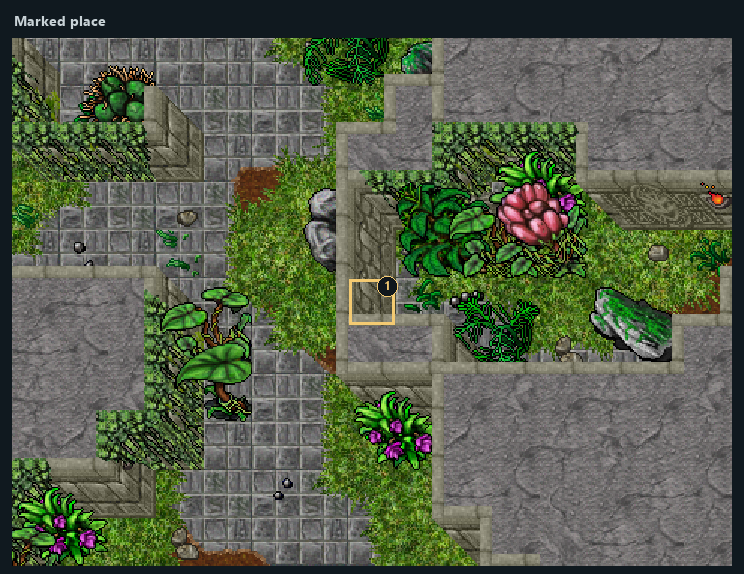
Highlighted places: 1 — Opened barrier.
- 1Opened barrier
Part 14Danmir / Trup H — Seal
- 1
Use the lever at marker 1 in View 31.
- 2
The leaves at marker 1 in View 32 is removed.
- 3
Continue through the opened route.
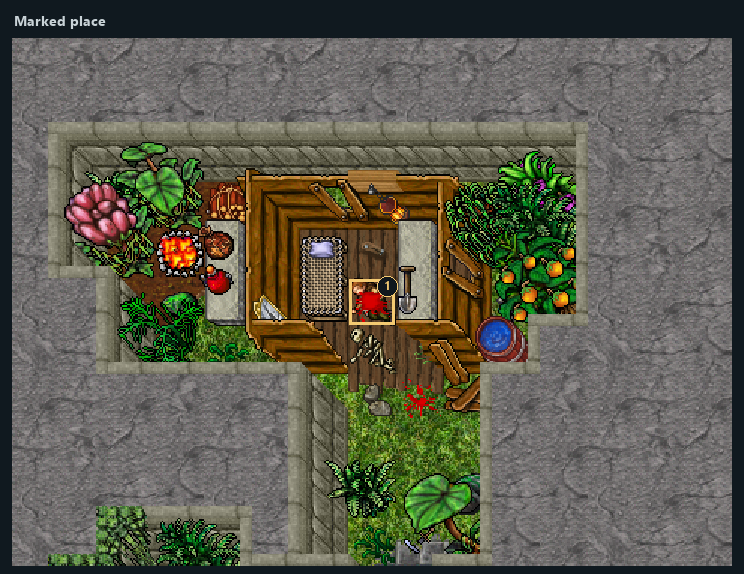
Highlighted places: 1 — Use this mechanism.
- 1Use this mechanism
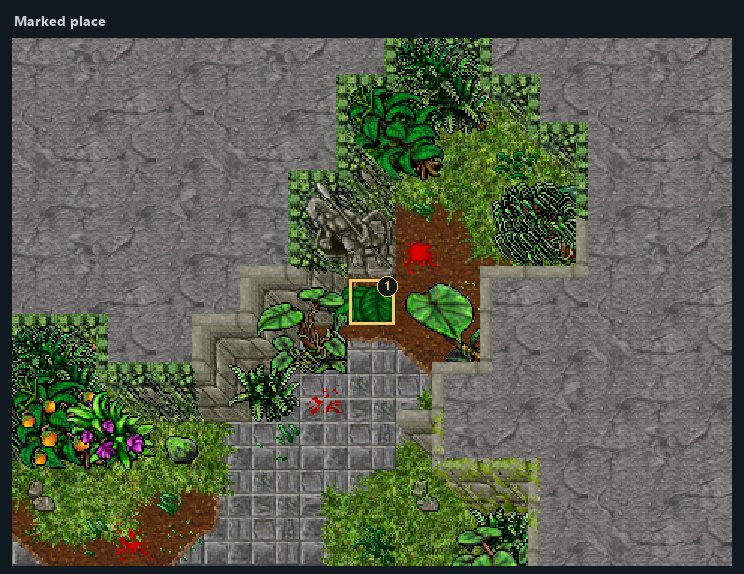
Highlighted places: 1 — Opened barrier.
- 1Opened barrier
Part 15Dracula — Opened Barrier
- 1
Defeat Dracula. Its native death handler removes the named barrier at marker 1 in View 33.
- 2
Continue through the opened route.
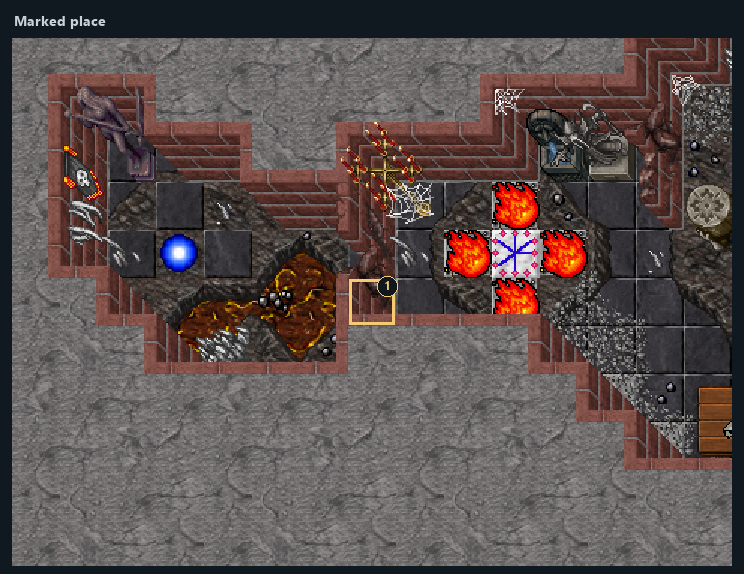
Highlighted places: 1 — Dracula — Opened Barrier.
- 1Dracula — Opened Barrier
Part 16Danmir Reward Chambers
Before this stage
- At least level 20. Individual rewards may have a higher requirement.
- Enough free carrying capacity and inventory space for the entire reward.
- 1
Locate the quest object in the view below. The next instruction identifies its numbered marker.
- 2
At marker 1 in View 34, use the chest (level 20+). Receive 1 × ring of healing, 1 × ring of healing.
- 3
At marker 1 in View 35, use the chest (level 55+). Receive 1 × crown armor.
- 4
At marker 1 in View 36, use the chest (level 45+). Receive 1 × amulet of loss.
- 5
At marker 2 in View 36, use the chest (level 35+). Receive 1 × stone skin amulet.
- 6
At marker 1 in View 37, use the chest (level 35+). Receive 1 × ornamented shield.
- 7
At marker 1 in View 38, use the chest (level 90+). Receive 1 × runic blade.
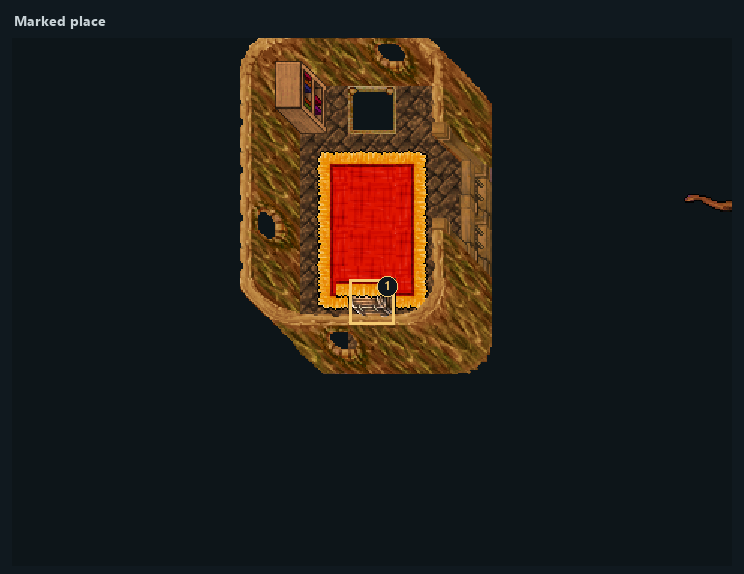
Highlighted places: 1 — Reward 1: ring of healing, ring of healing.
- 1Reward 1: ring of healing, ring of healing
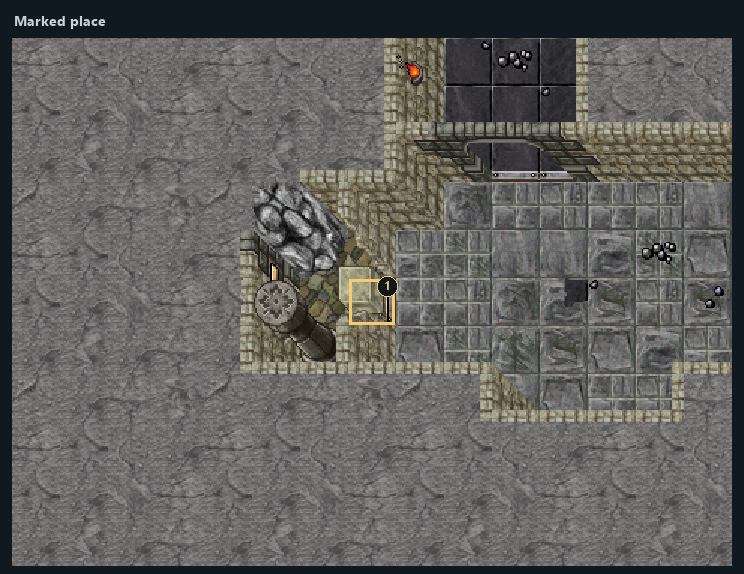
Highlighted places: 1 — Reward 2: crown armor.
- 1Reward 2: crown armor
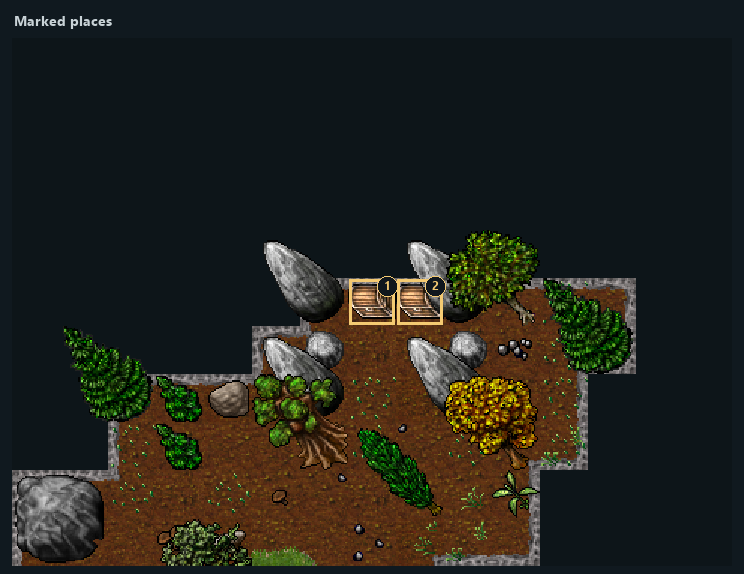
Highlighted places: 1 — Reward 3: amulet of loss; 2 — Reward 4: stone skin amulet.
- 1Reward 3: amulet of loss
- 2Reward 4: stone skin amulet
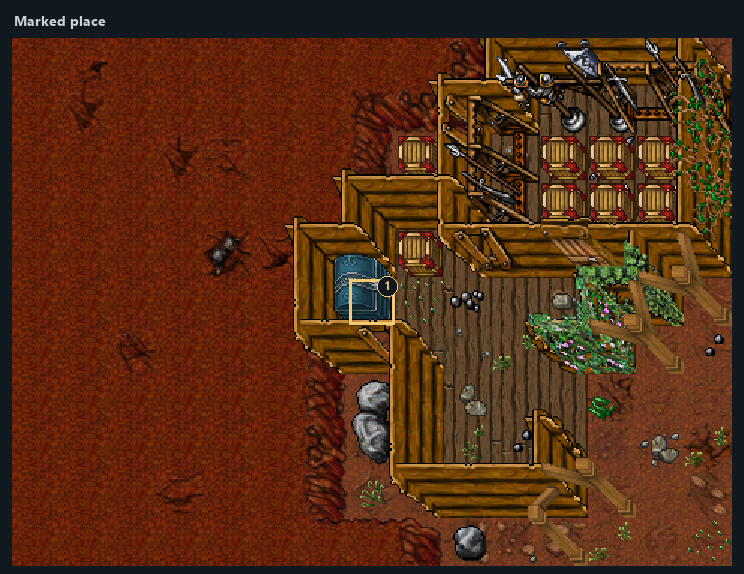
Highlighted places: 1 — Reward 5: ornamented shield.
- 1Reward 5: ornamented shield
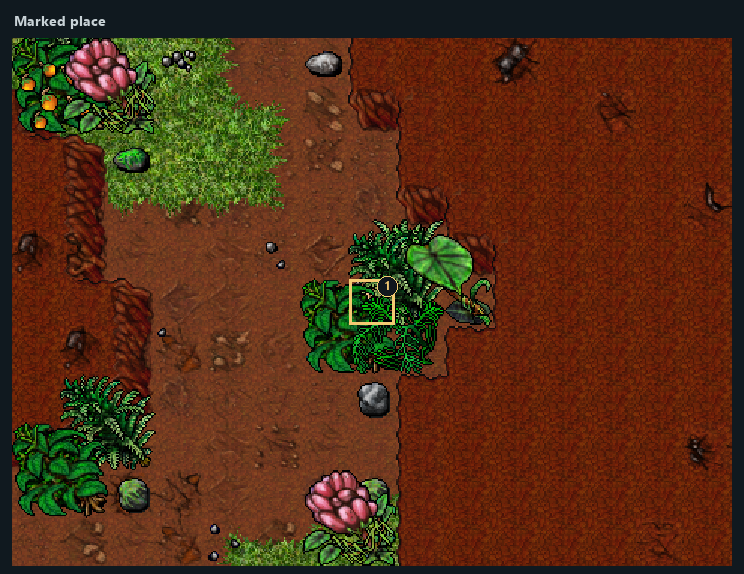
Highlighted places: 1 — Reward 6: runic blade.
- 1Reward 6: runic blade
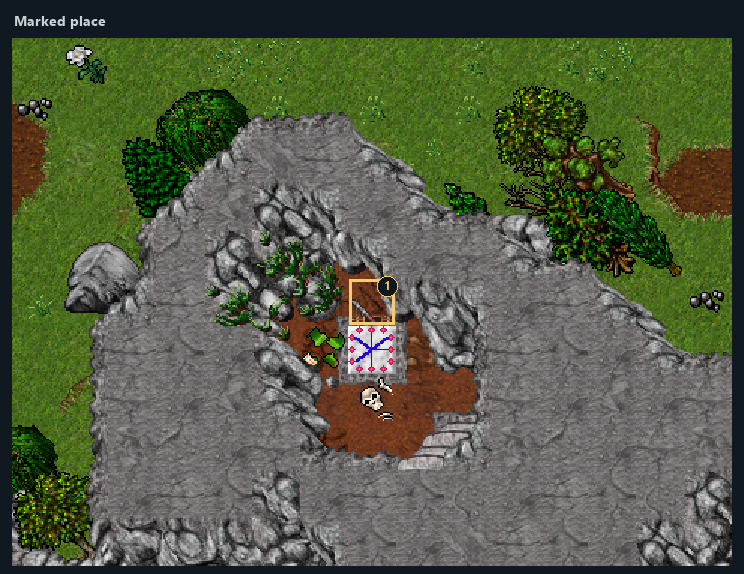
Highlighted places: 1 — Referenced place.
- 1Referenced place
Rewards and completion
- 1 × wooden key (key 5017)
- Access across the two drawbridges.
- Access to the next area.
- Access beyond the golem barrier.
- Opens the next quest passage.
- Access beyond the Dracula barrier.
- 1 × ring of healing, 1 × ring of healing
- 1 × crown armor
- 1 × amulet of loss
- 1 × stone skin amulet
- 1 × ornamented shield
- 1 × runic blade
wooden keyring of healingcrown armoramulet of lossstone skin amuletornamented shieldrunic bladeNotes
- The sections in this reference are independent. Their displayed order does not assert a required quest sequence.
- Choose the relevant dungeon branch. The branches do not form a required linear quest sequence.
- The marked object at marker 1 in View 39 currently has no matching reward branch. It grants no scripted quest reward.