Farson Access Reference
Walkthrough in English
| Type | Access reference |
|---|---|
| Rewards |
 demonbone key |
Requirements
- Enough free carrying capacity and inventory space for the entire reward.
Items used in this quest
The walkthrough explains which items are obtained during the quest and where components are placed or consumed.

Walkthrough
Show walkthroughStep-by-step instructions, dialogue and highlighted views
Part 1Pyramid Tower Key
Before this stage
- Enough free carrying capacity and inventory space for the entire reward.
- 1
Locate the quest object in the view below. The next instruction identifies its numbered marker.
- 2
At marker 1 in View 1, use the chest. Receive 1 × demonbone key (key number 5015).
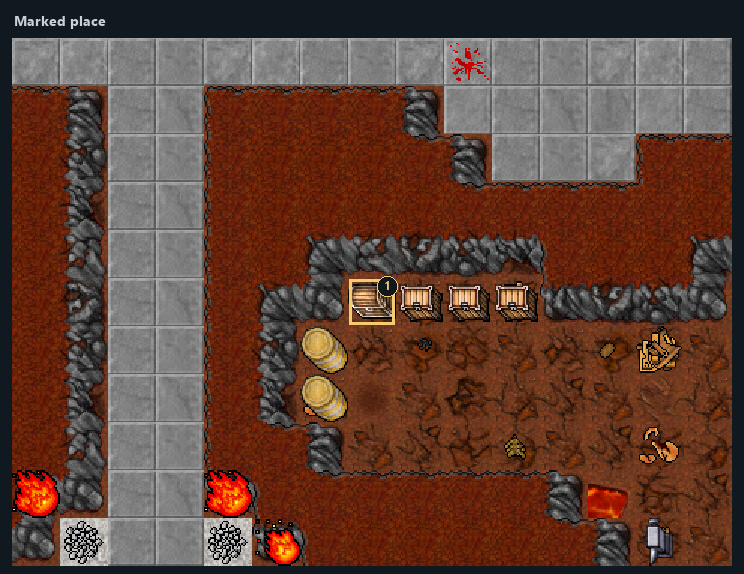
Highlighted places: 1 — Reward 1: demonbone key.
- 1Reward 1: demonbone key
Part 2Herowall — Barrier
- 1
Use the lever at marker 1 in View 2 to remove the brick wall at marker 2 in View 2.
- 2
Pass through the opened route. Using the lever again restores the barrier.
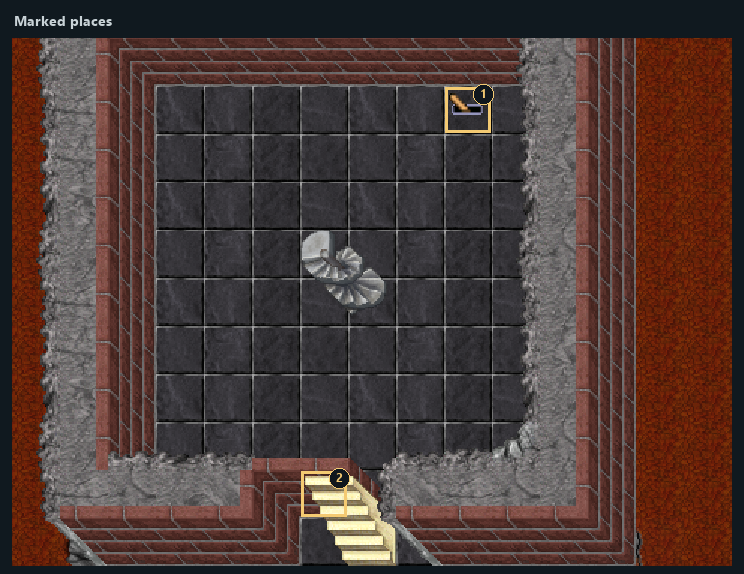
Highlighted places: 1 — Use this mechanism; 2 — Barrier opens here.
- 1Use this mechanism
- 2Barrier opens here
Part 3Emeraldbangle — Mechanism
Items used in this stage
- 1
Place emerald bangle at marker 2 in View 3 (one consumed).
- 2
Use the lever at marker 1 in View 3.
- 3
The barrier at marker 1 in View 5 opens.
- 4
The barrier at marker 2 in View 5 opens.
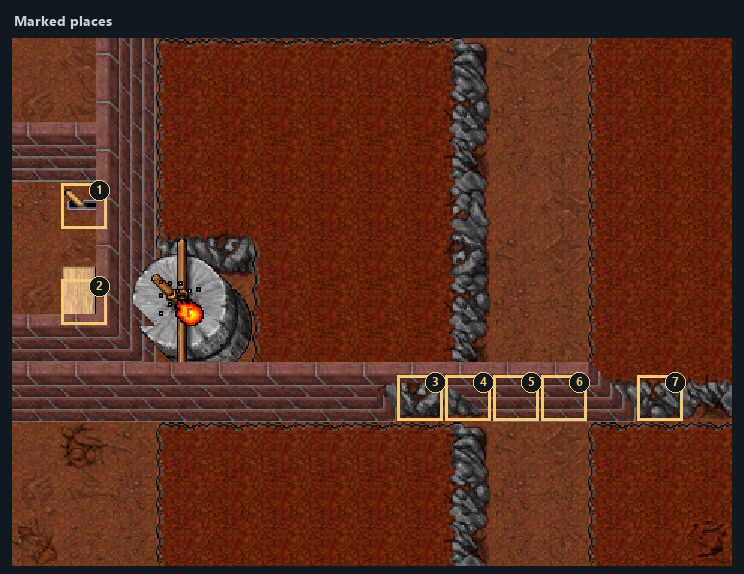
Highlighted places: 1 — Use this mechanism; 2 — Offering: emerald bangle; 3 — Changed quest object; 4 — Changed quest object; 5 — Changed quest object; 6 — Changed quest object; 7 — Changed quest object.
- 1Use this mechanism
- 2Offering: emerald bangle
- 3Changed quest object
- 4Changed quest object
- 5Changed quest object
- 6Changed quest object
- 7Changed quest object
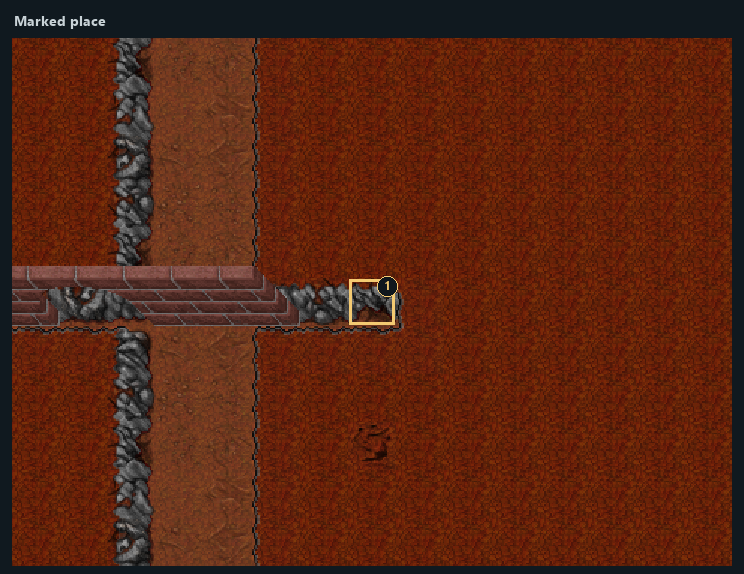
Highlighted places: 1 — Changed quest object.
- 1Changed quest object
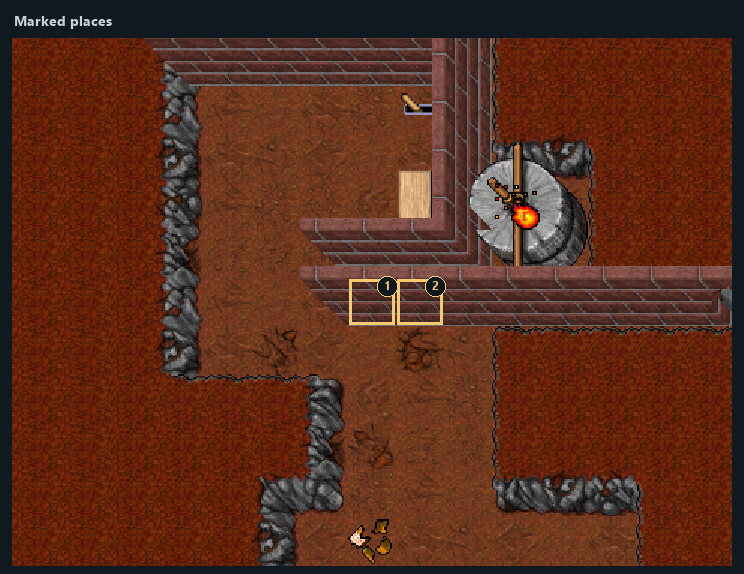
Highlighted places: 1 — Changed quest object; 2 — Changed quest object.
- 1Changed quest object
- 2Changed quest object
Rewards and completion
- 1 × demonbone key (key 5015)
- Access through the barrier.
- Opens the next quest passage.
demonbone keyNotes
- The sections in this reference are independent. Their displayed order does not assert a required quest sequence.