
Graveyard Quest
Walkthrough in English
| Type | Quest walkthrough |
|---|---|
| Level |
|
| Rewards |
 ferumbras doll  the stomper  magic longsword  great axe  blessed shield  golden boots  crown backpack  club |
Requirements
- Level 275 for the gate.
- Open at least 777 Puff Puffs on this character.
- Puff Puffs must be in your own inventory and each successful opening consumes one.
- At least level 200. Individual rewards may have a higher requirement.
- Enough free carrying capacity and inventory space for the entire reward.
- Enough carrying capacity and inventory room for the complete reward.
- The surrounding Graveyard gate requires level 275 and at least 777 personally opened Puff Puffs.
- Level 35 to claim this chest.
Walkthrough
Show walkthroughStep-by-step instructions, dialogue and highlighted views
Part 1Graveyard / Coffin — Trial
- 1
Step on the marked tile at marker 1 in View 1.
- 2
Defeat 1 × Demon.
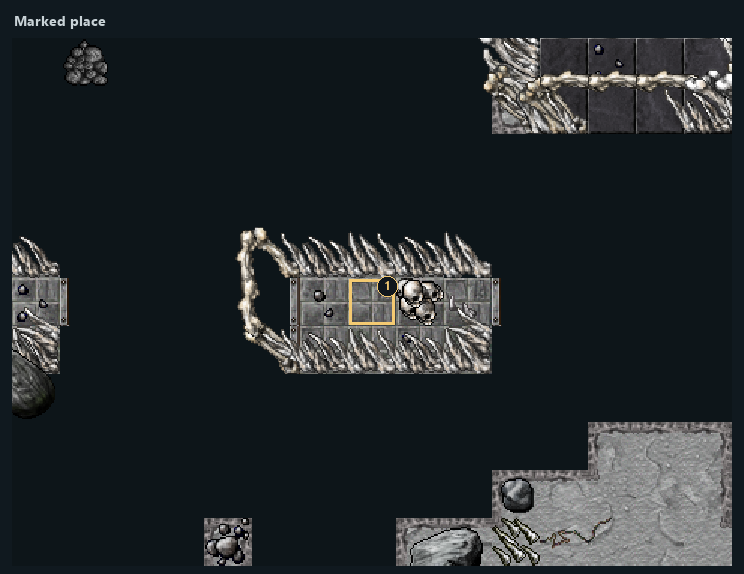
Highlighted places: 1 — Step here.
- 1Step here
Part 2Graveyard / Coffin1 — Trial
- 1
Step on the marked tile at marker 1 in View 2.
- 2
Defeat 1 × Demon.
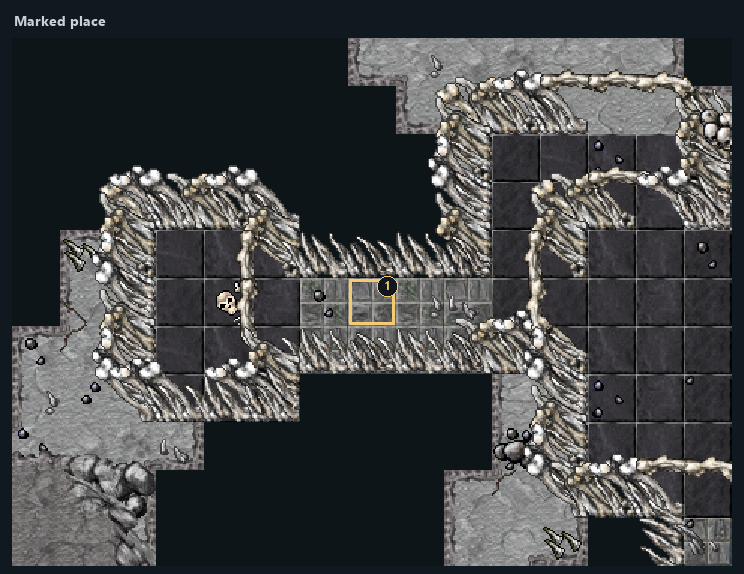
Highlighted places: 1 — Step here.
- 1Step here
Part 3Graveyard / Coffin2 — Trial
- 1
Step on the marked tile at marker 7 in View 3.
- 2
The tile transfers you to marker 1 in View 4.
- 3
Step on the marked tile at marker 3 in View 3.
- 4
The tile transfers you to marker 1 in View 4.
- 5
Step on the marked tile at marker 8 in View 3.
- 6
The tile transfers you to marker 1 in View 4.
- 7
Step on the marked tile at marker 4 in View 3.
- 8
The tile transfers you to marker 1 in View 4.
- 9
Step on the marked tile at marker 9 in View 3.
- 10
The tile transfers you to marker 1 in View 4.
- 11
Step on the marked tile at marker 12 in View 3.
- 12
The tile transfers you to marker 1 in View 4.
- 13
Step on the marked tile at marker 15 in View 3.
- 14
The tile transfers you to marker 1 in View 4.
- 15
Step on the marked tile at marker 18 in View 3.
- 16
The tile transfers you to marker 1 in View 4.
- 17
Step on the marked tile at marker 5 in View 3.
- 18
The tile transfers you to marker 1 in View 4.
- 19
Step on the marked tile at marker 10 in View 3.
- 20
The tile transfers you to marker 1 in View 4.
- 21
Step on the marked tile at marker 13 in View 3.
- 22
The tile transfers you to marker 1 in View 4.
- 23
Step on the marked tile at marker 16 in View 3.
- 24
The tile transfers you to marker 1 in View 4.
- 25
Step on the marked tile at marker 23 in View 3.
- 26
The tile transfers you to marker 1 in View 4.
- 27
Step on the marked tile at marker 1 in View 3.
- 28
The tile transfers you to marker 1 in View 4.
- 29
Step on the marked tile at marker 11 in View 3.
- 30
The tile transfers you to marker 1 in View 4.
- 31
Step on the marked tile at marker 14 in View 3.
- 32
The tile transfers you to marker 1 in View 4.
- 33
Step on the marked tile at marker 19 in View 3.
- 34
The tile transfers you to marker 1 in View 4.
- 35
Step on the marked tile at marker 2 in View 3.
- 36
The tile transfers you to marker 1 in View 4.
- 37
Step on the marked tile at marker 6 in View 3.
- 38
The tile transfers you to marker 1 in View 4.
- 39
Step on the marked tile at marker 17 in View 3.
- 40
The tile transfers you to marker 1 in View 4.
- 41
Step on the marked tile at marker 20 in View 3.
- 42
The tile transfers you to marker 1 in View 4.
- 43
Step on the marked tile at marker 24 in View 3.
- 44
The tile transfers you to marker 1 in View 4.
- 45
Step on the marked tile at marker 26 in View 3.
- 46
The tile transfers you to marker 1 in View 4.
- 47
Step on the marked tile at marker 21 in View 3.
- 48
The tile transfers you to marker 1 in View 4.
- 49
Step on the marked tile at marker 22 in View 3.
- 50
The tile transfers you to marker 1 in View 4.
- 51
Step on the marked tile at marker 25 in View 3.
- 52
The tile transfers you to marker 1 in View 4.
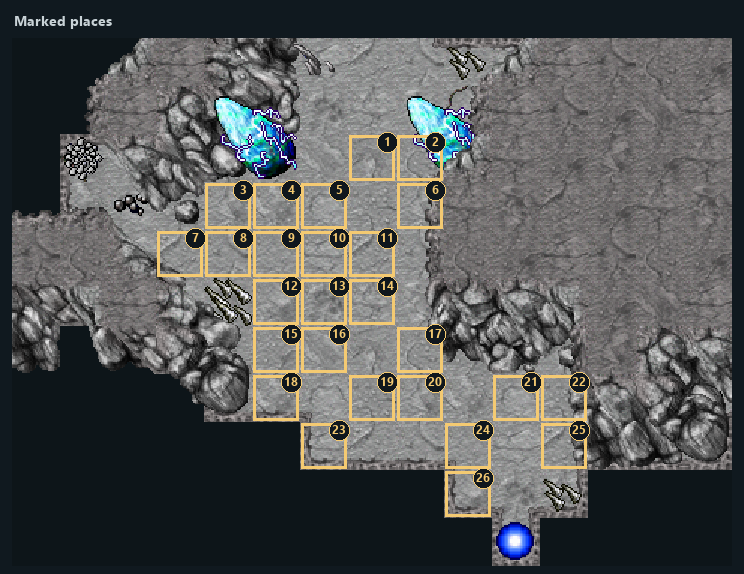
Highlighted places: 1 — Step here; 2 — Step here; 3 — Step here; 4 — Step here; 5 — Step here; 6 — Step here; 7 — Step here; 8 — Step here; 9 — Step here; 10 — Step here; 11 — Step here; 12 — Step here; 13 — Step here; 14 — Step here; 15 — Step here; 16 — Step here; 17 — Step here; 18 — Step here; 19 — Step here; 20 — Step here; 21 — Step here; 22 — Step here; 23 — Step here; 24 — Step here; 25 — Step here; 26 — Step here.
- 1Step here
- 2Step here
- 3Step here
- 4Step here
- 5Step here
- 6Step here
- 7Step here
- 8Step here
- 9Step here
- 10Step here
- 11Step here
- 12Step here
- 13Step here
- 14Step here
- 15Step here
- 16Step here
- 17Step here
- 18Step here
- 19Step here
- 20Step here
- 21Step here
- 22Step here
- 23Step here
- 24Step here
- 25Step here
- 26Step here
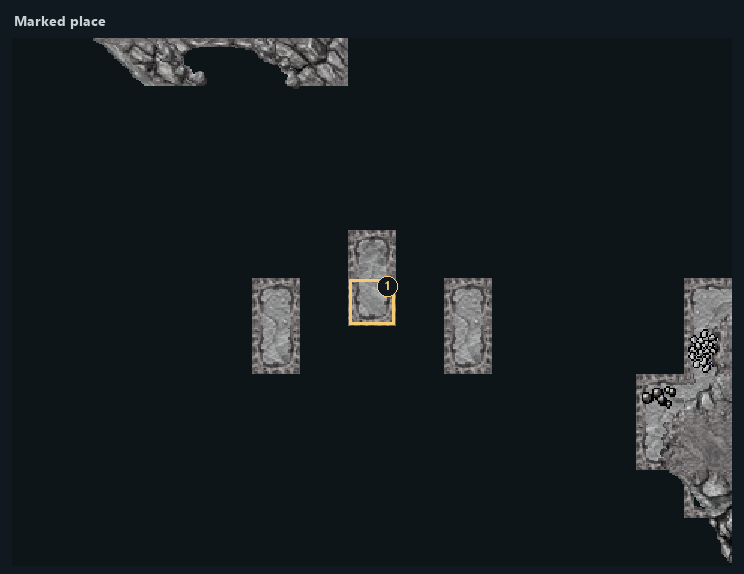
Highlighted places: 1 — Arrival area.
- 1Arrival area
Part 4Graveyard / Box — Trial
- 1
Step on the marked tile at marker 2 in View 5.
- 2
The tile transfers you to marker 1 in View 6.
- 3
Step on the marked tile at marker 1 in View 5.
- 4
The tile transfers you to marker 1 in View 6.
- 5
Step on the marked tile at marker 3 in View 5.
- 6
The tile transfers you to marker 1 in View 6.
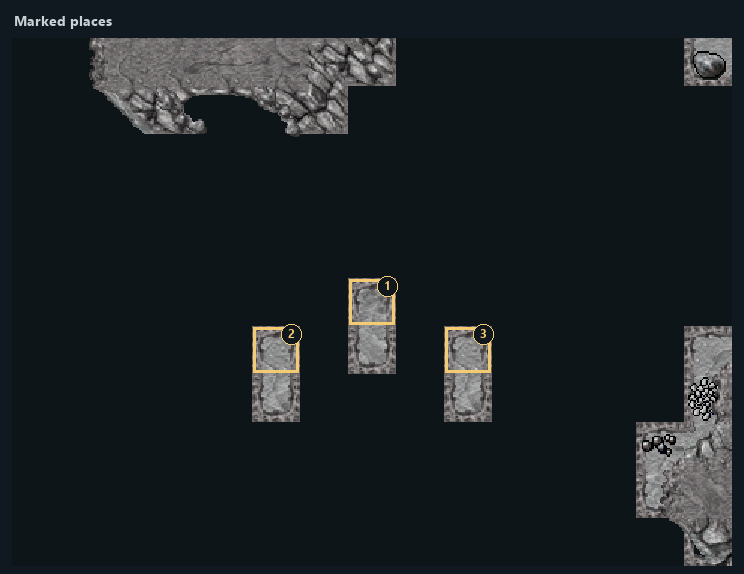
Highlighted places: 1 — Step here; 2 — Step here; 3 — Step here.
- 1Step here
- 2Step here
- 3Step here
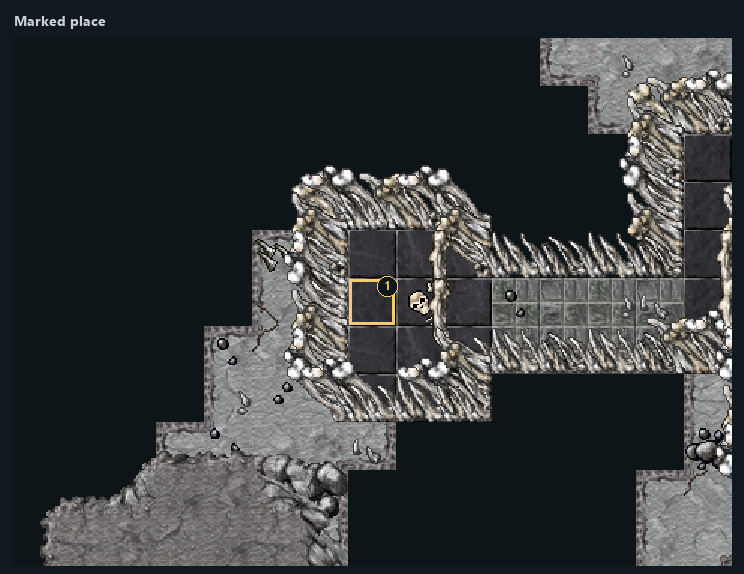
Highlighted places: 1 — Arrival area.
- 1Arrival area
Part 5Graveyard / Coffin — Seal
- 1
Use the lever at marker 1 in View 7.
- 2
The energy barier at marker 1 in View 8 is removed.
- 3
Defeat the summoned encounter: 1 × Orshabaal.
- 4
Continue through the opened route.
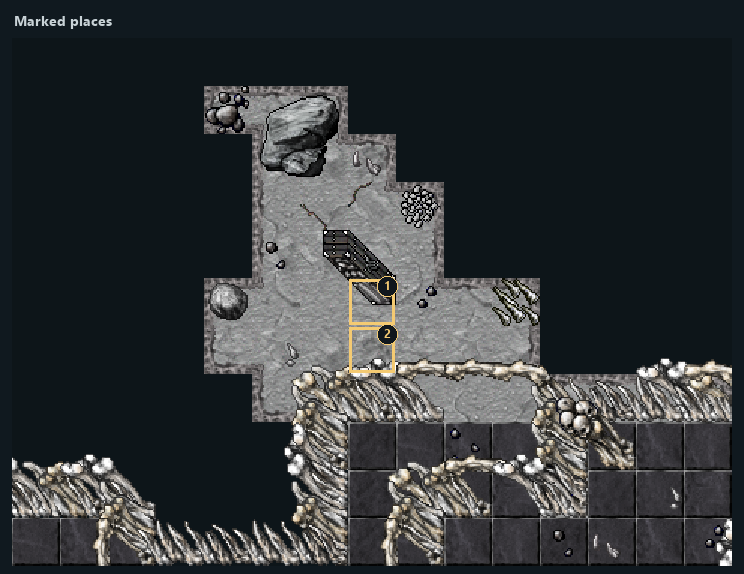
Highlighted places: 1 — Use this mechanism; 2 — Orshabaal.
- 1Use this mechanism
- 2Orshabaal
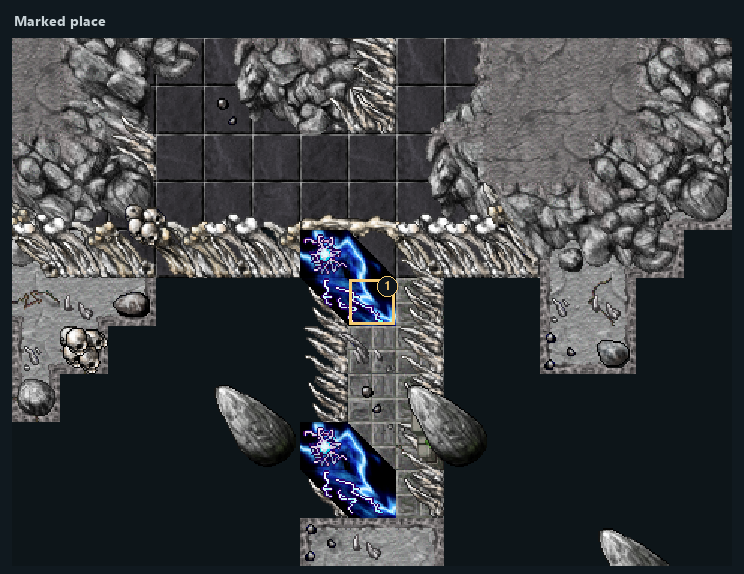
Highlighted places: 1 — Opened barrier.
- 1Opened barrier
Part 6Graveyard / Coffin1 — Seal
- 1
Use the lever at marker 1 in View 9.
- 2
The energy barier at marker 1 in View 10 is removed.
- 3
Defeat the summoned encounter: 1 × Orshabaal.
- 4
Continue through the opened route.
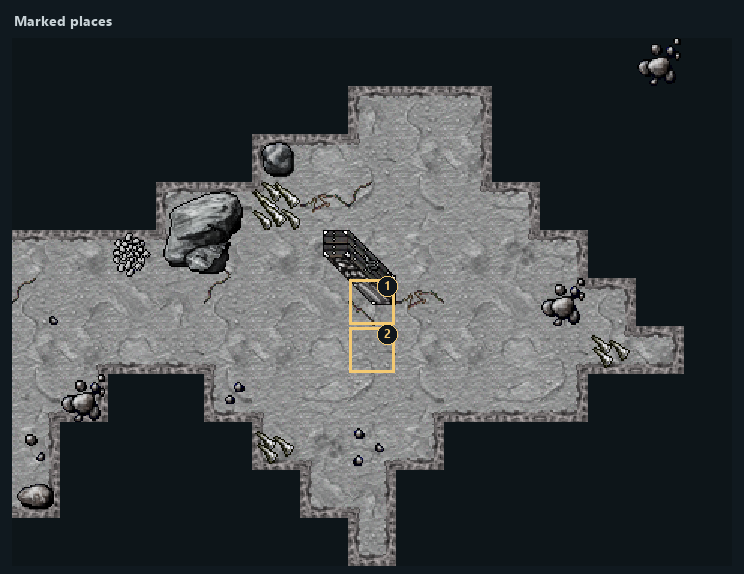
Highlighted places: 1 — Use this mechanism; 2 — Orshabaal.
- 1Use this mechanism
- 2Orshabaal
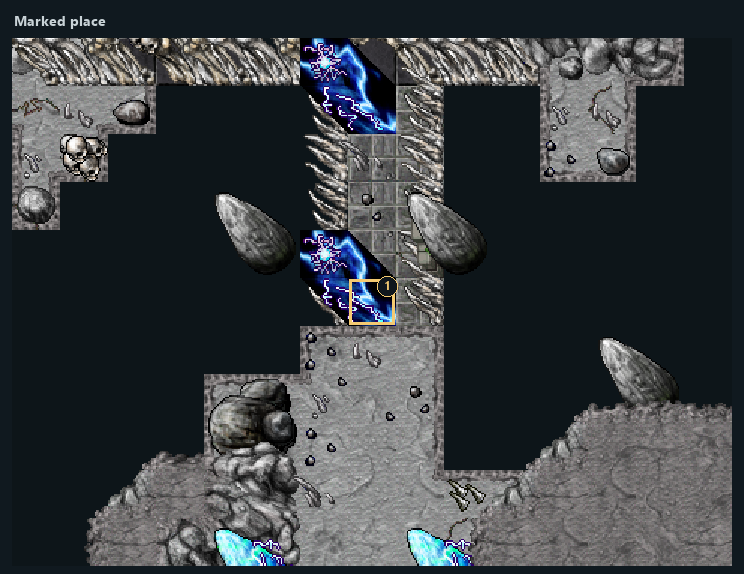
Highlighted places: 1 — Opened barrier.
- 1Opened barrier
Part 7Graveyard / Coffin2 — Seal
- 1
Use the lever at marker 1 in View 11.
- 2
The energy barier at marker 1 in View 12 is removed.
- 3
Defeat the summoned encounter: 1 × Orshabaal, 1 × Bone Wall.
- 4
Continue through the opened route.
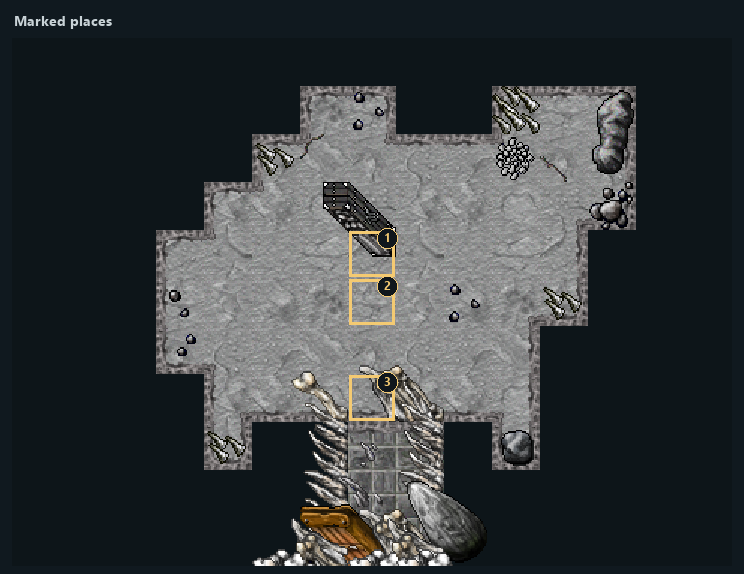
Highlighted places: 1 — Use this mechanism; 2 — Orshabaal; 3 — Bone Wall.
- 1Use this mechanism
- 2Orshabaal
- 3Bone Wall
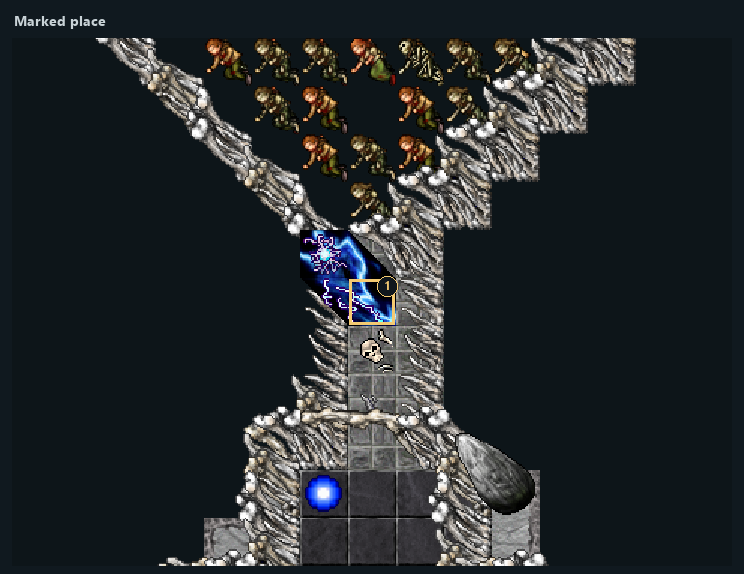
Highlighted places: 1 — Opened barrier.
- 1Opened barrier
Part 8Graveyard: 777 Puff Puffs / Access
Before this stage
- Level 275 for the gate.
- Open at least 777 Puff Puffs on this character.
- Puff Puffs must be in your own inventory and each successful opening consumes one.
- 1
Collect Puff Puffs and use them from your own inventory. Each successful opening adds one to your personal count.
- 2
Leave room for the random gift. A failed delivery does not consume the Puff Puff or advance the counter.
- 3
On the 777th successful opening, you also receive a personalised dragon toy.
- 4
At level 275 or higher, use the gate at marker 1 in View 13 after reaching 777 openings. Continue to the Graveyard trials and reward chambers.
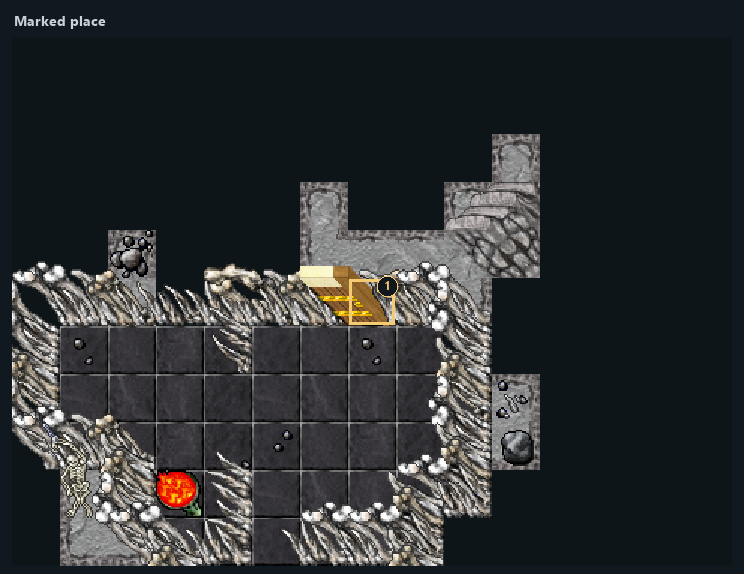
Highlighted places: 1 — Graveyard access gate.
- 1Graveyard access gate
Part 9Ferumbras Doll Quest
Before this stage
- At least level 200. Individual rewards may have a higher requirement.
- Enough free carrying capacity and inventory space for the entire reward.
- 1
Locate the quest object in the view below. The next instruction identifies its numbered marker.
- 2
At marker 1 in View 14, use the chest (level 200+). Receive 1 × ferumbras doll.
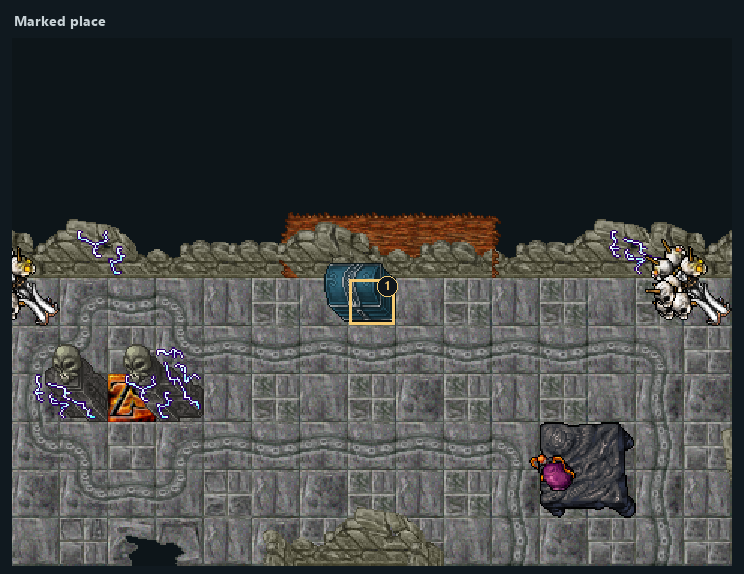
Highlighted places: 1 — Reward 1: ferumbras doll.
- 1Reward 1: ferumbras doll
Part 10Graveyard: Skill-Based Reward
Before this stage
- Enough carrying capacity and inventory room for the complete reward.
- The surrounding Graveyard gate requires level 275 and at least 777 personally opened Puff Puffs.
- 1
Pass the Graveyard access gate after meeting its level and Puff Puff requirements.
- 2
Before claiming, check your current skills: the reward uses the highest of Club, Sword, Axe and Distance.
- 3
Use the marked left chest at marker 1 in View 15.
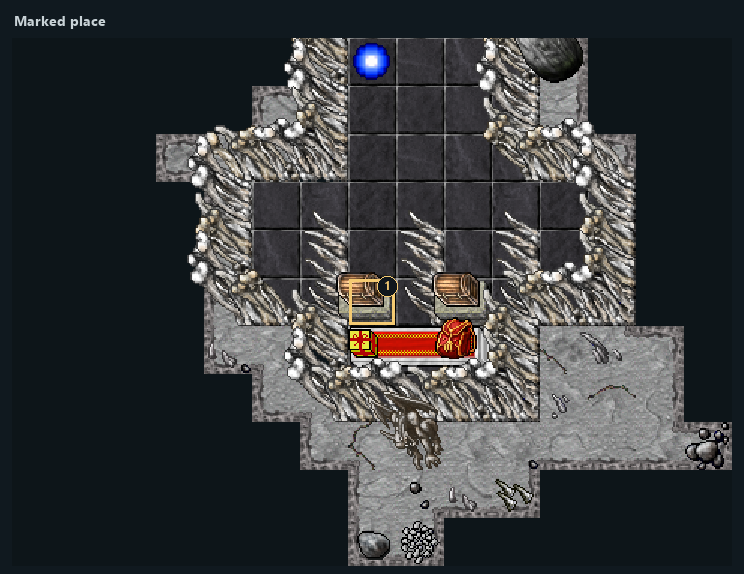
Highlighted places: 1 — Graveyard: Skill-Based Reward.
- 1Graveyard: Skill-Based Reward
Part 11Graveyard: Mana Rune Backpack
Before this stage
- Enough carrying capacity and inventory room for the complete reward.
- Level 35 to claim this chest.
- The surrounding Graveyard gate requires level 275 and at least 777 personally opened Puff Puffs.
- 1
Pass the Graveyard access gate after meeting its level and Puff Puff requirements.
- 2
Use the marked right chest at marker 1 in View 16 once.
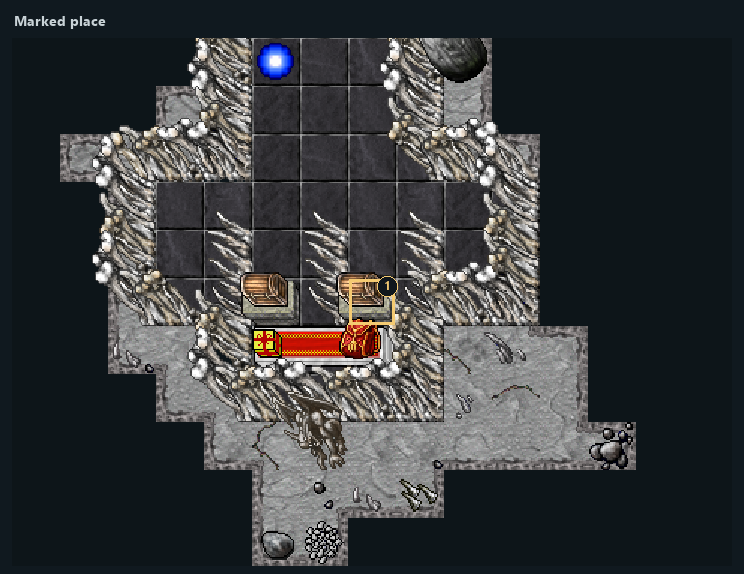
Highlighted places: 1 — Graveyard: Mana Rune Backpack.
- 1Graveyard: Mana Rune Backpack
Rewards and completion
- Random gifts from each Puff Puff.
- A personalised dragon toy on the 777th opening.
- 1 × ferumbras doll
- Knight or Paladin: one weapon/shield determined by the highest of Club, Sword, Axe and Distance skills, plus two awards of 5,000,000 training points to that chosen skill.
- Club: The Stomper; Sword: Magic Longsword; Axe: Great Axe; Distance: Blessed Shield.
- Sorcerer or Druid: Golden Boots.
- 1 Crown Backpack containing 28 Mana Runes, each with 3 uses (84 uses in total).
ferumbras dollthe stompermagic longswordgreat axeblessed shieldgolden bootscrown backpackclub