Two Towers Quest
Walkthrough in English
| Type | Quest walkthrough |
|---|---|
| Level and team |
|
| Rewards |
 purple key  battle mage cape  sword  club |
Requirements
- Enough free carrying capacity and inventory space for the entire reward.
- crystal coin
- black castle
- black queen
- black king
- white castle
- white queen
- white king
- scarab amulet
- ancient amulet
- All listed switches must be in the specified state.
- Eight players, each at least level 120.
- No team member may have already completed the Two Towers reward.
- Lloth quest token
- Ratharon quest token
- Alzinash quest token
- Kefas quest token
- Dargitael quest token
- At least level 120. Individual rewards may have a higher requirement.
- Level 120.
- This individual skill reward must not have been claimed.
Items used in this quest
The walkthrough explains which items are obtained during the quest and where components are placed or consumed.


Walkthrough
Show walkthroughStep-by-step instructions, dialogue and highlighted views
Part 1Demodras Key
Before this stage
- Enough free carrying capacity and inventory space for the entire reward.
- 1
Locate the quest object in the view below. The next instruction identifies its numbered marker.
- 2
At marker 1 in View 1, use the chest. Receive 1 × purple key (key number 5008).
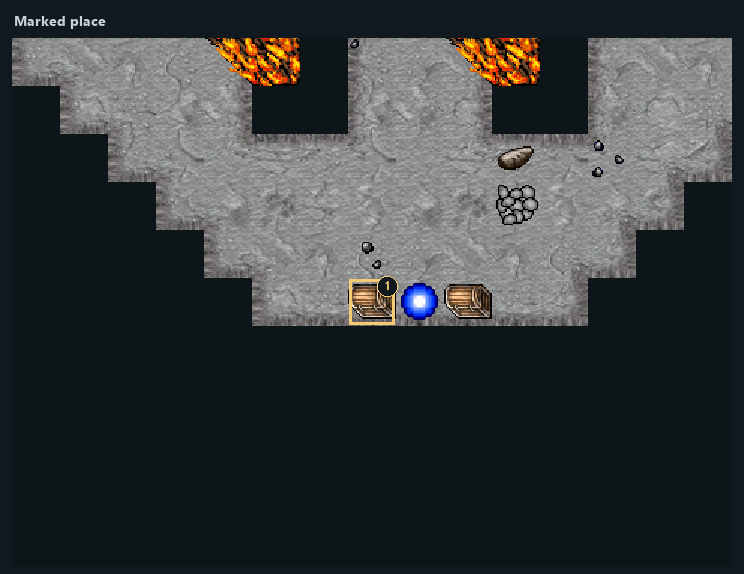
Highlighted places: 1 — Reward 1: purple key.
- 1Reward 1: purple key
Part 2Quest Tower Key
Before this stage
- Enough free carrying capacity and inventory space for the entire reward.
- 1
Locate the quest object in the view below. The next instruction identifies its numbered marker.
- 2
At marker 1 in View 2, use the chest. Receive 1 × purple key (key number 5009).
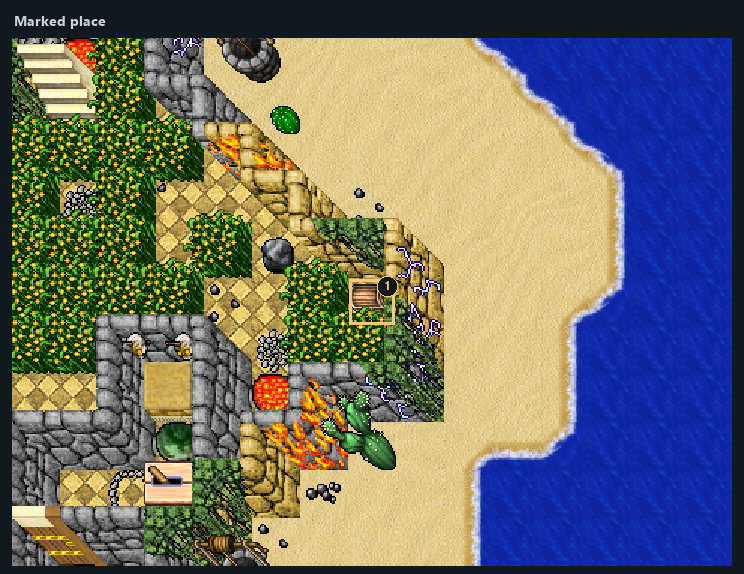
Highlighted places: 1 — Reward 1: purple key.
- 1Reward 1: purple key
Part 3Two Towers — Offering 5
Before this stage
- crystal coin
Items used in this stage
- 1
Place crystal coin at marker 2 in View 3 (one consumed).
- 2
Use the lever at marker 3 in View 3.
- 3
You are transferred to marker 1 in View 3.
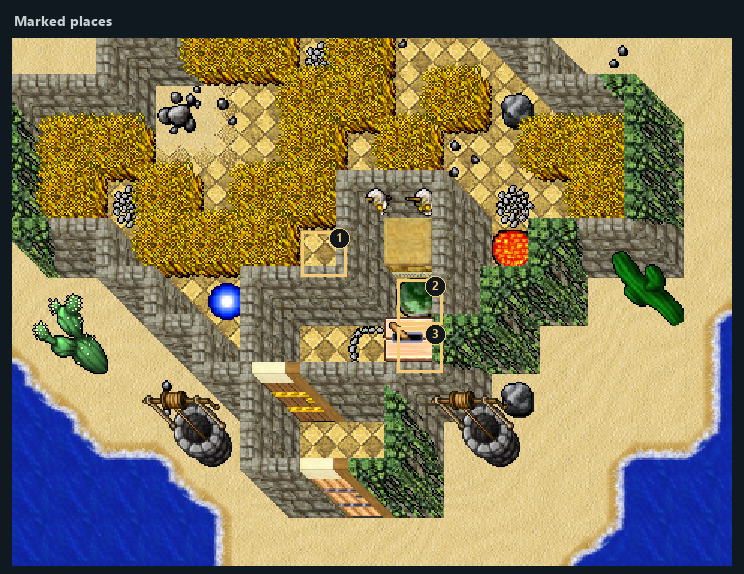
Highlighted places: 1 — Destination; 2 — Place crystal coin; 3 — Use this mechanism.
- 1Destination
- 2Place crystal coin
- 3Use this mechanism
Part 4Two Towers — Offering 6
Before this stage
- crystal coin
Items used in this stage
- 1
Place crystal coin at marker 2 in View 4 (one consumed).
- 2
Use the lever at marker 3 in View 4.
- 3
You are transferred to marker 1 in View 4.
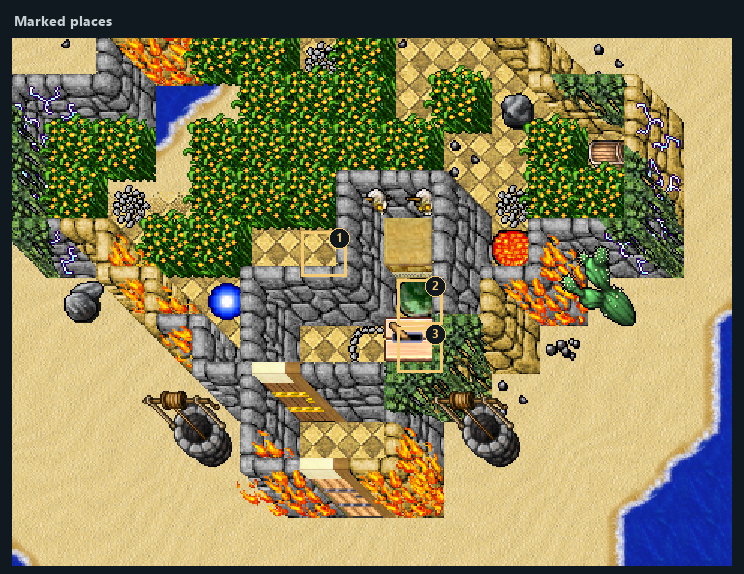
Highlighted places: 1 — Destination; 2 — Place crystal coin; 3 — Use this mechanism.
- 1Destination
- 2Place crystal coin
- 3Use this mechanism
Part 5Two Towers — Offering 1
Before this stage
- black castle
- black queen
- black king
- black castle
Items used in this stage
- 1
Place black castle at marker 1 in View 5 (one consumed).
- 2
Place black queen at marker 2 in View 5 (one consumed).
- 3
Place black king at marker 3 in View 5 (one consumed).
- 4
Place black castle at marker 4 in View 5 (one consumed).
- 5
Use the lever at marker 5 in View 5.
- 6
Enter the portal at marker 1 in View 6 to reach marker 1 in View 7.
- 7
Enter the portal at marker 2 in View 6 to reach marker 2 in View 7.
- 8
Enter the portal at marker 3 in View 6 to reach marker 3 in View 7.
- 9
Enter the portal at marker 4 in View 6 to reach marker 4 in View 7.
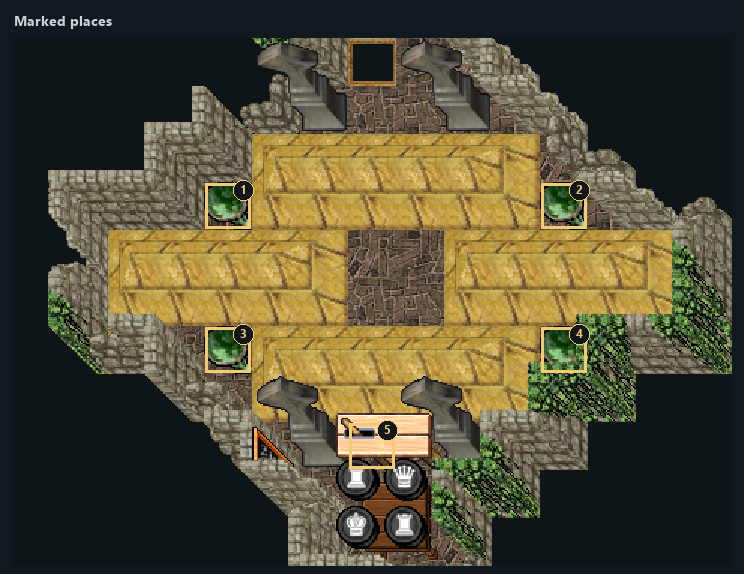
Highlighted places: 1 — Place black castle; 2 — Place black queen; 3 — Place black king; 4 — Place black castle; 5 — Use this mechanism.
- 1Place black castle
- 2Place black queen
- 3Place black king
- 4Place black castle
- 5Use this mechanism
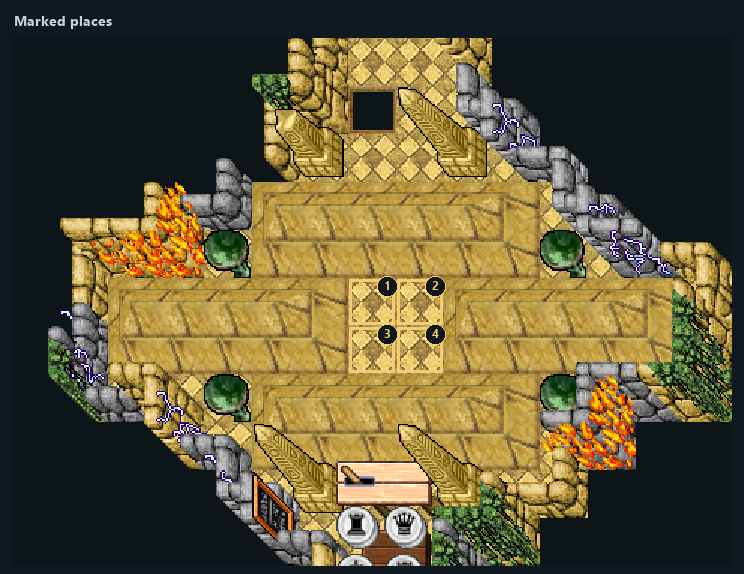
Highlighted places: 1 — Portal; 2 — Portal; 3 — Portal; 4 — Portal.
- 1Portal
- 2Portal
- 3Portal
- 4Portal
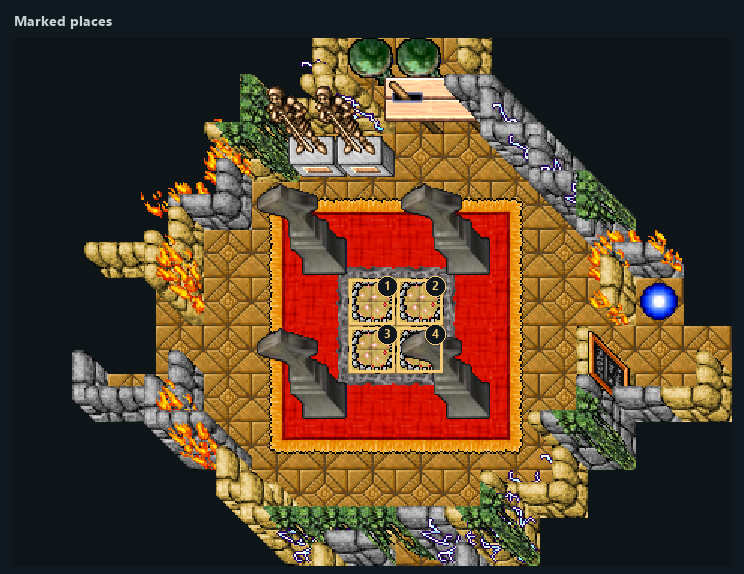
Highlighted places: 1 — Arrival area; 2 — Arrival area; 3 — Arrival area; 4 — Arrival area.
- 1Arrival area
- 2Arrival area
- 3Arrival area
- 4Arrival area
Part 6Two Towers — Offering 2
Before this stage
- white castle
- white queen
- white king
- white castle
Items used in this stage
- 1
Place white castle at marker 1 in View 8 (one consumed).
- 2
Place white queen at marker 2 in View 8 (one consumed).
- 3
Place white king at marker 3 in View 8 (one consumed).
- 4
Place white castle at marker 4 in View 8 (one consumed).
- 5
Use the lever at marker 5 in View 8.
- 6
Enter the portal at marker 1 in View 9 to reach marker 1 in View 10.
- 7
Enter the portal at marker 2 in View 9 to reach marker 2 in View 10.
- 8
Enter the portal at marker 3 in View 9 to reach marker 3 in View 10.
- 9
Enter the portal at marker 4 in View 9 to reach marker 4 in View 10.
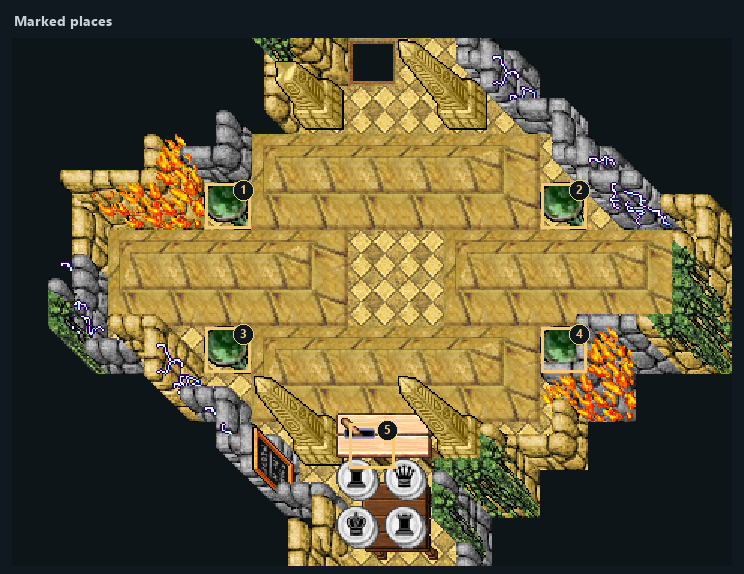
Highlighted places: 1 — Place white castle; 2 — Place white queen; 3 — Place white king; 4 — Place white castle; 5 — Use this mechanism.
- 1Place white castle
- 2Place white queen
- 3Place white king
- 4Place white castle
- 5Use this mechanism
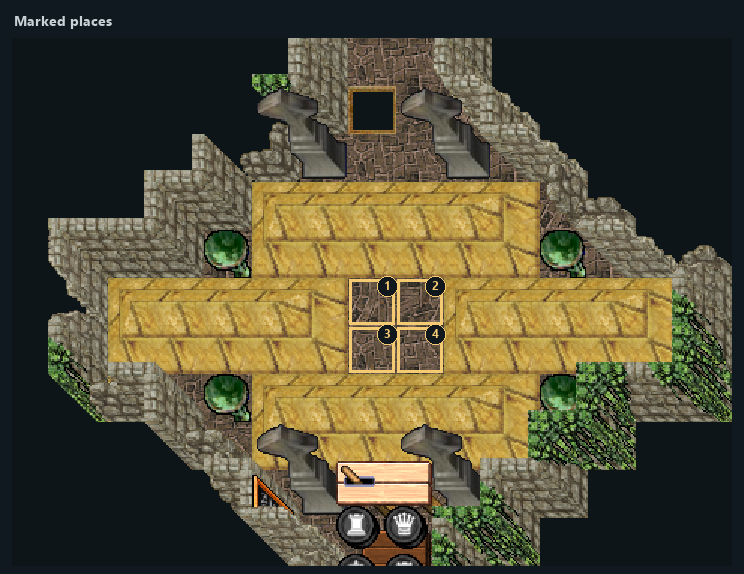
Highlighted places: 1 — Portal; 2 — Portal; 3 — Portal; 4 — Portal.
- 1Portal
- 2Portal
- 3Portal
- 4Portal
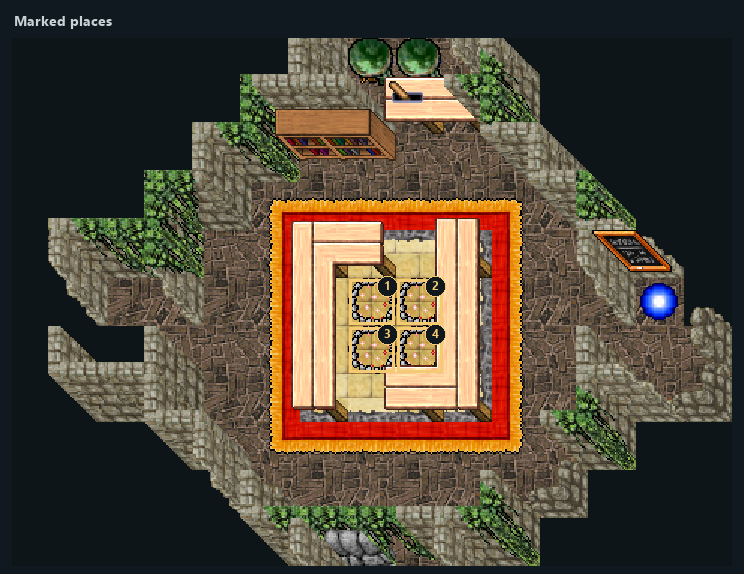
Highlighted places: 1 — Arrival area; 2 — Arrival area; 3 — Arrival area; 4 — Arrival area.
- 1Arrival area
- 2Arrival area
- 3Arrival area
- 4Arrival area
Part 7Two Towers — Offering 3
Before this stage
- scarab amulet
Items used in this stage
- 1
Place scarab amulet at marker 1 in View 11 (one consumed).
- 2
Use the lever at marker 2 in View 11.
- 3
Enter the portal at marker 1 in View 12 to reach marker 1 in View 13.
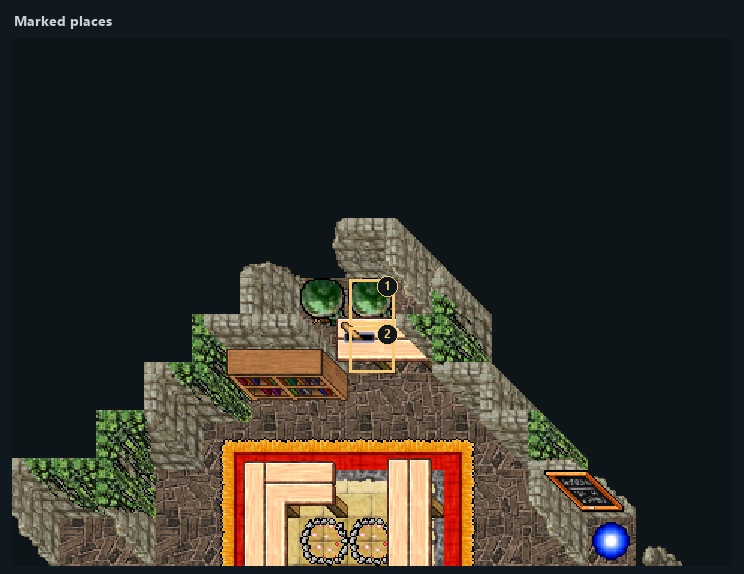
Highlighted places: 1 — Place scarab amulet; 2 — Use this mechanism.
- 1Place scarab amulet
- 2Use this mechanism
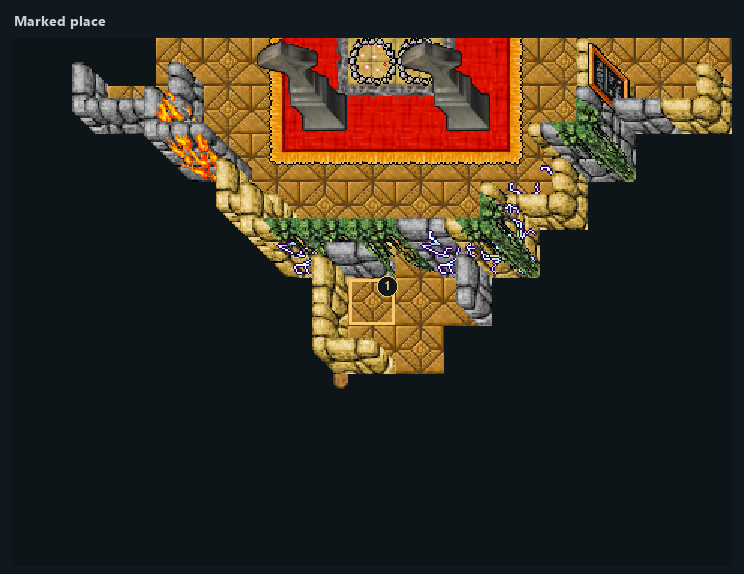
Highlighted places: 1 — Portal.
- 1Portal
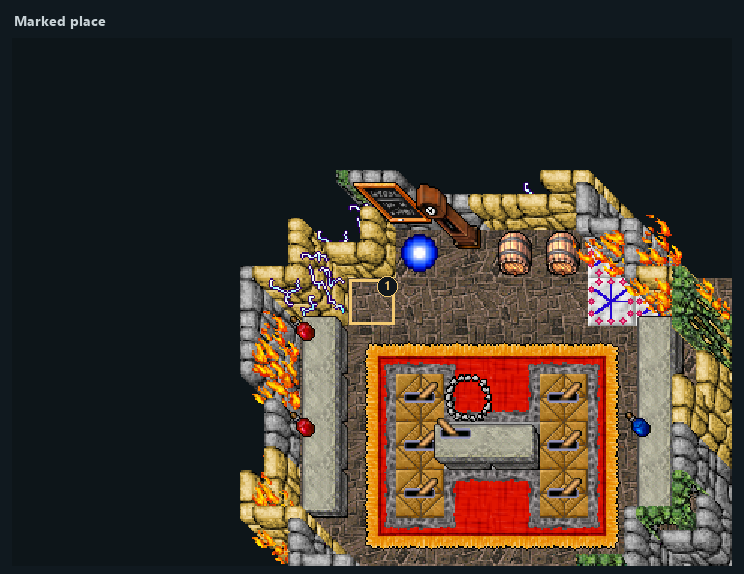
Highlighted places: 1 — Arrival area.
- 1Arrival area
Part 8Two Towers — Offering 4
Before this stage
- ancient amulet
Items used in this stage
- 1
Place ancient amulet at marker 1 in View 14 (one consumed).
- 2
Use the lever at marker 2 in View 14.
- 3
Enter the portal at marker 1 in View 15 to reach marker 1 in View 16.
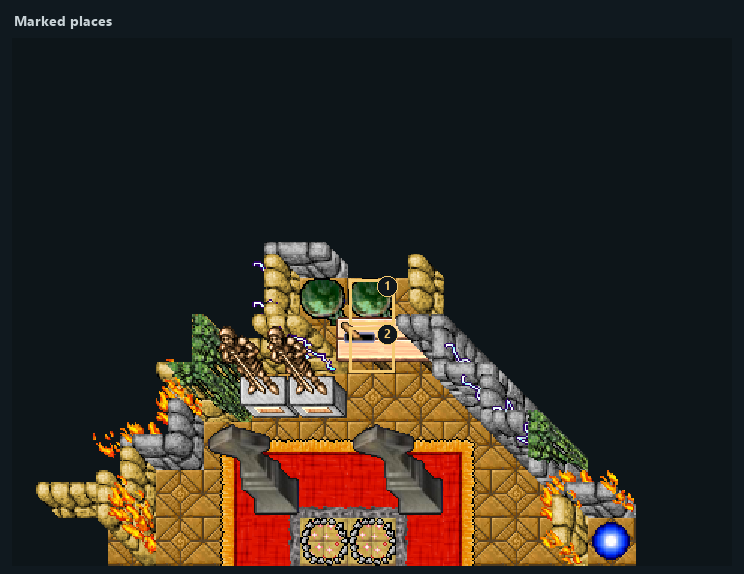
Highlighted places: 1 — Place ancient amulet; 2 — Use this mechanism.
- 1Place ancient amulet
- 2Use this mechanism
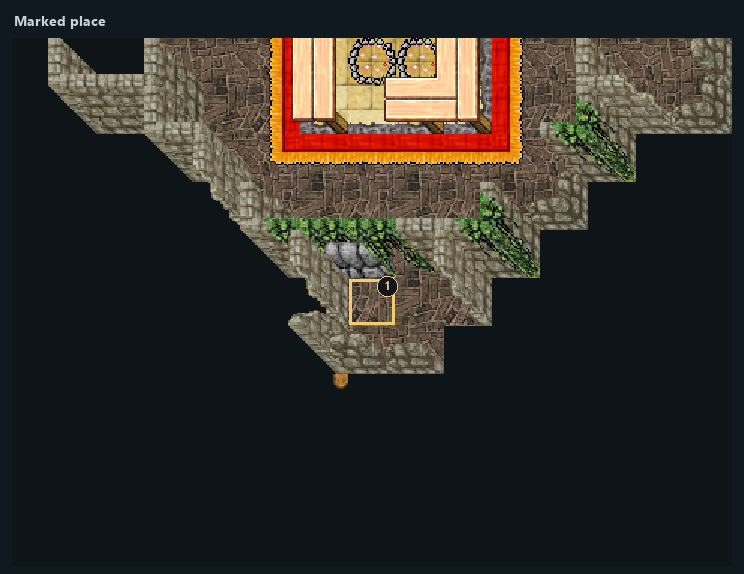
Highlighted places: 1 — Portal.
- 1Portal
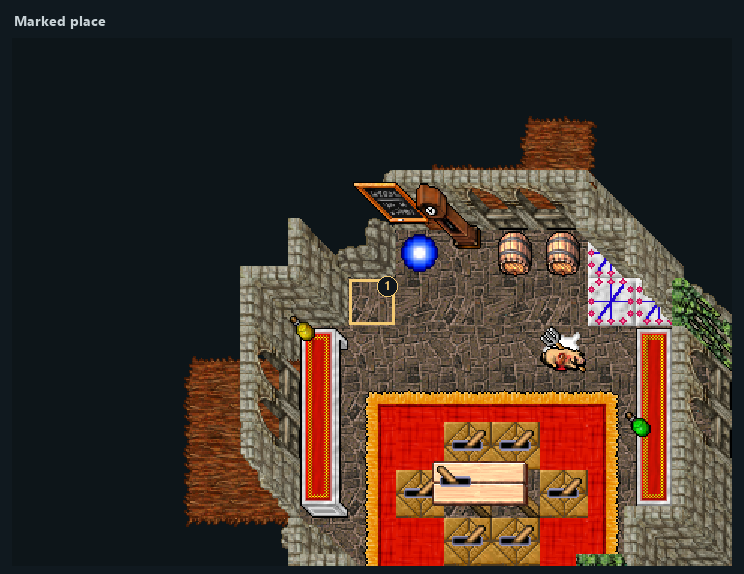
Highlighted places: 1 — Arrival area.
- 1Arrival area
Part 9West Tower Switch Puzzle
Before this stage
- All listed switches must be in the specified state.
- 1
Set the switch at marker 1 in View 17 to RIGHT (handle tilted right; see reference image).
- 2
Set the switch at marker 2 in View 17 to LEFT (handle tilted left; see reference image).
- 3
Set the switch at marker 3 in View 17 to RIGHT (handle tilted right; see reference image).
- 4
Set the switch at marker 5 in View 17 to RIGHT (handle tilted right; see reference image).
- 5
Set the switch at marker 6 in View 17 to LEFT (handle tilted left; see reference image).
- 6
Set the switch at marker 7 in View 17 to LEFT (handle tilted left; see reference image).
- 7
Use the main lever at marker 4 in View 17.
- 8
Enter the portal at marker 1 in View 18 to reach marker 1 in View 19.
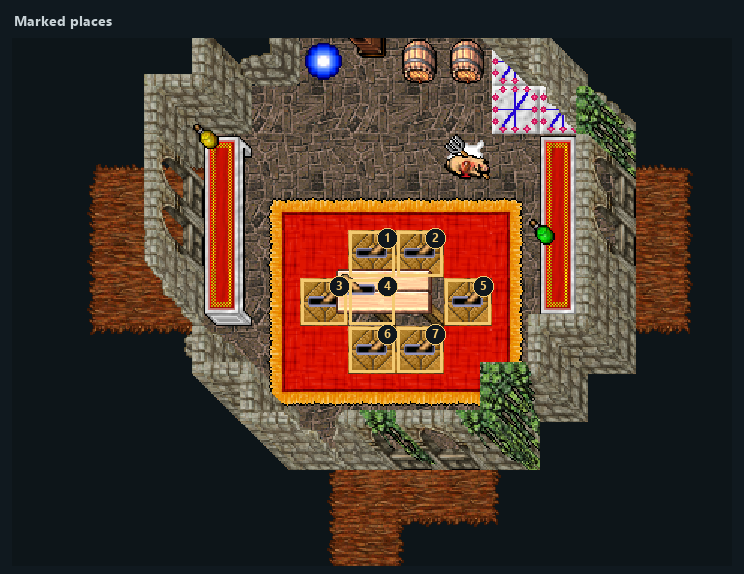
Highlighted places: 1 — Switch RIGHT; 2 — Switch LEFT; 3 — Switch RIGHT; 4 — Use this mechanism; 5 — Switch RIGHT; 6 — Switch LEFT; 7 — Switch LEFT.
- 1Switch RIGHT
- 2Switch LEFT
- 3Switch RIGHT
- 4Use this mechanism
- 5Switch RIGHT
- 6Switch LEFT
- 7Switch LEFT
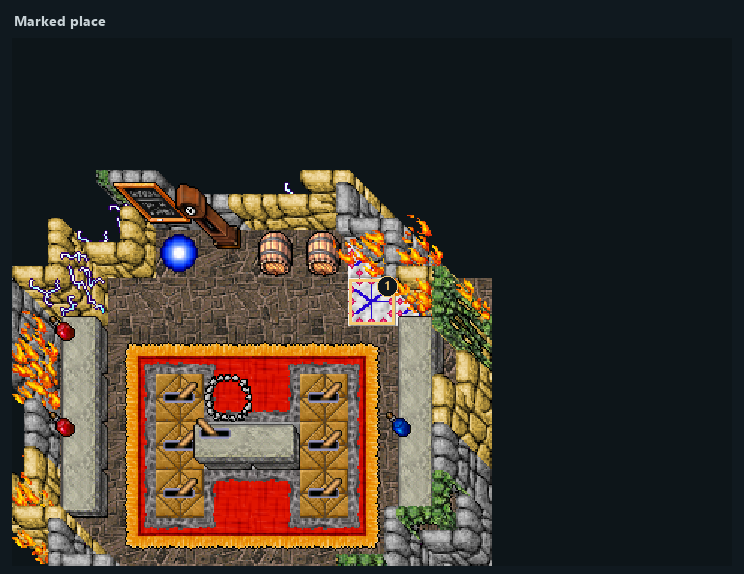
Highlighted places: 1 — Portal.
- 1Portal
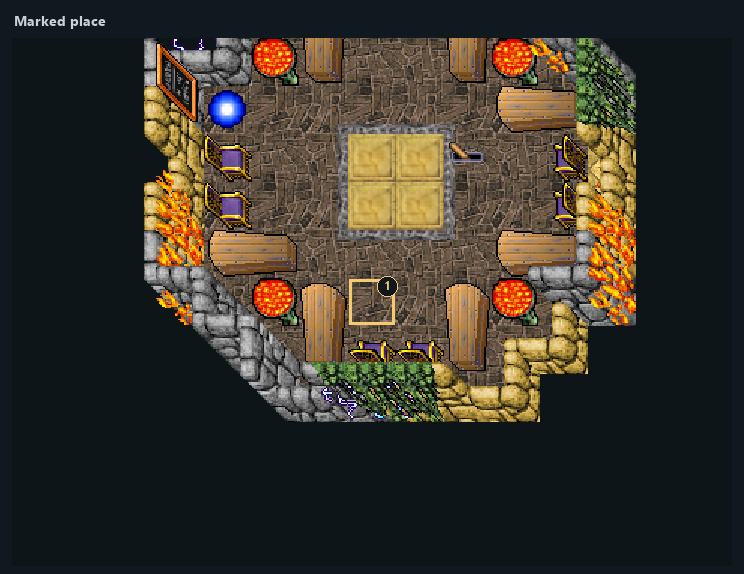
Highlighted places: 1 — Arrival area.
- 1Arrival area
Part 10East Tower Switch Puzzle
Before this stage
- All listed switches must be in the specified state.
- 1
Set the switch at marker 1 in View 20 to LEFT (handle tilted left; see reference image).
- 2
Set the switch at marker 2 in View 20 to RIGHT (handle tilted right; see reference image).
- 3
Set the switch at marker 3 in View 20 to LEFT (handle tilted left; see reference image).
- 4
Set the switch at marker 5 in View 20 to RIGHT (handle tilted right; see reference image).
- 5
Set the switch at marker 6 in View 20 to LEFT (handle tilted left; see reference image).
- 6
Set the switch at marker 7 in View 20 to LEFT (handle tilted left; see reference image).
- 7
Use the main lever at marker 4 in View 20.
- 8
Enter the portal at marker 1 in View 21 to reach marker 1 in View 22.
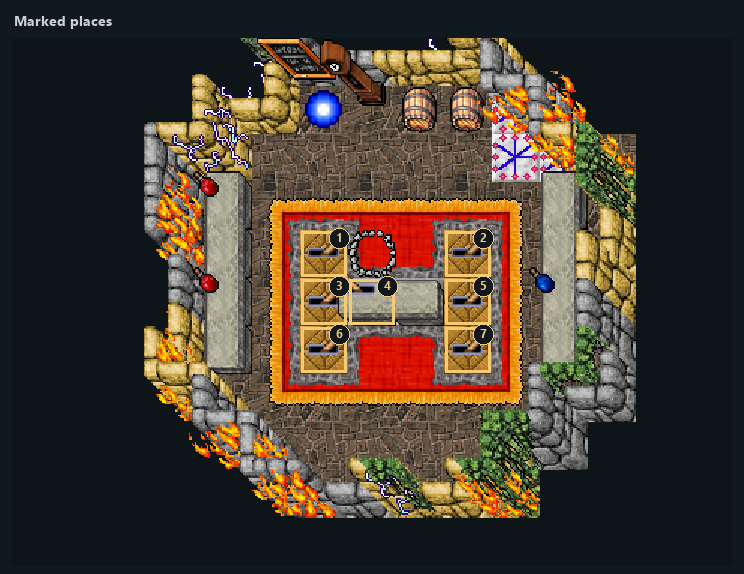
Highlighted places: 1 — Switch LEFT; 2 — Switch RIGHT; 3 — Switch LEFT; 4 — Use this mechanism; 5 — Switch RIGHT; 6 — Switch LEFT; 7 — Switch LEFT.
- 1Switch LEFT
- 2Switch RIGHT
- 3Switch LEFT
- 4Use this mechanism
- 5Switch RIGHT
- 6Switch LEFT
- 7Switch LEFT
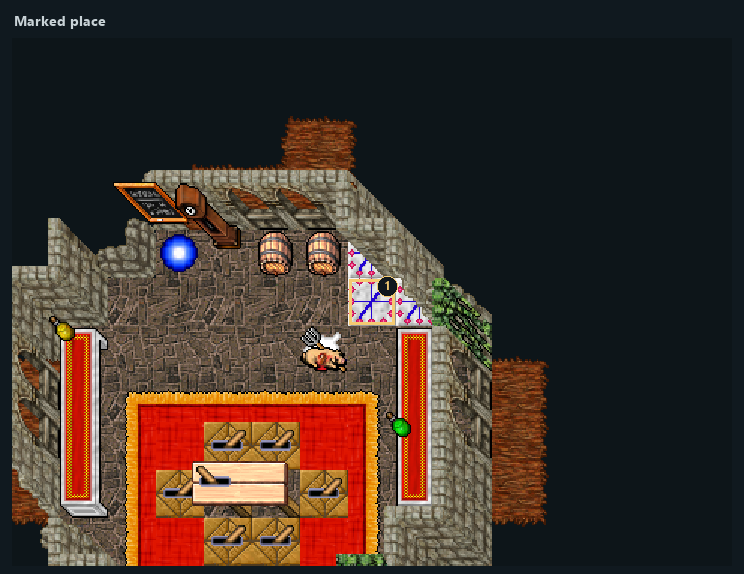
Highlighted places: 1 — Portal.
- 1Portal
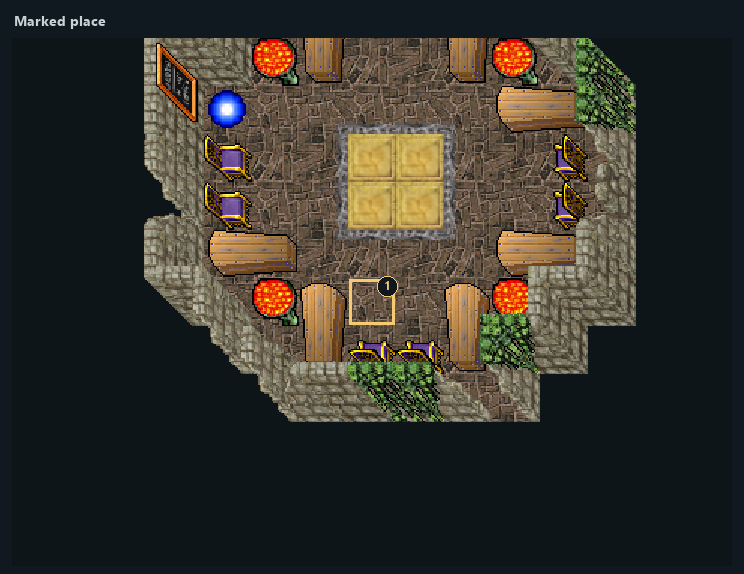
Highlighted places: 1 — Arrival area.
- 1Arrival area
Part 11Two Towers — Eight-Person Entry
Before this stage
- Eight players, each at least level 120.
- No team member may have already completed the Two Towers reward.
- 1
Assemble four players on marker 1 in View 23, marker 2 in View 23, marker 4 in View 23 and marker 5 in View 23.
- 2
Assemble four more players on marker 1 in View 24, marker 2 in View 24, marker 3 in View 24 and marker 4 in View 24.
- 3
Use the lever at marker 3 in View 23.
- 4
The team is transferred to markers 1, 2, 3, 4, 5, 6, 7, 8 in View 25; continue through the tower trials.
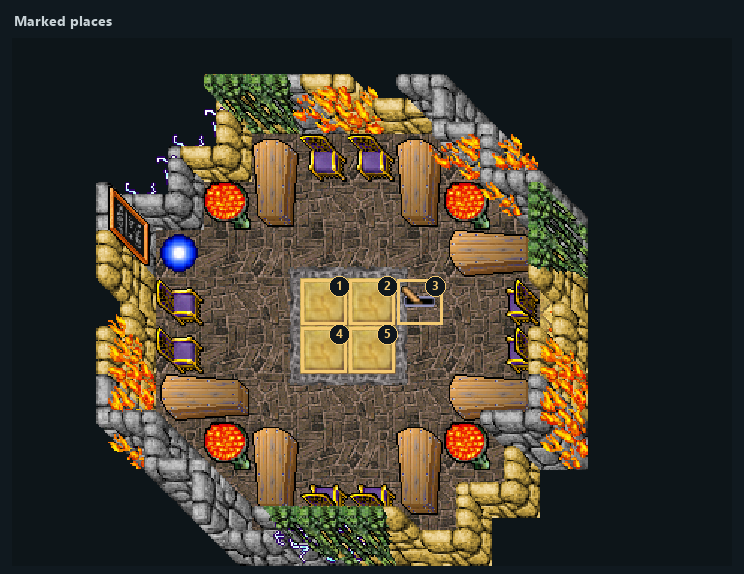
Highlighted places: 1 — Player 1; 2 — Player 2; 3 — Use this mechanism; 4 — Player 3; 5 — Player 4.
- 1Player 1
- 2Player 2
- 3Use this mechanism
- 4Player 3
- 5Player 4
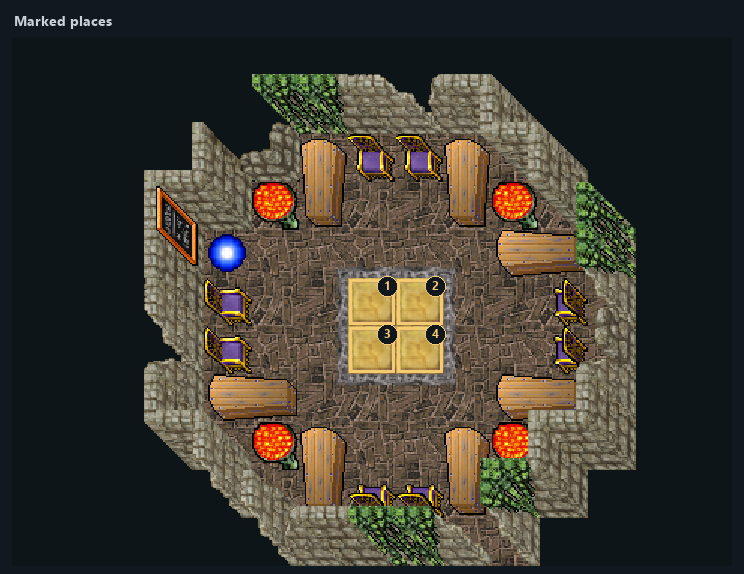
Highlighted places: 1 — Player 5; 2 — Player 6; 3 — Player 7; 4 — Player 8.
- 1Player 5
- 2Player 6
- 3Player 7
- 4Player 8
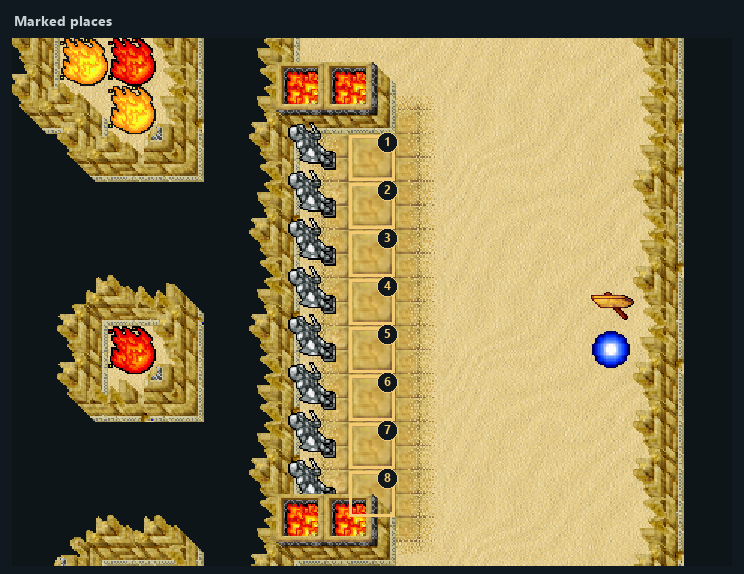
Highlighted places: 1 — Arrival area; 2 — Arrival area; 3 — Arrival area; 4 — Arrival area; 5 — Arrival area; 6 — Arrival area; 7 — Arrival area; 8 — Arrival area.
- 1Arrival area
- 2Arrival area
- 3Arrival area
- 4Arrival area
- 5Arrival area
- 6Arrival area
- 7Arrival area
- 8Arrival area
Part 12Two Towers Dungeon Switches
Before this stage
- All listed switches must be in the specified state.
- 1
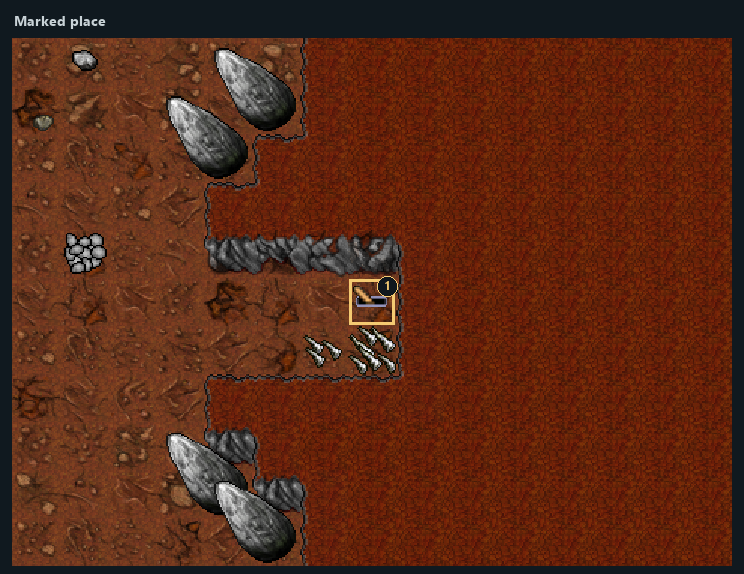
Set the switch at marker 1 in View 27 to RIGHT (handle tilted right; see reference image).
- 2
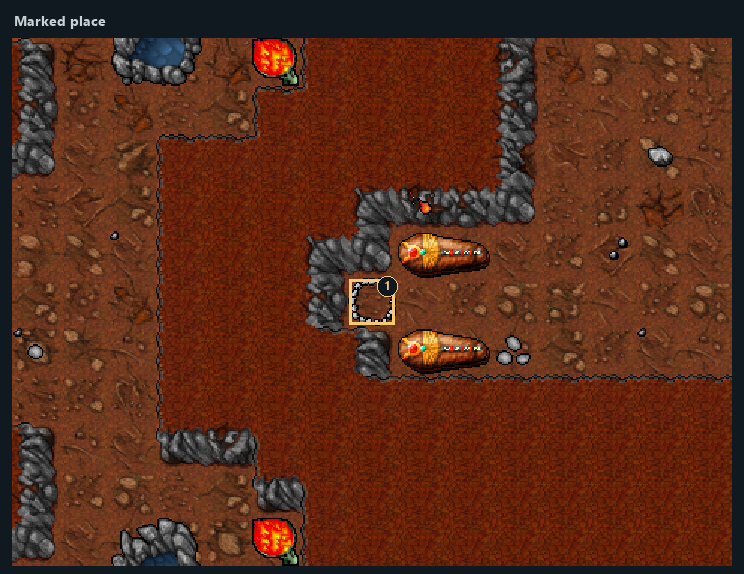
Set the switch at marker 1 in View 28 to RIGHT (handle tilted right; see reference image).
- 3
Use the main lever at marker 1 in View 26.
- 4
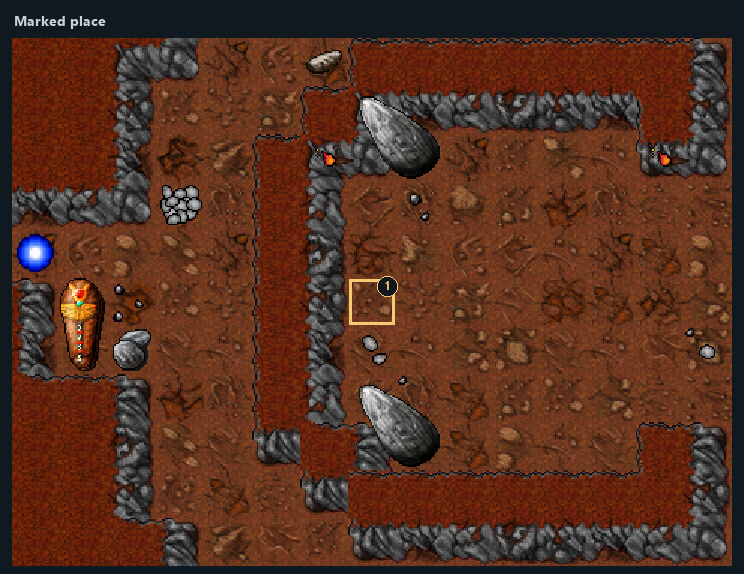
Enter the portal at marker 1 in View 29 to reach marker 1 in View 30.
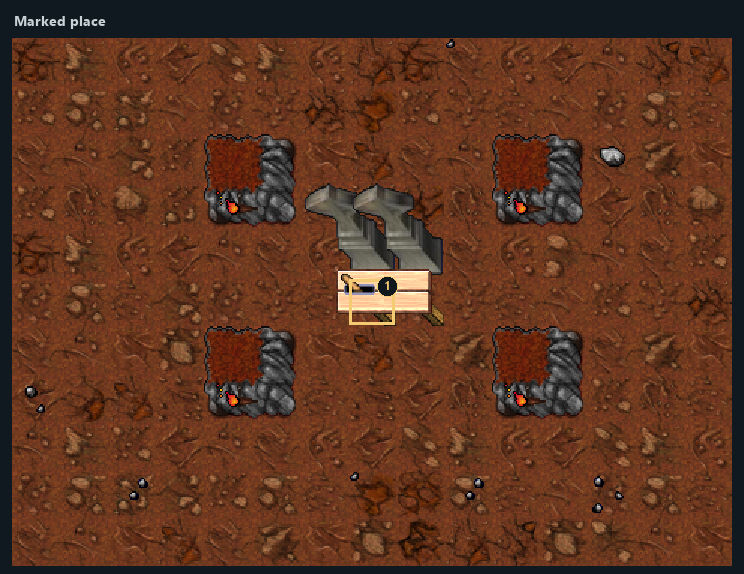
Highlighted places: 1 — Use this mechanism.
- 1Use this mechanism
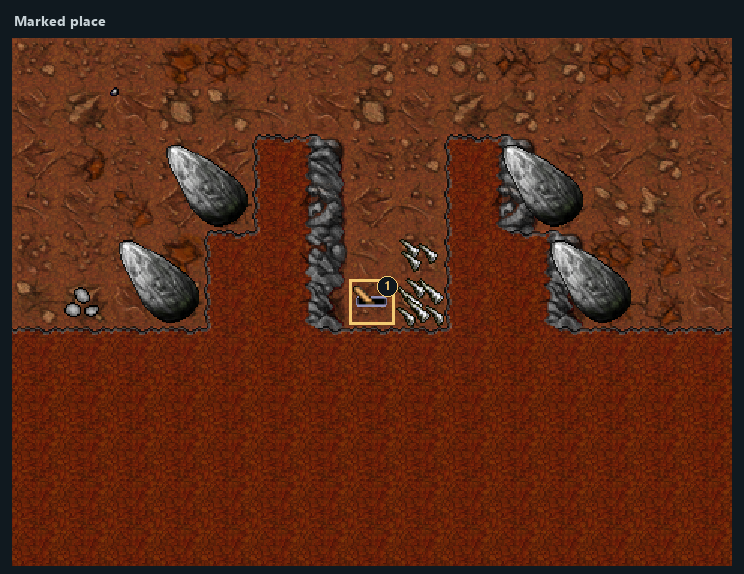
Highlighted places: 1 — Switch RIGHT.
- 1Switch RIGHT
Highlighted places: 1 — Switch RIGHT.
- 1Switch RIGHT
Highlighted places: 1 — Portal.
- 1Portal
Highlighted places: 1 — Arrival area.
- 1Arrival area
Part 13Two Towers — Lloth quest token
Before this stage
- Lloth quest token
- 1
Obtain the quest token from Lloth.
- 2
Place the token at marker 3 in View 31.
- 3
Use the lever at marker 4 in View 31; one token is consumed.
- 4
Enter the portal at marker 2 in View 31 to reach marker 1 in View 31.
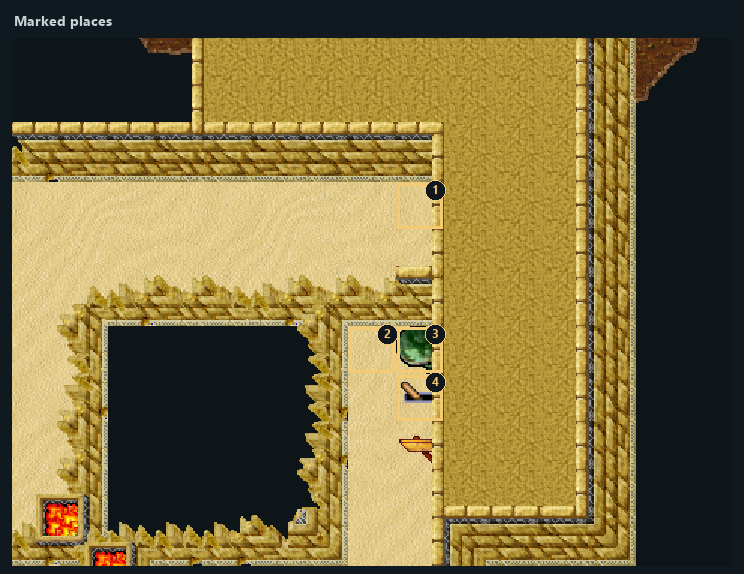
Highlighted places: 1 — Arrival area; 2 — Portal; 3 — Place boss token; 4 — Use this mechanism.
- 1Arrival area
- 2Portal
- 3Place boss token
- 4Use this mechanism
Part 14Two Towers — Ratharon quest token
Before this stage
- Ratharon quest token
- 1
Obtain the quest token from Ratharon.
- 2
Place the token at marker 2 in View 32.
- 3
Use the lever at marker 3 in View 32; one token is consumed.
- 4
Enter the portal at marker 4 in View 32 to reach marker 1 in View 32.
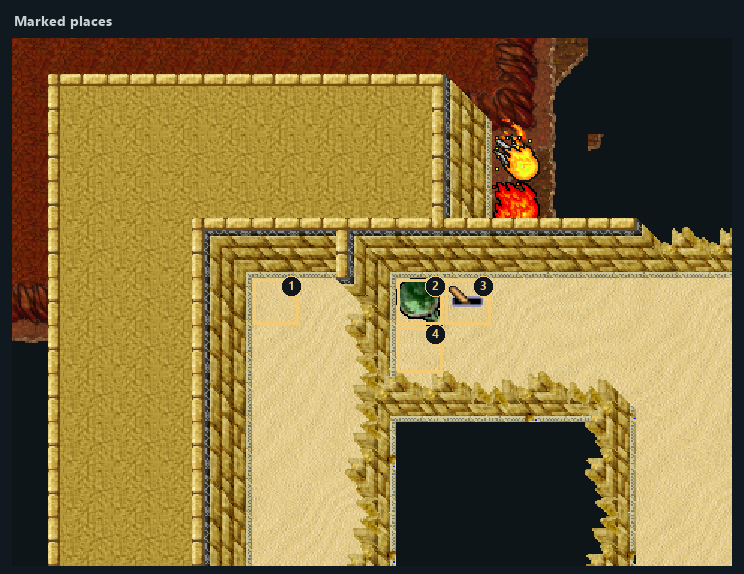
Highlighted places: 1 — Arrival area; 2 — Place boss token; 3 — Use this mechanism; 4 — Portal.
- 1Arrival area
- 2Place boss token
- 3Use this mechanism
- 4Portal
Part 15Two Towers — Alzinash quest token
Before this stage
- Alzinash quest token
- 1
Obtain the quest token from Alzinash.
- 2
Place the token at marker 2 in View 33.
- 3
Use the lever at marker 1 in View 33; one token is consumed.
- 4
Enter the portal at marker 3 in View 33 to reach marker 4 in View 33.
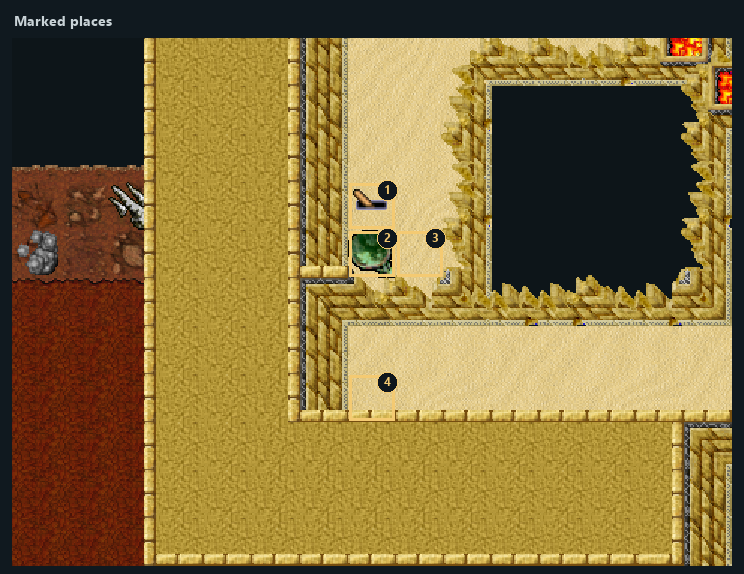
Highlighted places: 1 — Use this mechanism; 2 — Place boss token; 3 — Portal; 4 — Arrival area.
- 1Use this mechanism
- 2Place boss token
- 3Portal
- 4Arrival area
Part 16Two Towers — Kefas quest token
Before this stage
- Kefas quest token
- 1
Obtain the quest token from Kefas.
- 2
Place the token at marker 2 in View 34.
- 3
Use the lever at marker 3 in View 34; one token is consumed.
- 4
Enter the portal at marker 1 in View 34 to reach marker 1 in View 35.
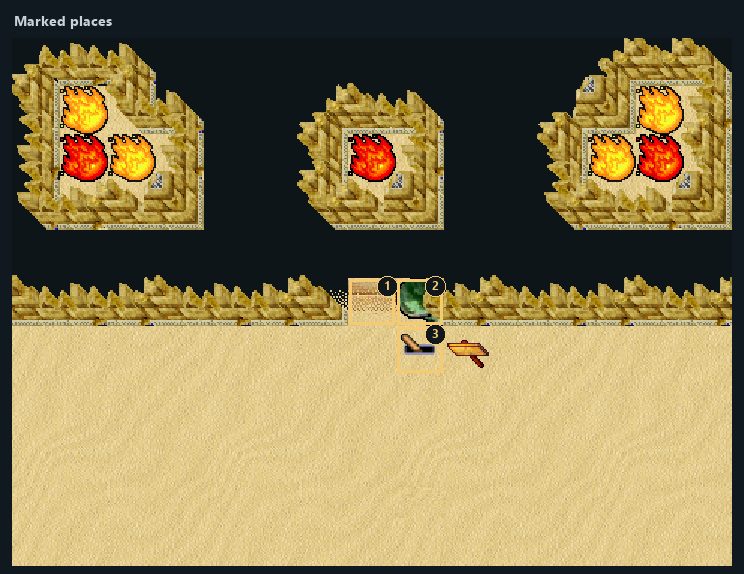
Highlighted places: 1 — Portal; 2 — Place boss token; 3 — Use this mechanism.
- 1Portal
- 2Place boss token
- 3Use this mechanism
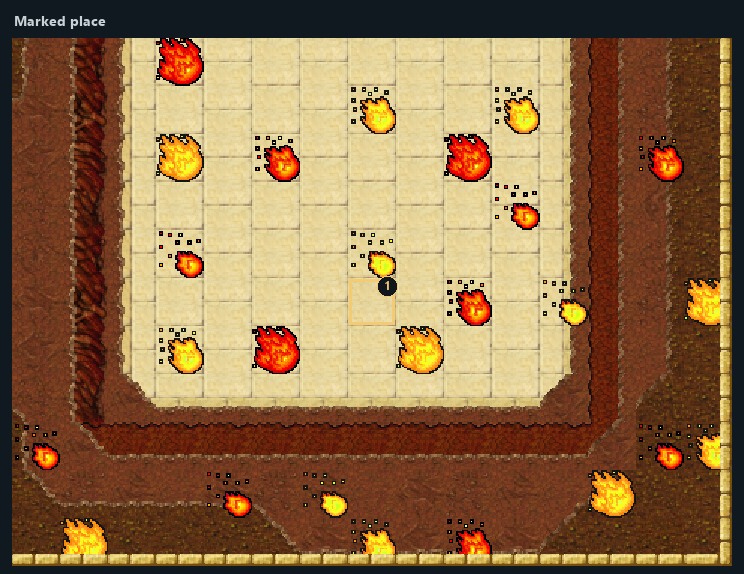
Highlighted places: 1 — Arrival area.
- 1Arrival area
Part 17Two Towers — Dargitael quest token
Before this stage
- Dargitael quest token
- 1
Obtain the quest token from Dargitael.
- 2
Place the token at marker 3 in View 36.
- 3
Use the lever at marker 4 in View 36; one token is consumed.
- 4
Enter the portal at marker 2 in View 36 to reach marker 1 in View 36.
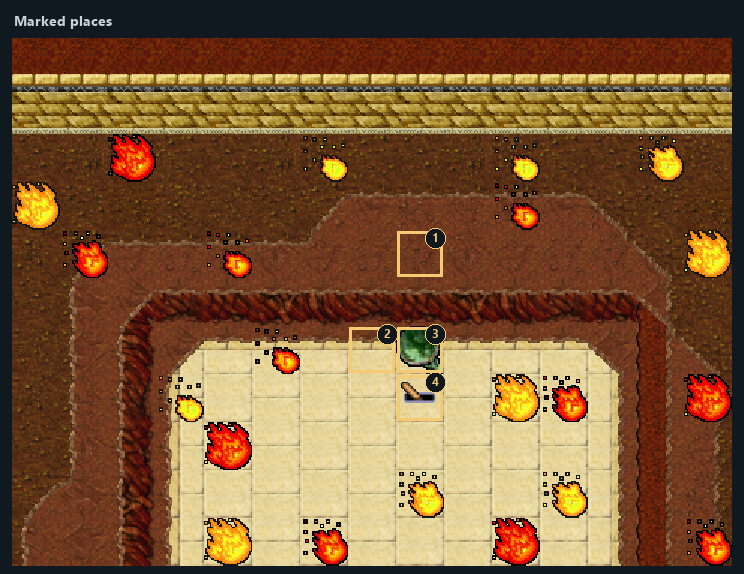
Highlighted places: 1 — Arrival area; 2 — Portal; 3 — Place boss token; 4 — Use this mechanism.
- 1Arrival area
- 2Portal
- 3Place boss token
- 4Use this mechanism
Part 18Battle Mage Cape Quest
Before this stage
- At least level 120. Individual rewards may have a higher requirement.
- Enough free carrying capacity and inventory space for the entire reward.
- 1
Locate the quest object in the view below. The next instruction identifies its numbered marker.
- 2
At marker 1 in View 37, use the treasure chest (level 120+). Receive 1 × battle mage cape.
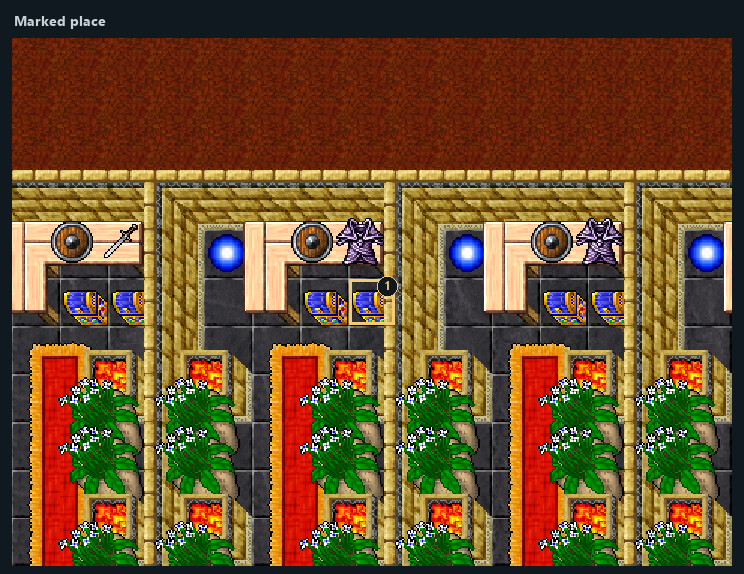
Highlighted places: 1 — Reward 1: battle mage cape.
- 1Reward 1: battle mage cape
Part 19Battle Mage Cape Quest
Before this stage
- At least level 120. Individual rewards may have a higher requirement.
- Enough free carrying capacity and inventory space for the entire reward.
- 1
Locate the quest object in the view below. The next instruction identifies its numbered marker.
- 2
At marker 1 in View 38, use the treasure chest (level 120+). Receive 1 × battle mage cape.
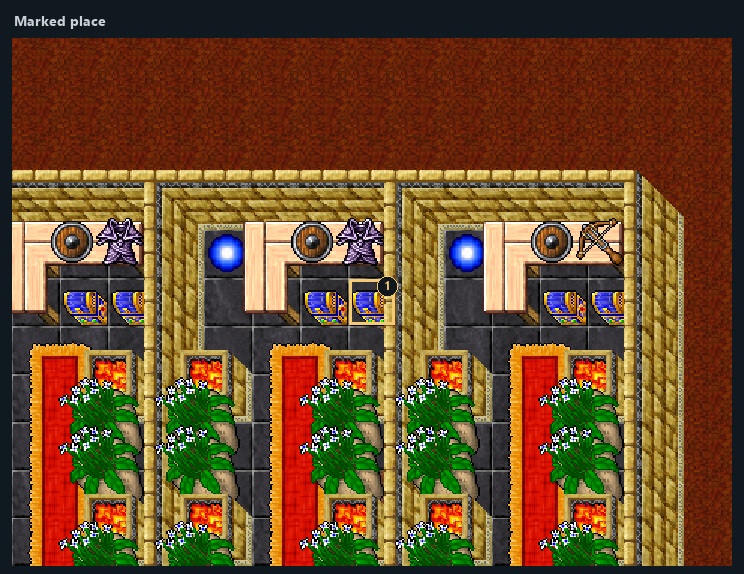
Highlighted places: 1 — Reward 1: battle mage cape.
- 1Reward 1: battle mage cape
Part 20Two Towers — shielding Training Reward
Before this stage
- Level 120.
- This individual skill reward must not have been claimed.
- 1
Use the reward object at marker 1 in View 39.
- 2
The grant is applied directly to the relevant skill training progress.
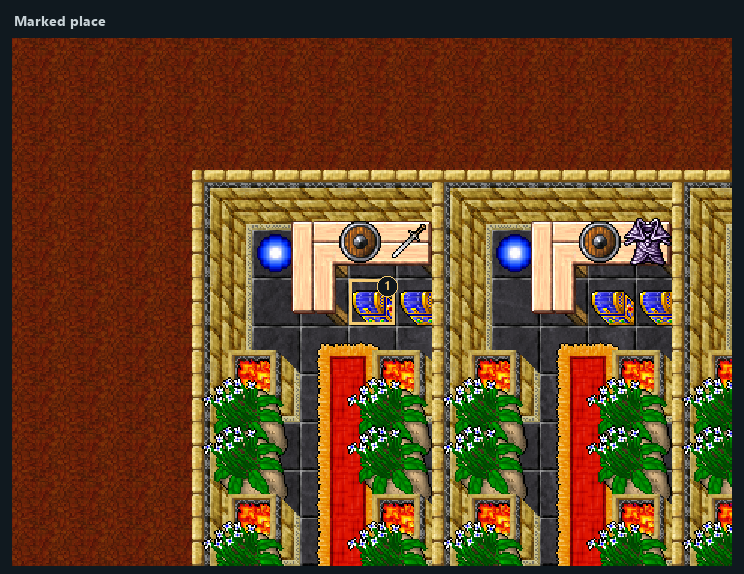
Highlighted places: 1 — Two Towers — shielding Training Reward.
- 1Two Towers — shielding Training Reward
Part 21Two Towers — club, sword and axe fighting Training Reward
Before this stage
- Level 120.
- This individual skill reward must not have been claimed.
- 1
Use the reward object at marker 1 in View 40.
- 2
The grant is applied directly to the relevant skill training progress.
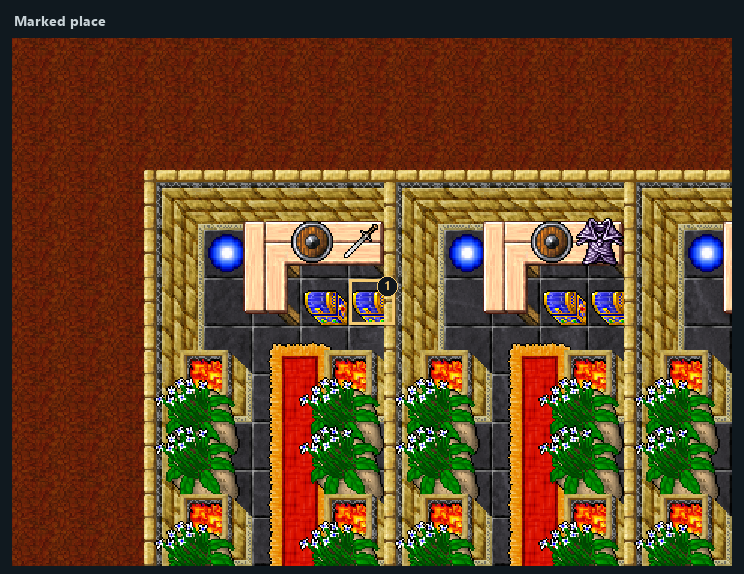
Highlighted places: 1 — Two Towers — club, sword and axe fighting Training Reward.
- 1Two Towers — club, sword and axe fighting Training Reward
Part 22Two Towers — shielding Training Reward
Before this stage
- Level 120.
- This individual skill reward must not have been claimed.
- 1
Use the reward object at marker 1 in View 41.
- 2
The grant is applied directly to the relevant skill training progress.
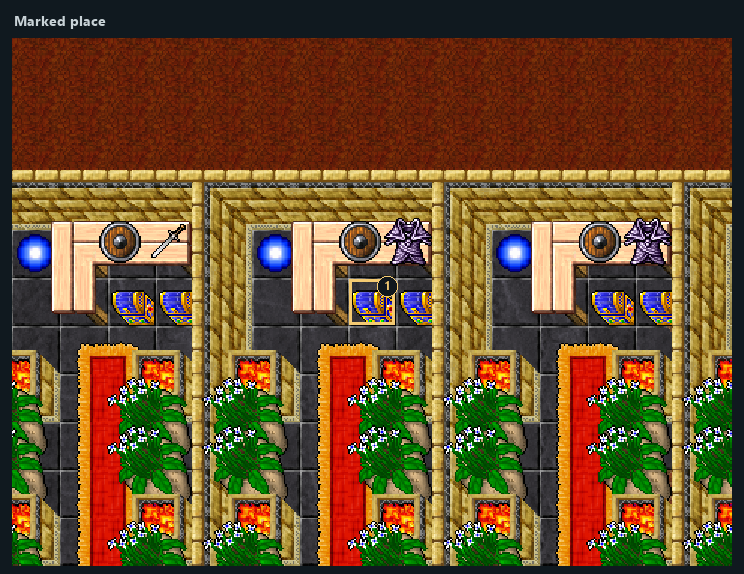
Highlighted places: 1 — Two Towers — shielding Training Reward.
- 1Two Towers — shielding Training Reward
Part 23Two Towers — shielding Training Reward
Before this stage
- Level 120.
- This individual skill reward must not have been claimed.
- 1
Use the reward object at marker 1 in View 42.
- 2
The grant is applied directly to the relevant skill training progress.
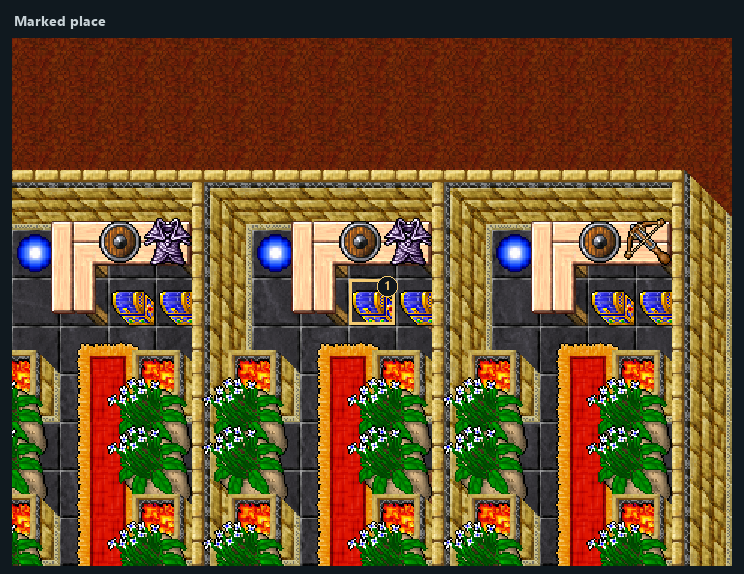
Highlighted places: 1 — Two Towers — shielding Training Reward.
- 1Two Towers — shielding Training Reward
Part 24Two Towers — shielding Training Reward
Before this stage
- Level 120.
- This individual skill reward must not have been claimed.
- 1
Use the reward object at marker 1 in View 43.
- 2
The grant is applied directly to the relevant skill training progress.
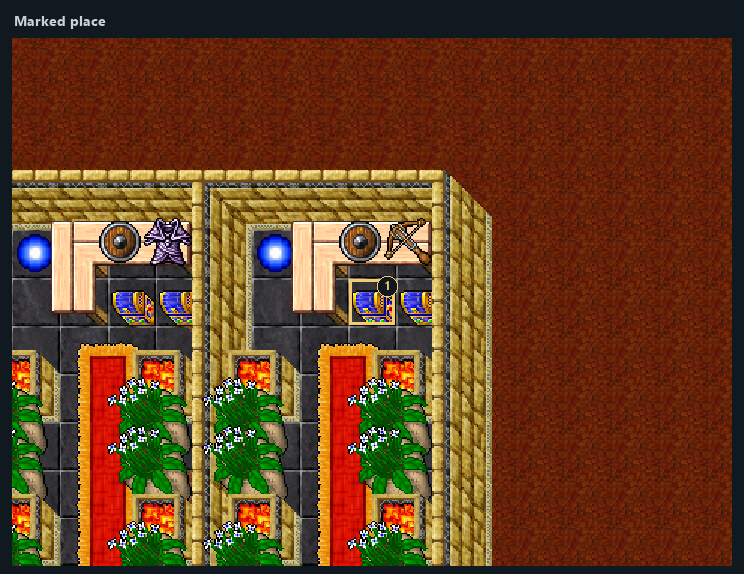
Highlighted places: 1 — Two Towers — shielding Training Reward.
- 1Two Towers — shielding Training Reward
Part 25Two Towers — distance fighting Training Reward
Before this stage
- Level 120.
- This individual skill reward must not have been claimed.
- 1
Use the reward object at marker 1 in View 44.
- 2
The grant is applied directly to the relevant skill training progress.
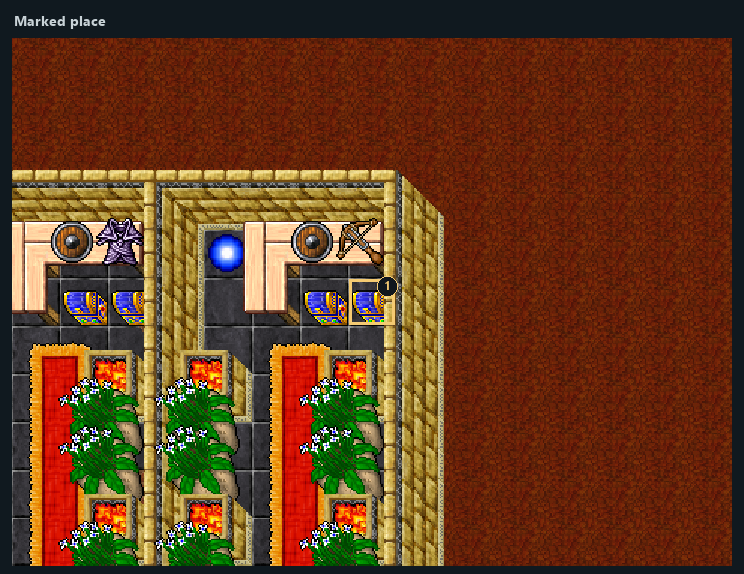
Highlighted places: 1 — Two Towers — distance fighting Training Reward.
- 1Two Towers — distance fighting Training Reward
Rewards and completion
- 1 × purple key (key 5008)
- 1 × purple key (key 5009)
- 1 × battle mage cape
- Four separate shielding chests: 10,000,000 base training points each (40,000,000 total).
- One melee chest: 10,000,000 base training points in each of club, sword and axe fighting.
- One distance chest: 10,000,000 base training points in distance fighting.
purple keybattle mage capeswordclubNotes
- SkillRate applies to these base training points. Each of the six skill chests has its own one-time completion marker.