Graveyard Quest
| Type | Quest walkthrough | ||
|---|---|---|---|
| Starting point | Hunter Hill | ||
       | |||
Requirements
- Level 275 or higher.
- Premium account.
- Rope.
- Scythe.
- Machete.
- Personally open at least 777 Puff Puffs before entering the Graveyard.
- Key number 5017.
- 100 gold per use of the paid passage.
- Travel passages require no active combat/PZ lock.
- Enough carrying capacity and inventory space for the rewards.
Monsters


Show spoiler
Open the graveyard passages
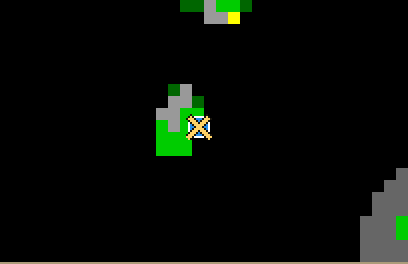
Follow the ramp down.
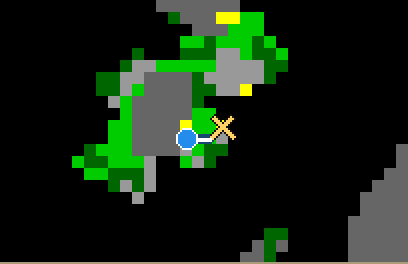
Follow the ramp down.
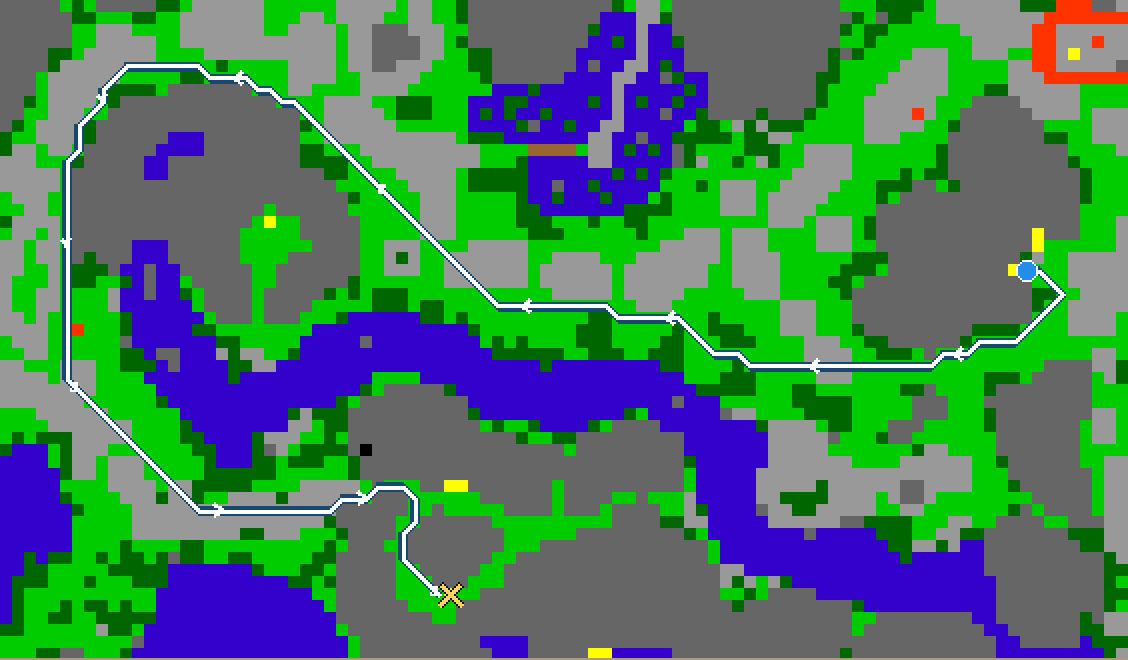
Climb the ladder.
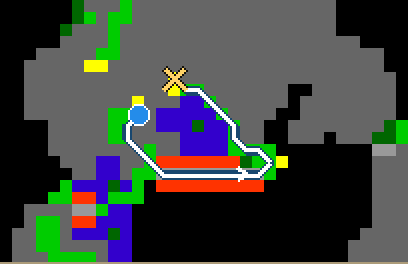
Follow the ramp up.
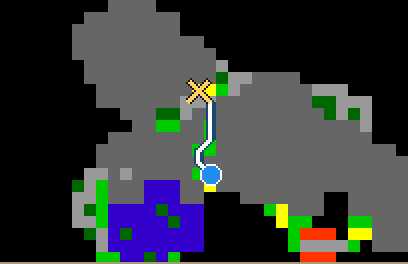
Follow the ramp up.
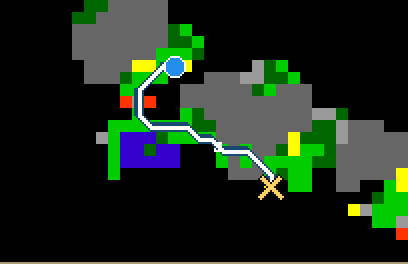
Follow the ramp down.
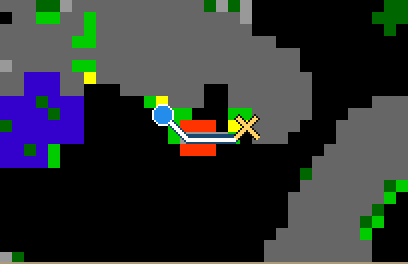
Follow the ramp up.
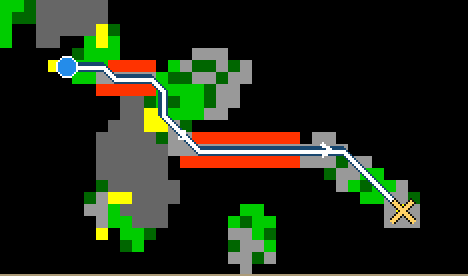
Go down through the trapdoor.
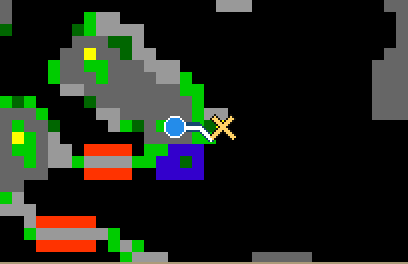
Follow the ramp down.
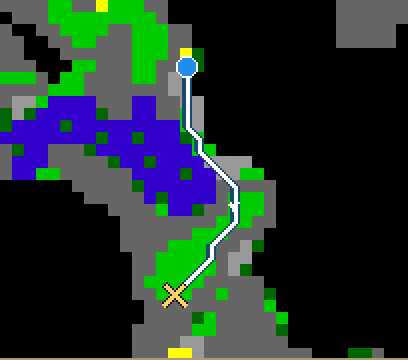
Go down using the marked hole.
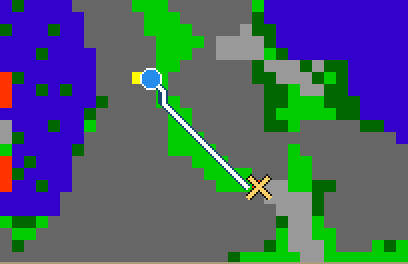
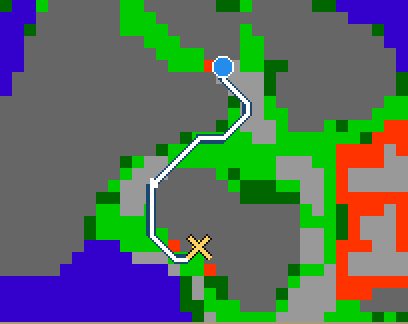
Follow the ramp down.
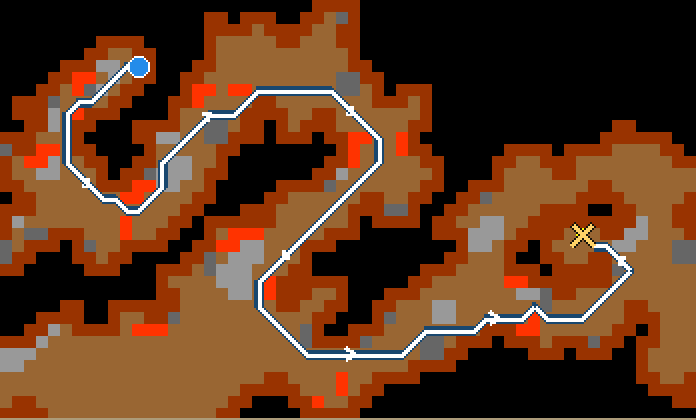
Go down.
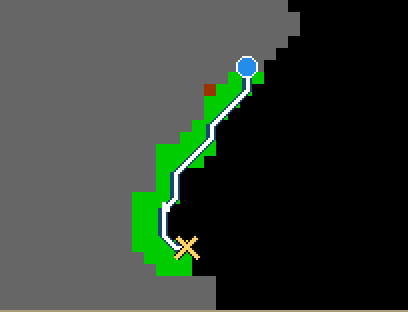
Follow the ramp down.
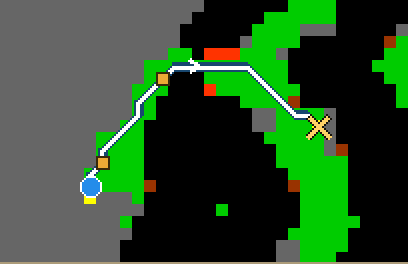
Go down using the marked hole.
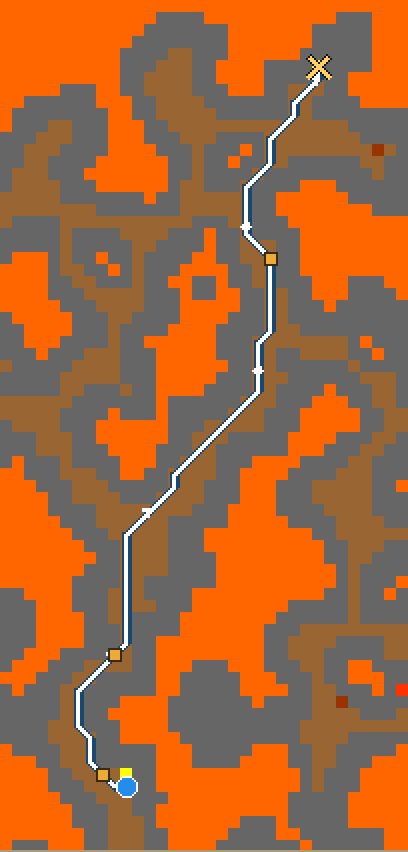
Follow the ramp down.
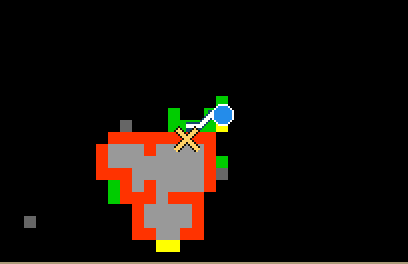
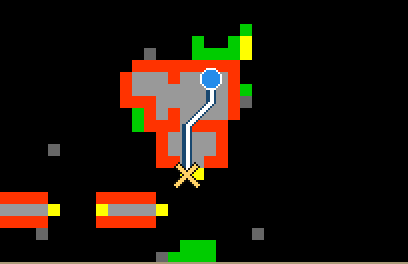
Follow the ramp down.
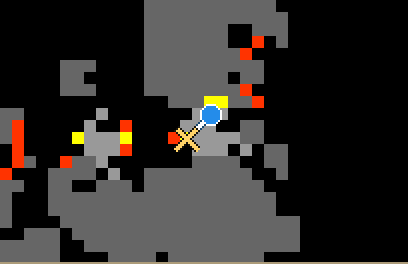
Go up using the marked stairs.
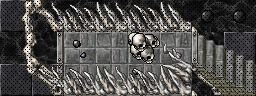
- 1Step here
- Step on the marked tile 1.
- Defeat 1 × Demon.
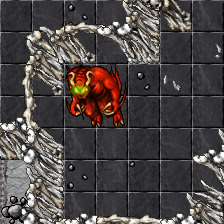
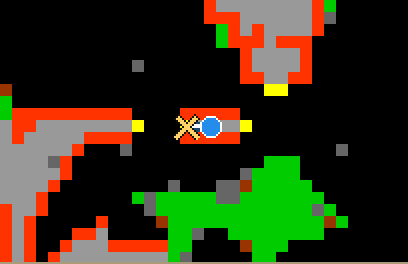
Follow the ramp down.
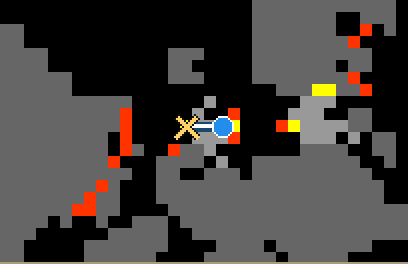
Go up using the marked stairs.
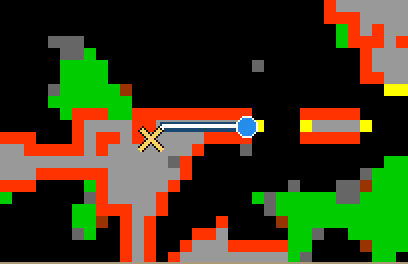
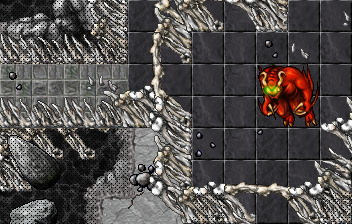
- 1Step here
- Step on the marked tile.
- Defeat 1 × Demon.
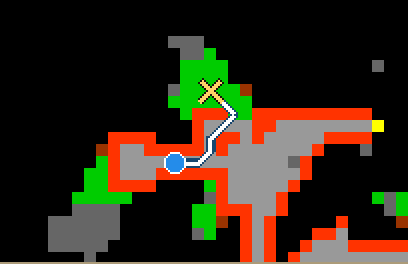
Use the lever.
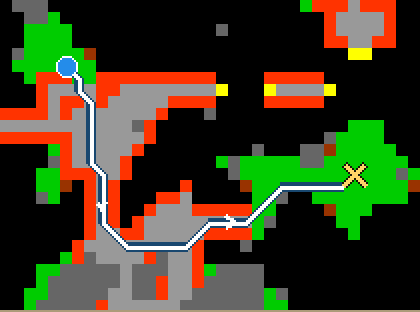
Use the lever.
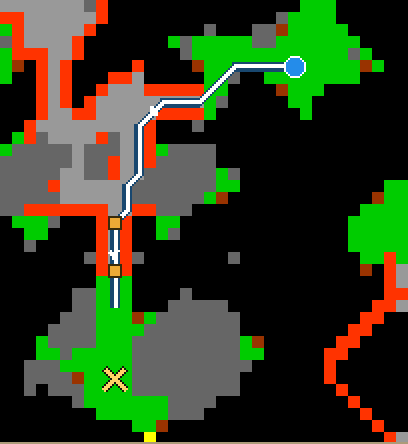
Stop on the safe approach shown here. Avoid the marked return-trap tiles: entering any of them sends you back to the safe area. They are hazards, not completion objectives.
Use the linked seal lever; cross the barrier after it disappears.
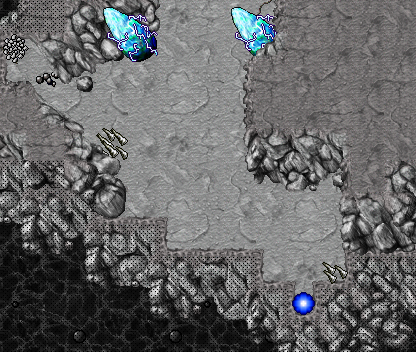
- 1Step here
- 2Step here
- 3Step here
- 4Step here
- 5Step here
- 6Step here
- 7Step here
- 8Step here
- 9Step here
- 10Step here
- 11Step here
- 12Step here
- 13Step here
- 14Step here
- 15Step here
- 16Step here
- 17Step here
- 18Step here
- 19Step here
- 20Step here
- 21Step here
- 22Step here
- 23Step here
- 24Step here
- 25Step here
- 26Step here
- Avoid the highlighted return-trap tiles. They are hazards, not a sequence of objectives.
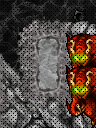
- 1Arrival area
- Stepping on any of these tiles sends you back to tile 1.
- Follow the checked route around the traps and continue with the separate coffin mechanism.
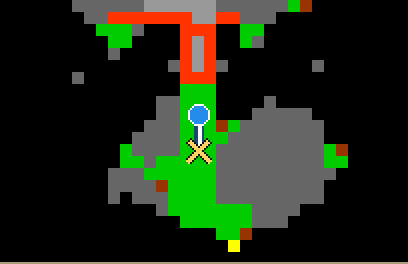
Step onto the marked quest tile after completing its access requirements.
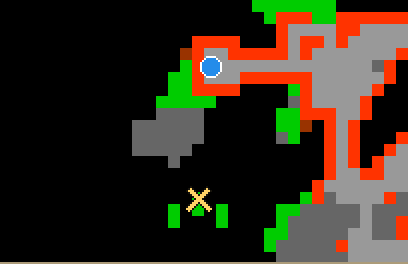
Use one of the equivalent marked trigger tiles; the route chooses one exact entry. The other tiles are alternatives, not a required visiting order.
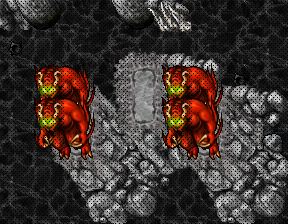
- 1Step here
- 2Step here
- 3Step here
- Choose one of the marked alternative exit tiles: tile 1, tile 1, tile 1, tile 2, tile 2, tile 2, tile 3, tile 3, tile 3. Only one exit is needed.
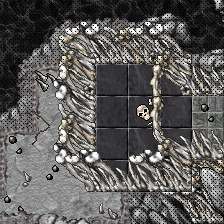
- 1Arrival area
- Entering a marked exit transfers you to tile 1.
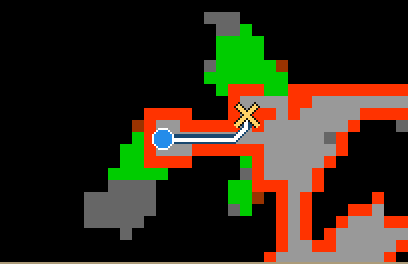
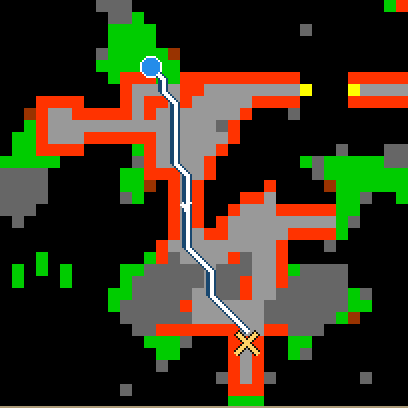
The energy barier at the marked place is removed.
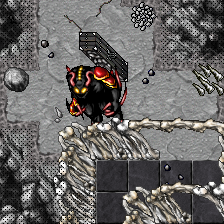
- 1Use this mechanism
- 2Orshabaal
- Use the lever.
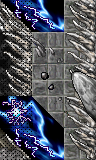
- 1Opened barrier
- The energy barier is removed.
- Defeat the summoned encounter: 1 × Orshabaal.
- Continue through the opened route.
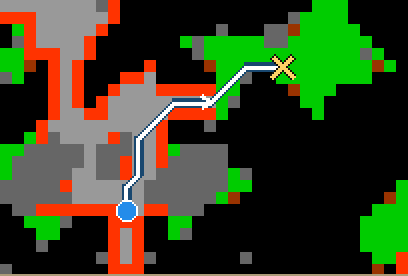
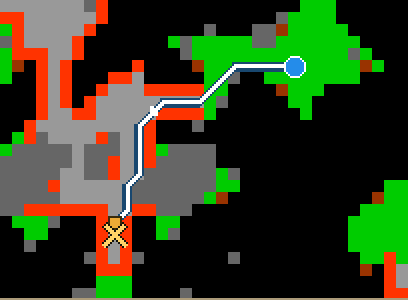
Use the linked seal lever; cross the barrier after it disappears.
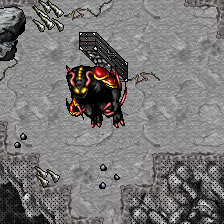
- 1Use this mechanism
- 2Orshabaal
- Use the lever.
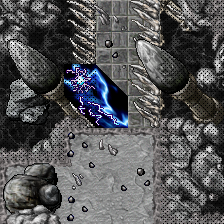
- 1Opened barrier
- The energy barier is removed.
- Defeat the summoned encounter: 1 × Orshabaal.
- Continue through the opened route.
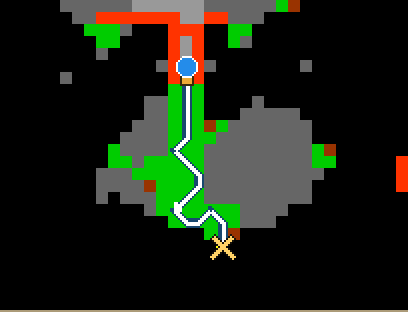
Enter the portal.
Use the linked seal lever; cross the barrier after it disappears.
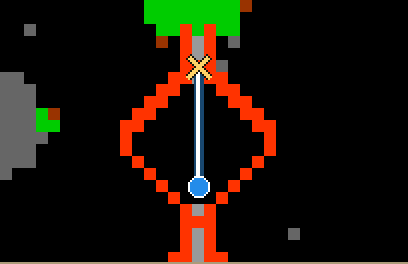
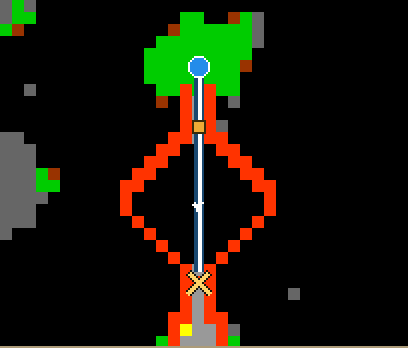
The energy barier at the marked place is removed.
Use the matching key if this door is locked, then open it.
Use the matching key if this door is locked, then open it.
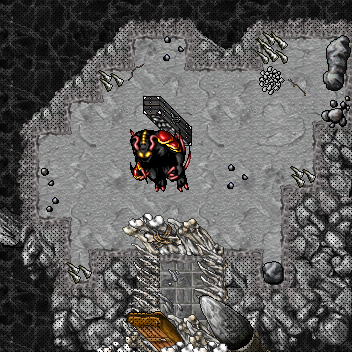
- 1Use this mechanism
- 2Orshabaal
- 3Bone Wall
- Use the lever.
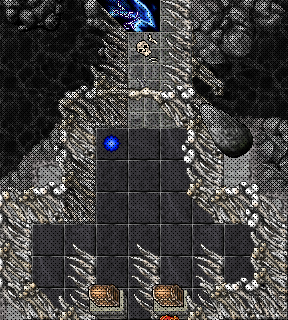
- 1Graveyard: Skill-Based Reward
- 2Opened barrier
- 3Graveyard: Mana Rune Backpack
- The energy barier is removed.
- Defeat the summoned encounter: 1 × Orshabaal, 1 × Bone Wall.
- Continue through the opened route.
Prepare the graveyard access
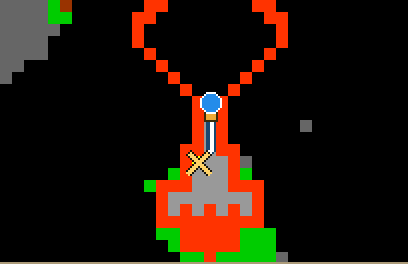
Enter the portal.
Use the linked seal lever; cross the barrier after it disappears.
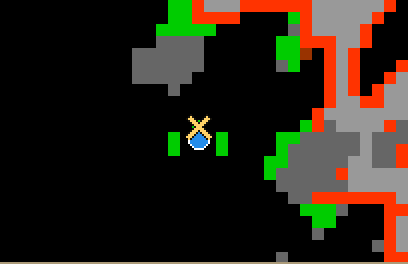
Step onto the marked quest tile after completing its access requirements.
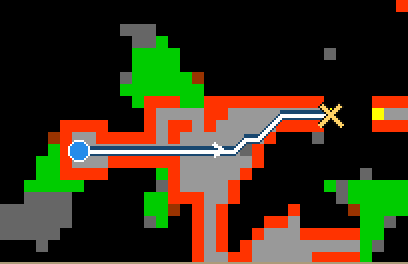
Follow the ramp down.
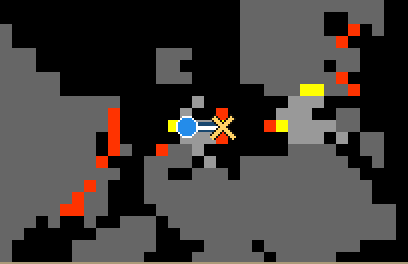
Go up using the marked stairs.
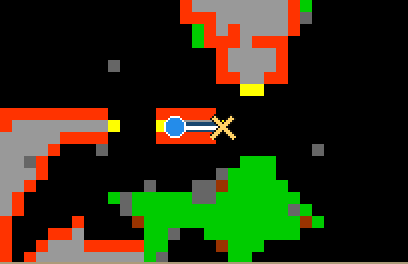
Follow the ramp down.
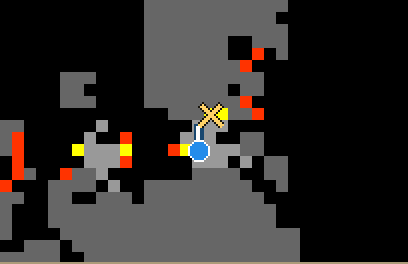
Go up using the marked stairs.
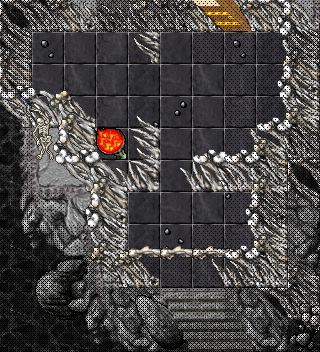
- 1Graveyard access gate
- Collect Puff Puffs and use them from your own inventory. Each successful opening adds one to your personal count.
- Leave room for the random gift. A failed delivery does not consume the Puff Puff or advance the counter.
- On the 777th successful opening, you also receive a personalised dragon toy.
- At level 275 or higher, use the gate after reaching 777 openings. Continue to the Graveyard trials and reward chambers.
Collect the rewards
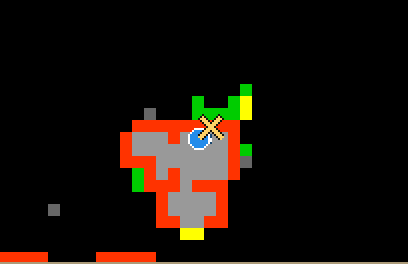
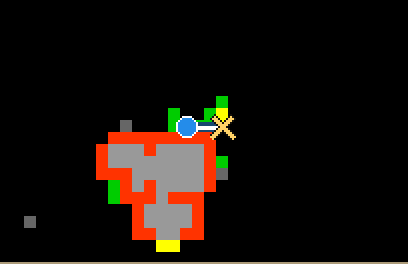
Follow the ramp up.
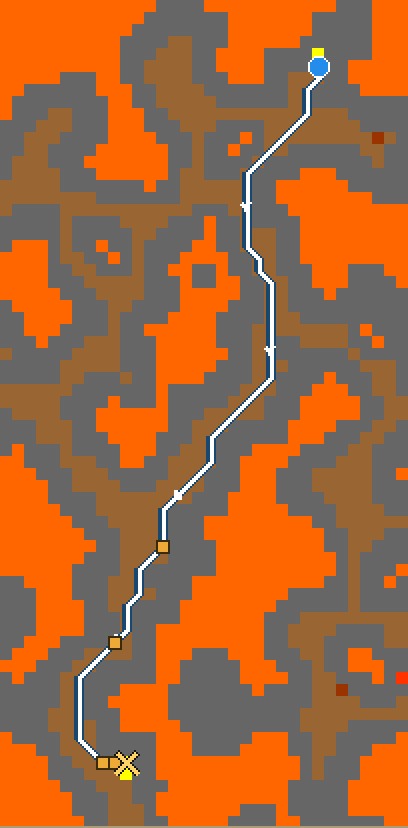
Follow the ramp up.
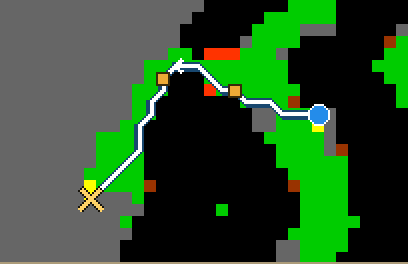
Follow the ramp up.
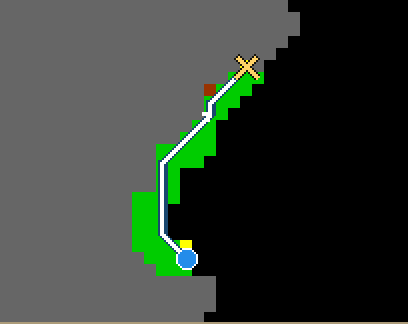
Use your rope.
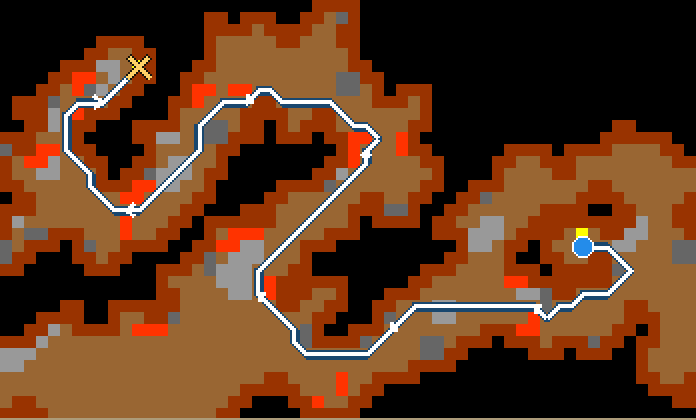
Use your rope.
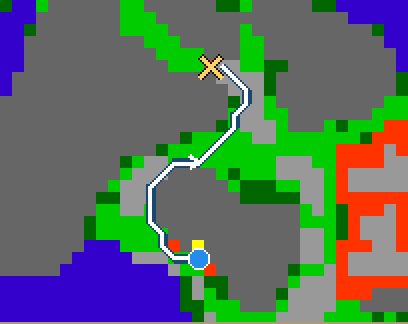
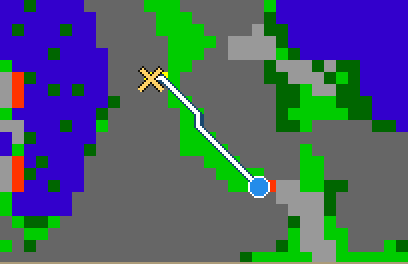
Follow the ramp up.
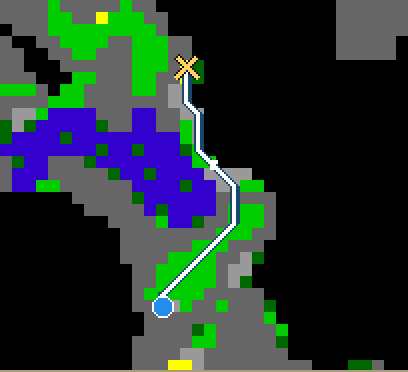
Follow the ramp up.
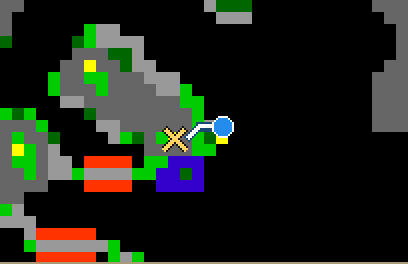
Climb the ladder.
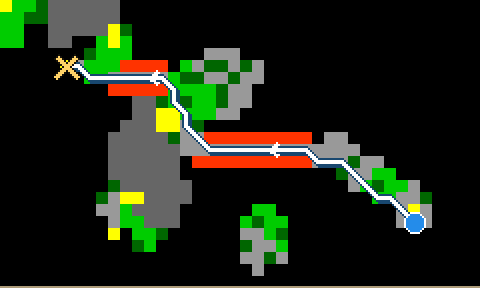
Follow the ramp down.
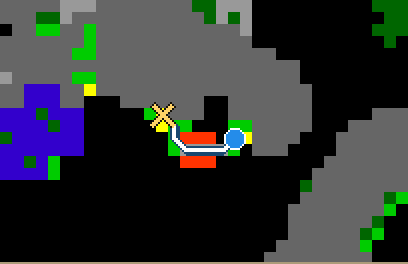
Follow the ramp up.
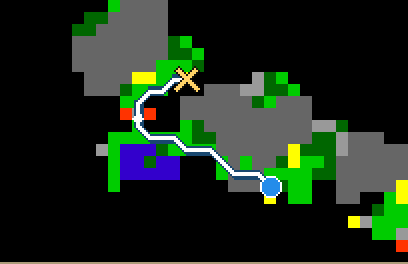
Follow the ramp down.
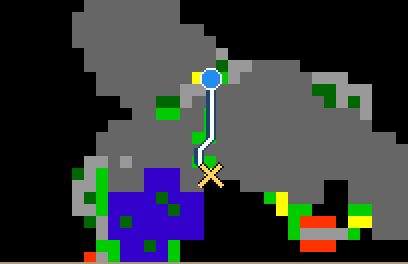
Follow the ramp down.
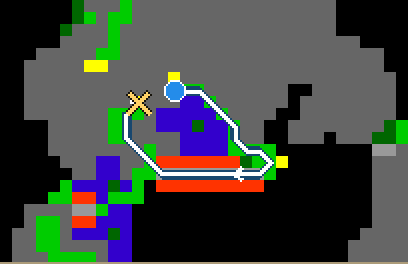
Go down through the trapdoor.
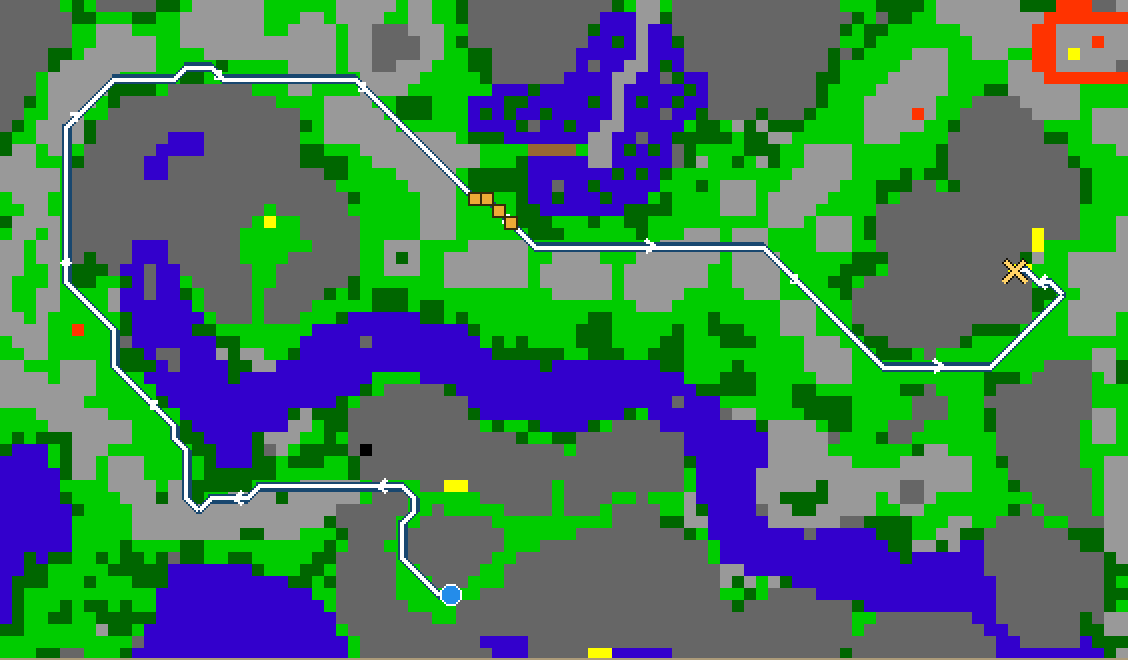
Follow the ramp up.
Stand next to the ripe wheat and use a scythe on it. The cut wheat remains on the field; continue through the cleared opening.
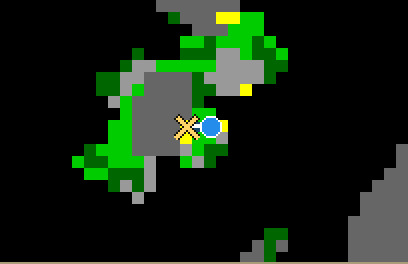
Follow the ramp up.
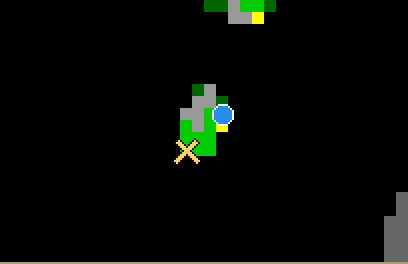
Travel to Dismal Swamp.
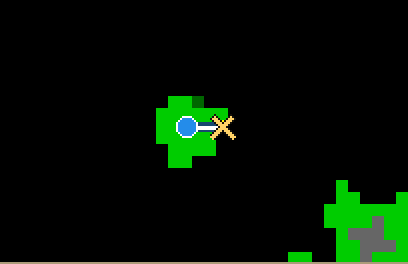
Follow the ramp down.
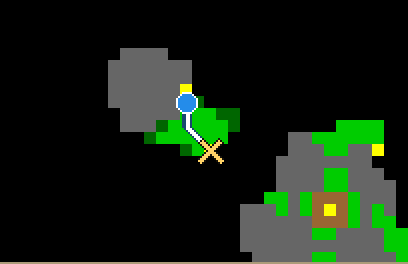
Follow the ramp down.
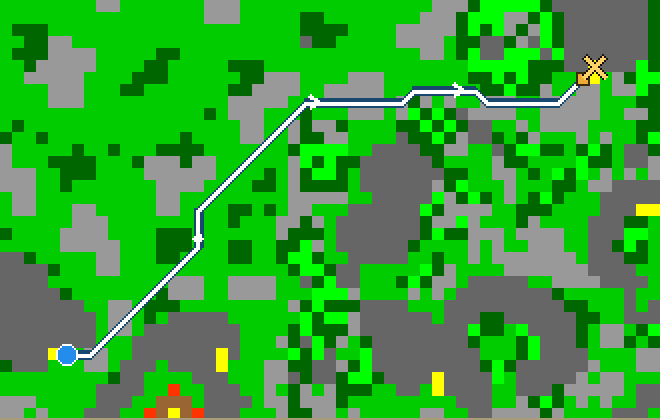
Follow the ramp up.
Stand next to the marked bush and use a machete on it, then continue through the cut opening.
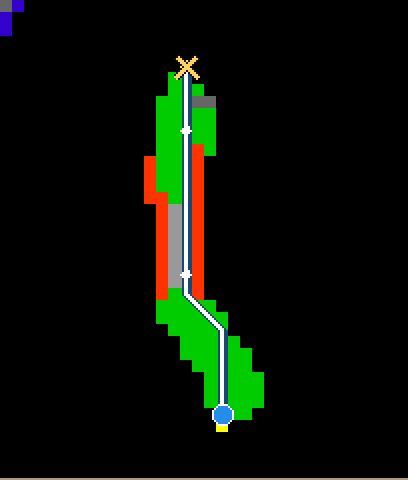
Follow the ramp down.
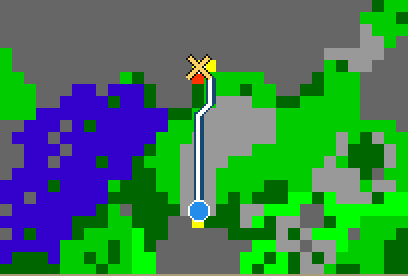
Follow the ramp up.
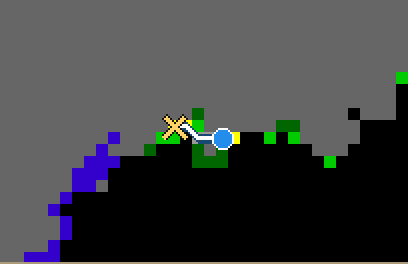
Follow the ramp up.
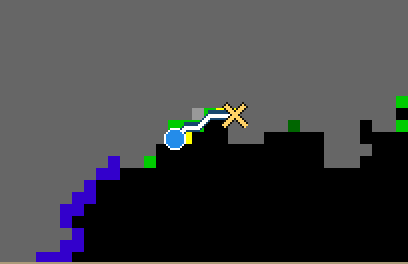
Follow the ramp up.
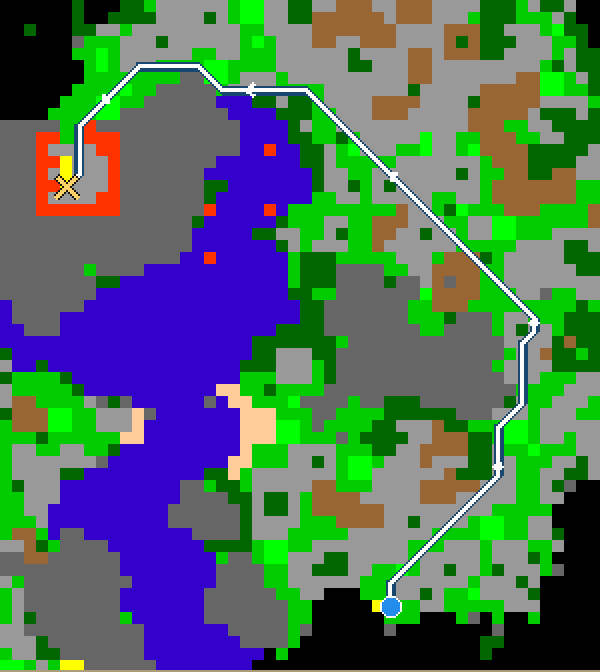
Go up using the marked stairs.
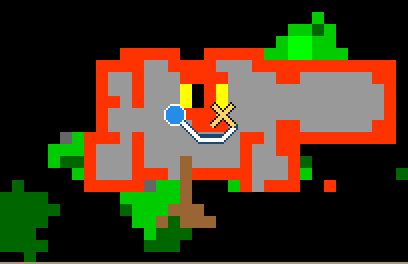
Go up using the marked stairs.
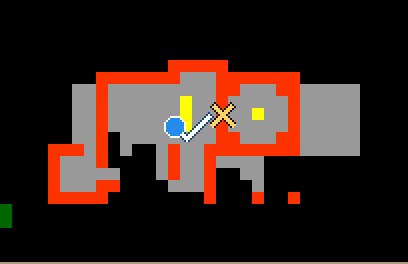
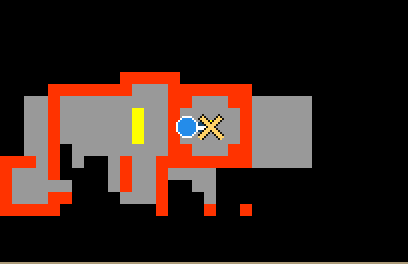
Enter the portal.
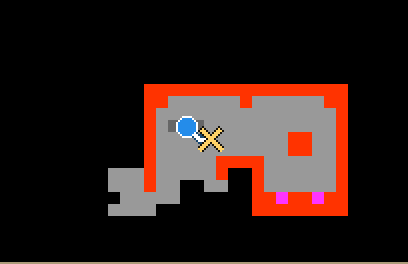
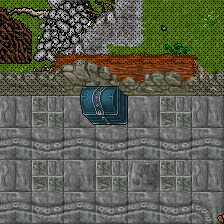
- 1ferumbras doll
- Use the chest.
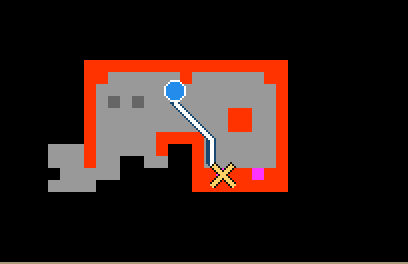
Enter the portal.
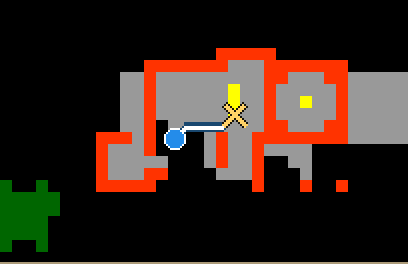
Go down using the marked stairs.
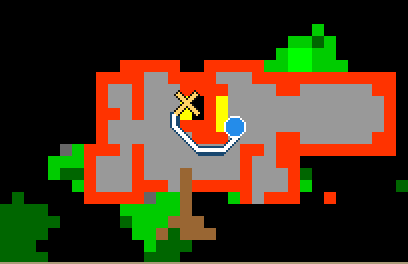
Follow the ramp down.
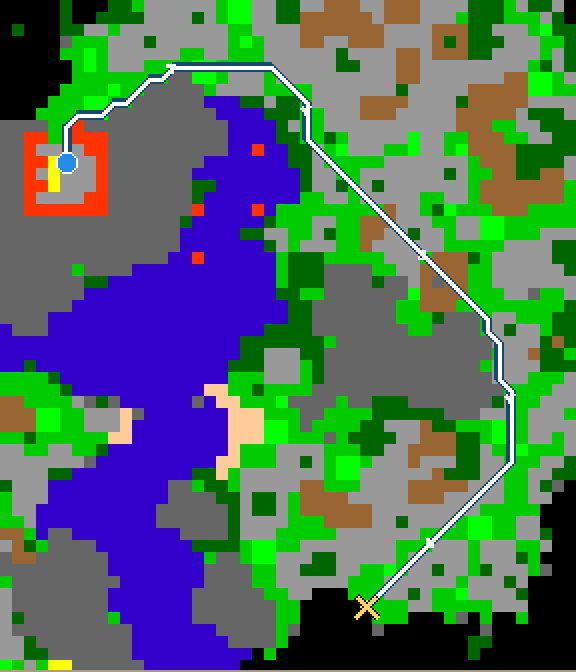
Follow the ramp down.
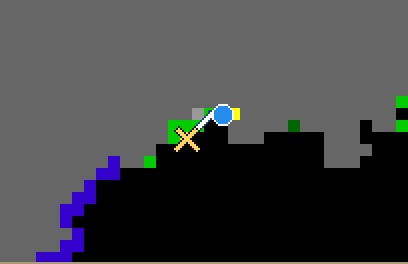
Follow the ramp down.
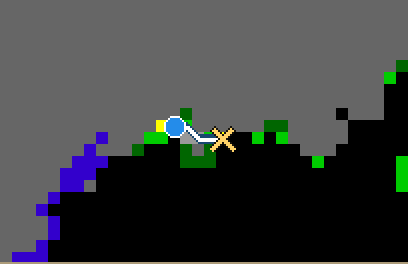
Follow the ramp down.
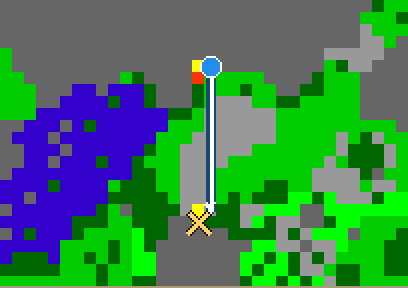
Follow the ramp up.
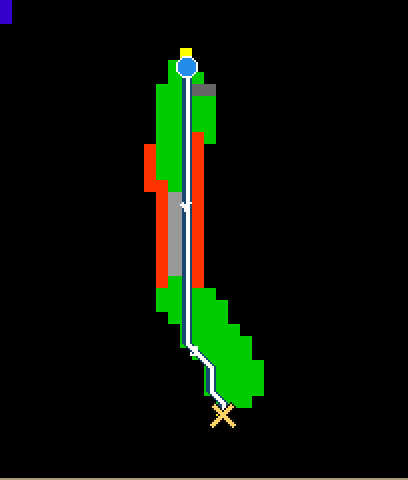
Follow the ramp down.
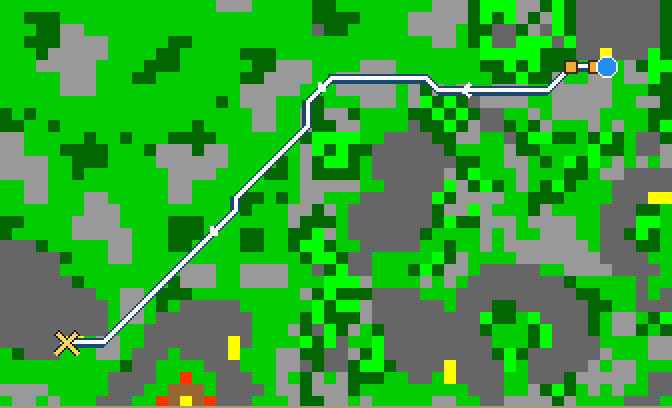
Follow the ramp up.
Stand next to the marked bush and use a machete on it, then continue through the cut opening.
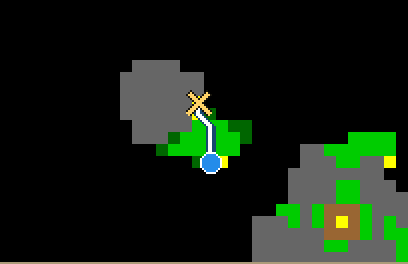
Follow the ramp up.
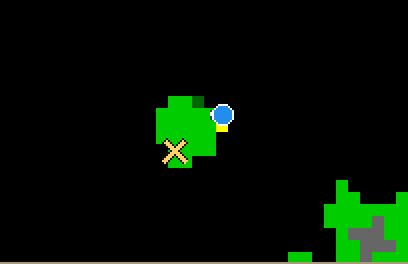
Travel to Hunter Hill.
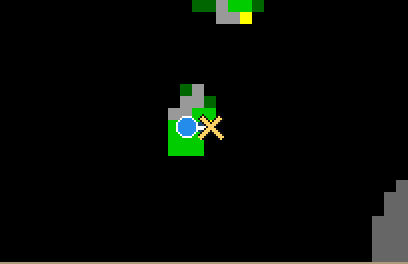
Follow the ramp down.
Follow the ramp down.
Climb the ladder.
Follow the ramp up.
Follow the ramp up.
Follow the ramp down.
Follow the ramp up.
Go down through the trapdoor.
Follow the ramp down.
Go down using the marked hole.
Follow the ramp down.
Go down.
Follow the ramp down.
Go down using the marked hole.
Follow the ramp down.
Follow the ramp down.
Go up using the marked stairs.
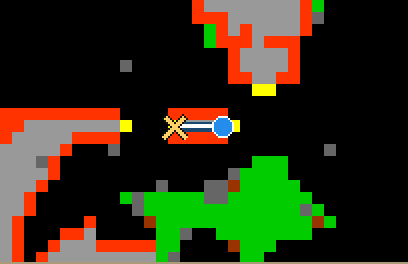
Follow the ramp down.
Go up using the marked stairs.
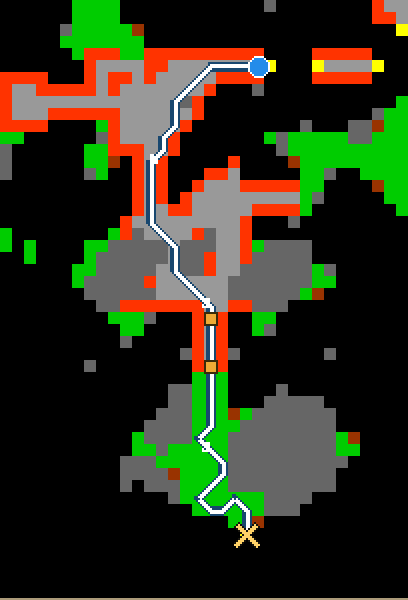
Enter the portal.
Use the linked seal lever; cross the barrier after it disappears.
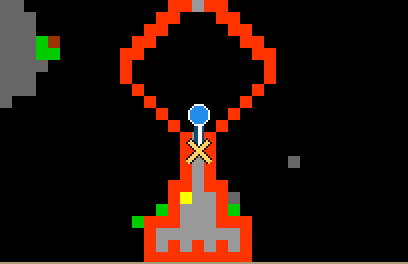
Use the linked seal lever; cross the barrier after it disappears.
- Pass the Graveyard access gate after meeting its level and Puff Puff requirements.
- Before claiming, check your current skills: the reward uses the highest of Club, Sword, Axe and Distance.
- Use the marked left chest.
- Pass the Graveyard access gate after meeting its level and Puff Puff requirements.
- Use the marked right chest once.
Notes
- Puff Puff opening has a one-second cooldown. The counter belongs to the character; giving the final toy to another character does not transfer access.
- Skill ties are resolved in the order Club, Sword, Axe, Distance; only a strictly higher skill replaces the previous best.
- The training-point reward applies to Knights and Paladins only. It uses normal skill progression rules; it is not level EXP.