
Loading player count.

Discord
Zagan SquareCustom map · PvP

Maya Tomb Treasure Map

Quest information
TypeTreasure map
Starting pointMaya depot
map7006
warrior helmetknight armor
Start walkthrough

Requirements

  • Premium account.
  • Shovel.
  • Rope.
  • 100 gold per use of the paid passage.
  • Travel passages require no active combat/PZ lock.
  • Enough carrying capacity and inventory space for the rewards.

Monsters

Cobra
Cobra
Crypt shambler
Crypt shambler
Crystal Spider
Crystal Spider
Demon skeleton
Demon skeleton
Dragon
Dragon
Elder beholder
Elder beholder
Frost Dragon
Frost Dragon
Gazer
Gazer
Ghoul
Ghoul
Giant spider
Giant spider
Ice Golem
Ice Golem
Lion
Lion
Mummy
Mummy
Poison spider
Poison spider
Scarab
Scarab
Tarantula
Tarantula
Vampire
Vampire
Yeti
Yeti
Show spoiler
Maya Tomb Treasure Map
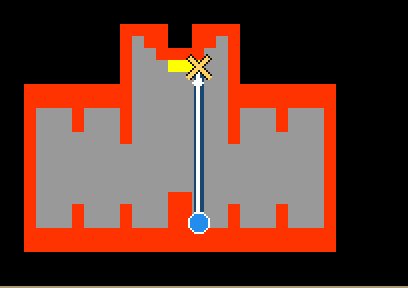
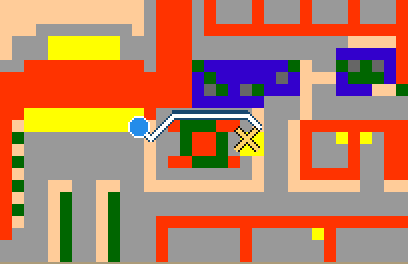
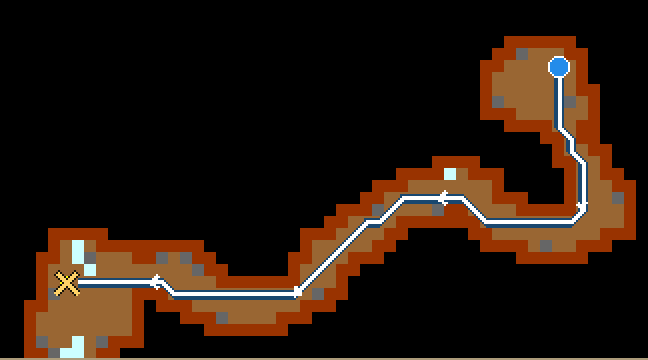
Route 1 · Underground

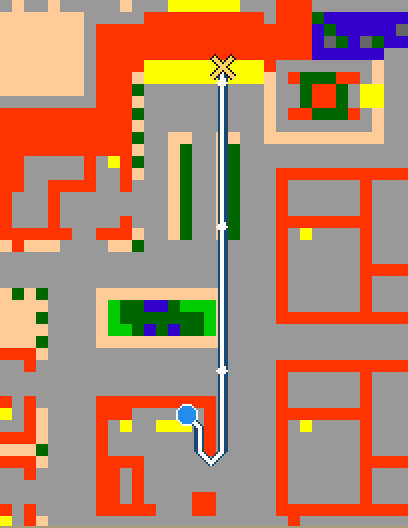
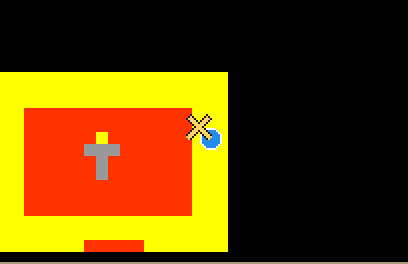
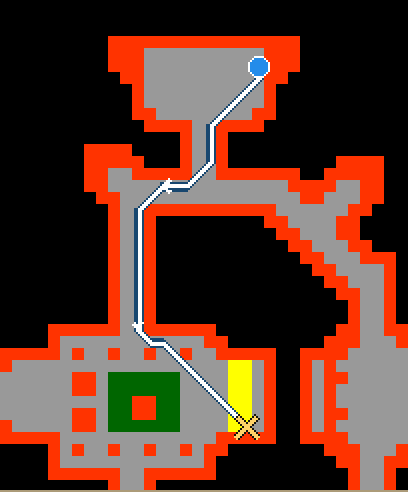
Go up using the marked stairs.

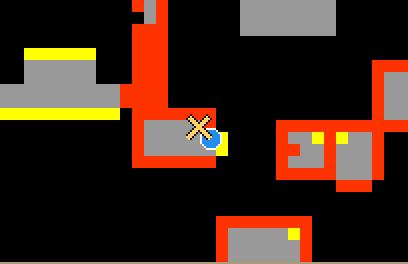
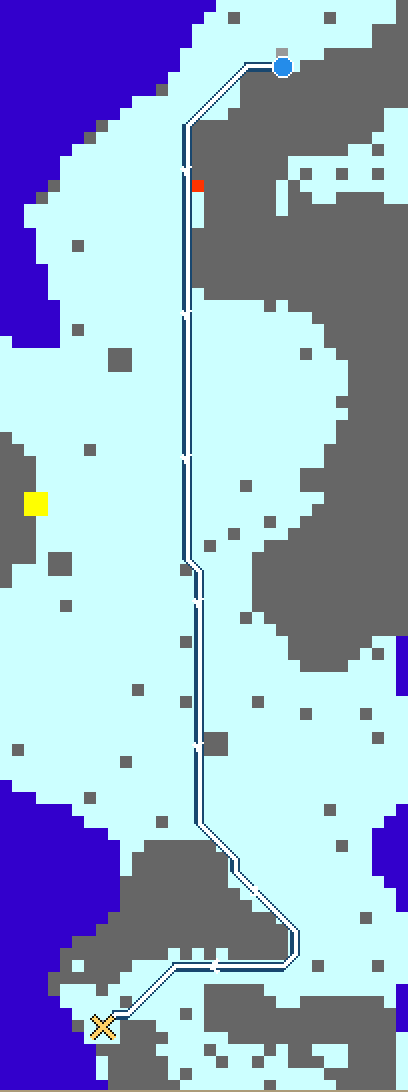
Route 2 · Surface
Route 2 · Surface

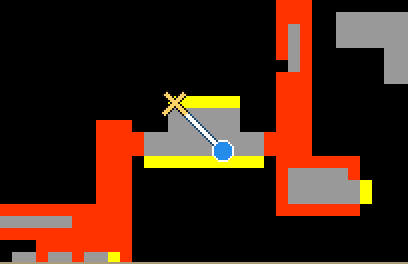
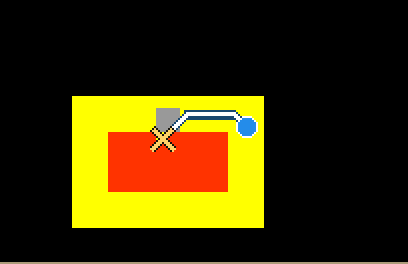
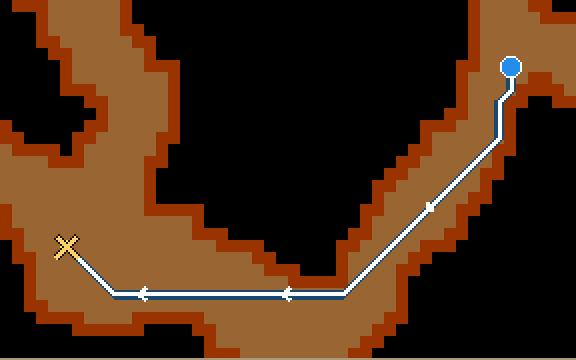
Follow the ramp up.

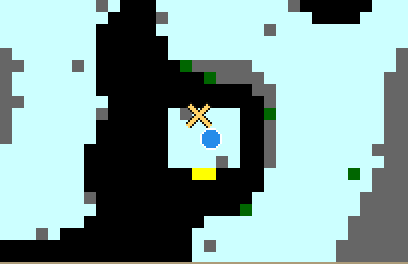
Route 3 · Upper floor

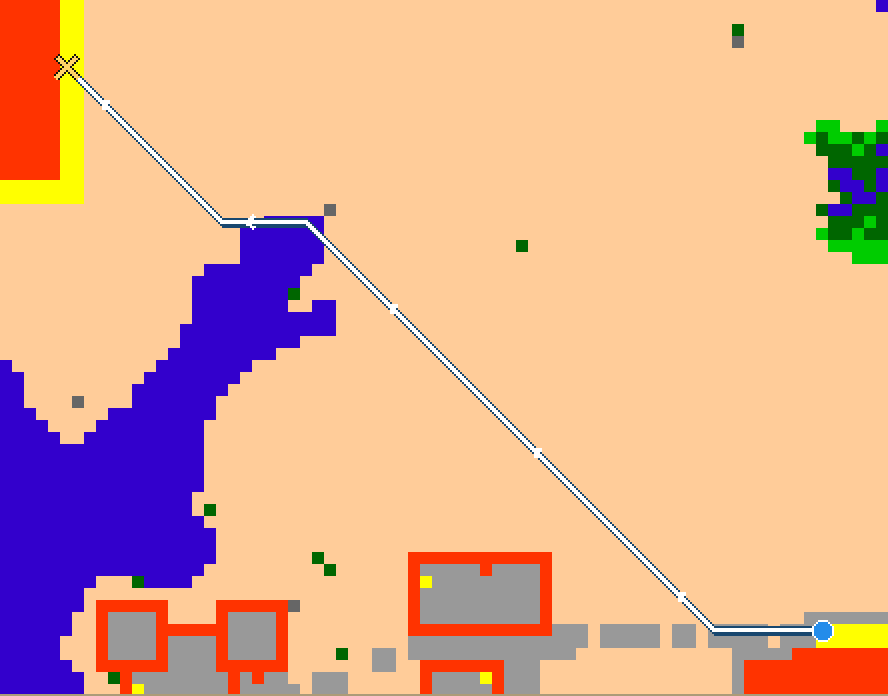
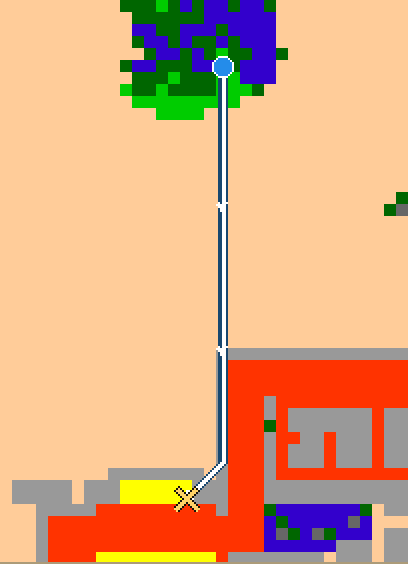
Follow the ramp down.

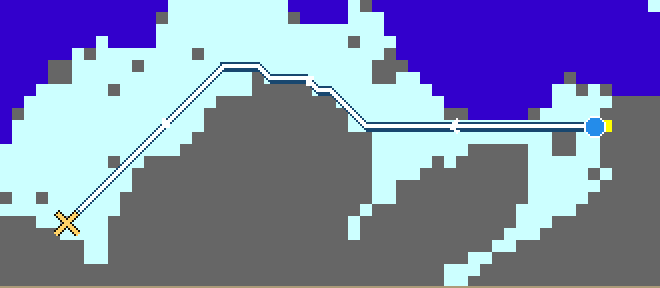
Route 4 · Surface
Route 4 · Surface

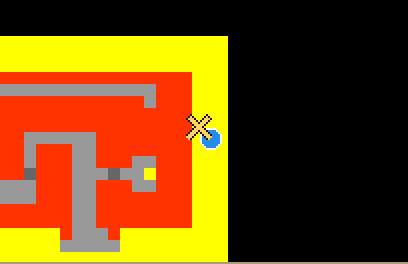
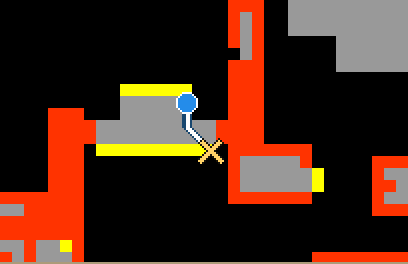
Follow the ramp up.

Route 5 · Upper floor

Follow the ramp up.

Route 6 · Upper floor

Follow the ramp up.

Route 7 · Upper floor

Go down through the trapdoor.

Route 8 · Upper floor

Use the lever to remove the stone.

Route 9 · Upper floor

Go up using the marked stairs.

Route 10 · Upper floor

Follow the ramp up.

Route 11 · Upper floor

Follow the ramp up.

Route 12 · Upper floor

Follow the ramp down.

Route 13 · Upper floor

Follow the ramp down.

Route 14 · Upper floor

Follow the ramp down.

Route 15 · Upper floor

Follow the ramp down.

Route 16 · Upper floor

Use the lever to remove the stone.

Activate the linked lever to remove the barrier, then cross the opened tile.
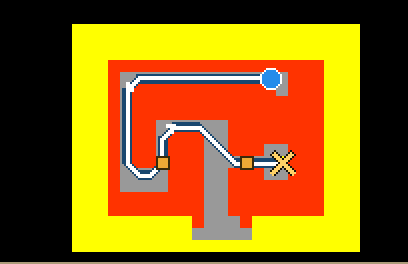
Route 17 · Upper floor

Go down through the trapdoor.

Activate the linked lever to remove the barrier, then cross the opened tile.
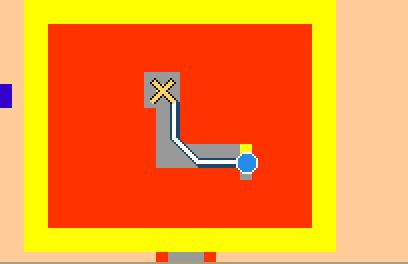
Route 18 · Surface
Route 18 · Surface

Go down using the marked stairs.

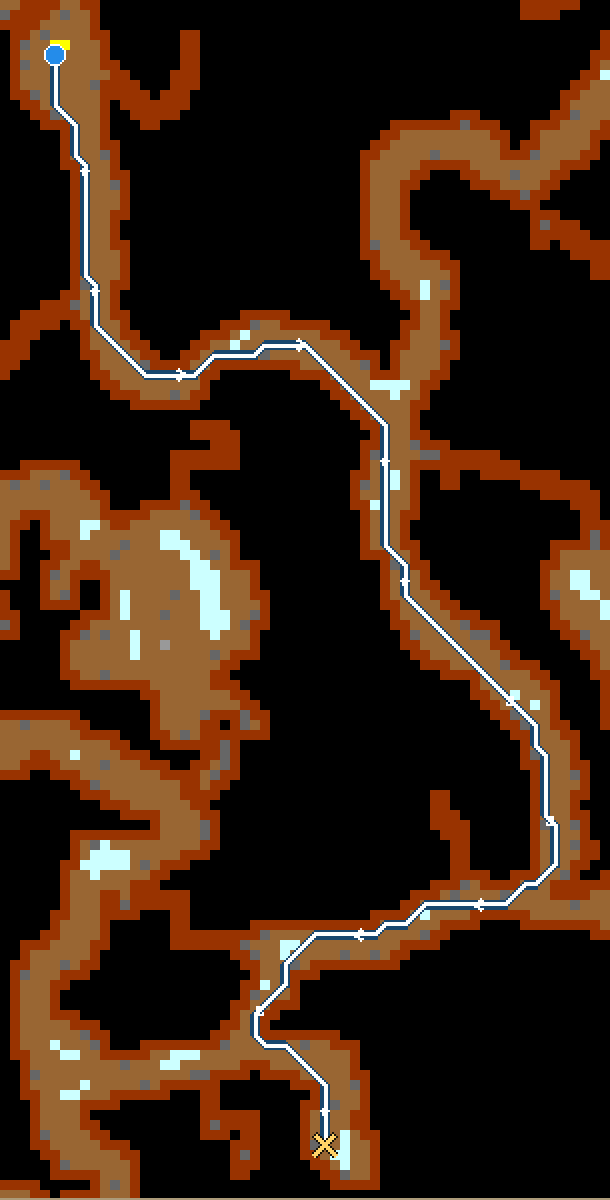
Route 19 · Underground

Walk onto the marked upper edge to descend onto the stairs below.
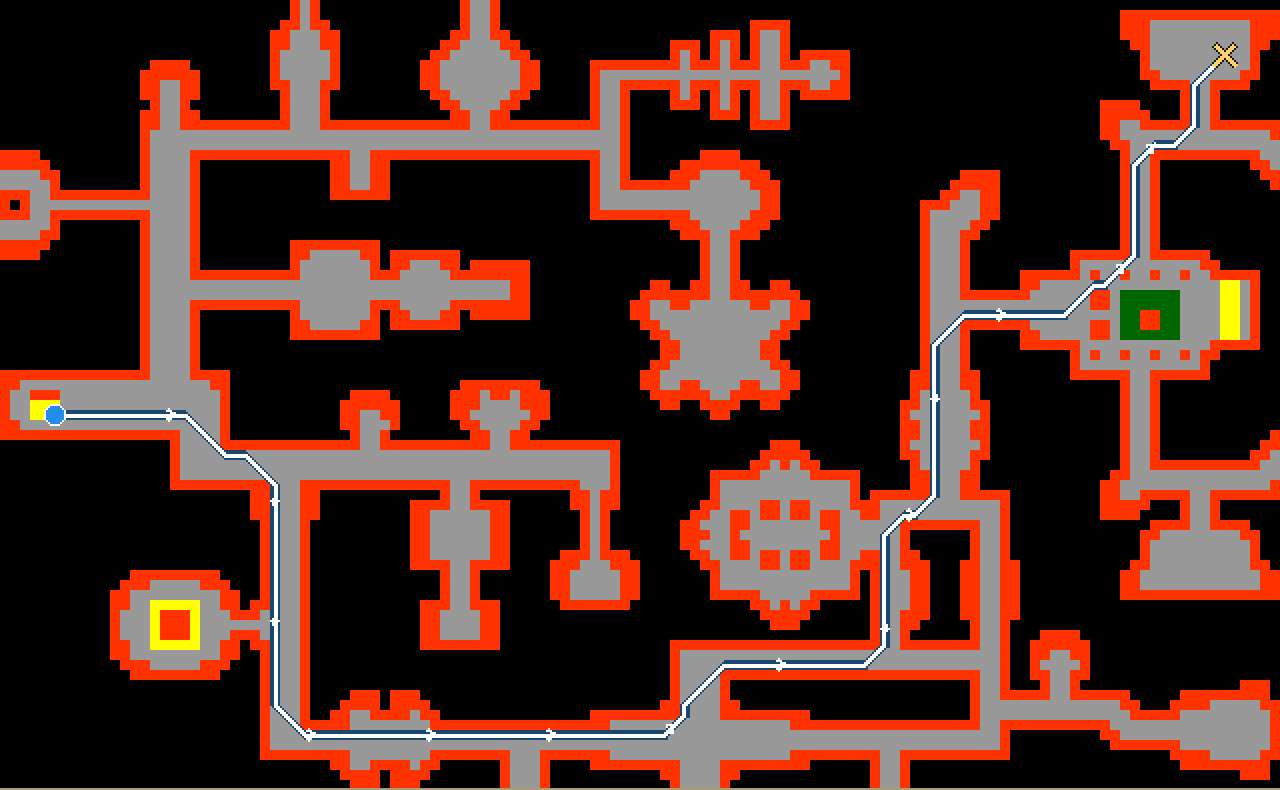
Route 20 · Underground
  1. Use the sarcophagus.
Route 21 · Underground

Follow the ramp up.

Route 22 · Underground

Use your rope.

Route 23 · Surface
Route 23 · Surface

Follow the ramp up.

Route 24 · Upper floor

Follow the ramp down.

Route 25 · Surface
Route 25 · Surface

Follow the ramp up.

Route 26 · Upper floor

Travel to South Schiva.

Route 27 · Upper floor

Travel to West Schiva.

Route 28 · Upper floor

Walk onto the marked upper edge to descend onto the stairs below.
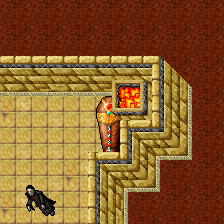
Route 29 · Surface
Route 29 · Surface

Go down.

Route 30 · Underground

Use your rope.

Route 31 · Surface
Route 31 · Surface

Go down using the marked hole.

Route 32 · Underground
  1. Claim the corresponding quest map before searching for its treasure. You can use the map repeatedly to obtain direction and floor hints.
  1. Go to the exact marked destination this spot.
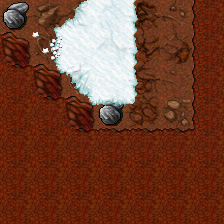
  1. Use your shovel on the marked target object. The reward can be claimed only once by this character.

Notes

  • Acquiring another copy of the map does not reset the personal treasure claim.