
Two Towers Quest
| Type | Quest walkthrough | ||
|---|---|---|---|
| Starting point | Maya depot | ||
 50085009  | |||
Requirements
- Level 120 or higher.
- 8 players.
- Machete.
- Scythe.
- No team member may have already completed the Two Towers reward.
- This individual skill reward must not have been claimed.
- 2 × crystal coin.
- 2 × black castle.
- 1 × black queen.
- 1 × black king.
- 2 × white castle.
- 1 × white queen.
- 1 × white king.
- 1 × scarab amulet.
- 1 × ancient amulet.
- Enough carrying capacity and inventory space for the rewards.
- Five seals: 1 × Lloth quest token, 1 × Ratharon quest token, 1 × Alzinash quest token, 1 × Kefas quest token and 1 × Dargitael quest token. Have the matching token before using each seal.
Monsters


Show spoiler
Prepare both towers
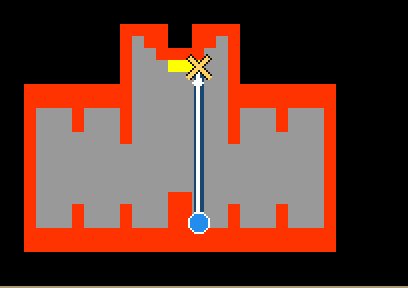
Go up using the marked stairs.
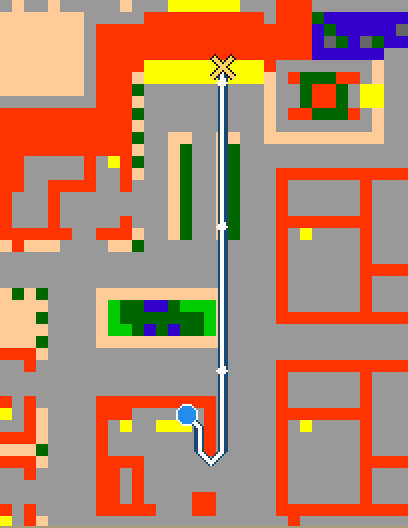
Follow the ramp up.
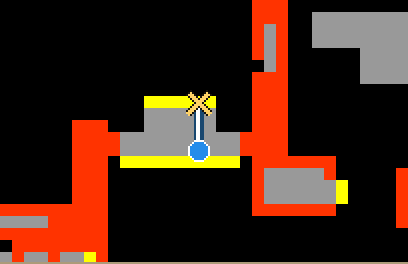
Follow the ramp down.

Climb the ladder.
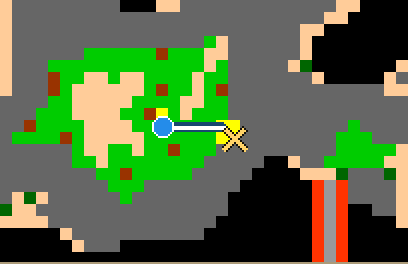
Follow the ramp up.
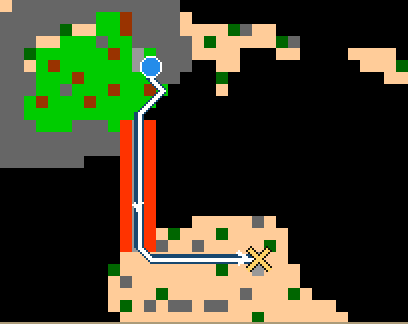
Go down using the marked hole.
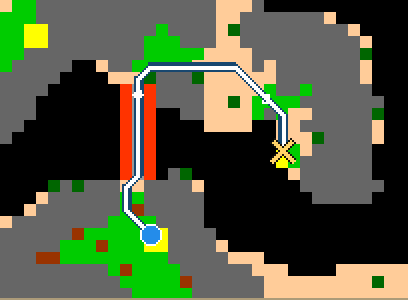
Follow the ramp down.
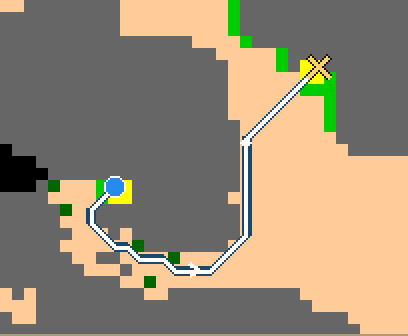
Follow the ramp up.
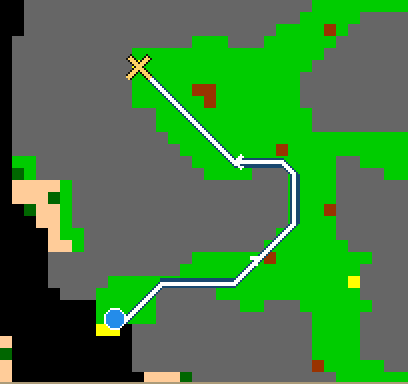
Climb the ladder.
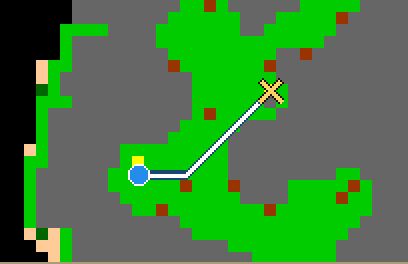
Climb the ladder.
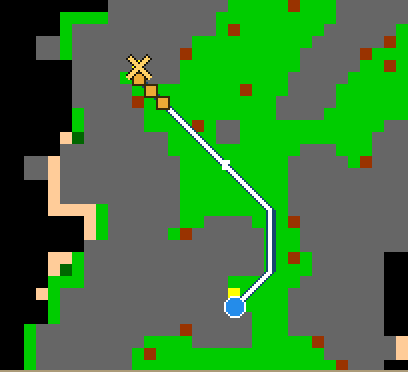
Climb the ladder.
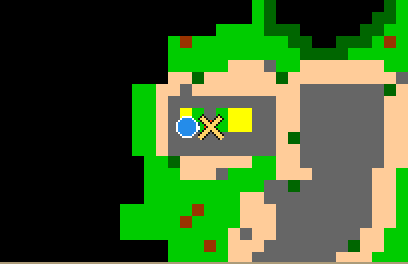
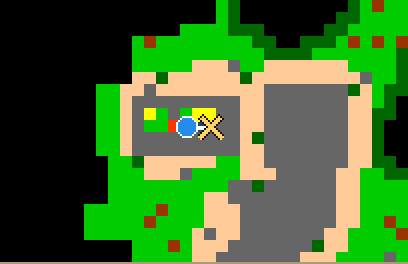
Follow the ramp up.
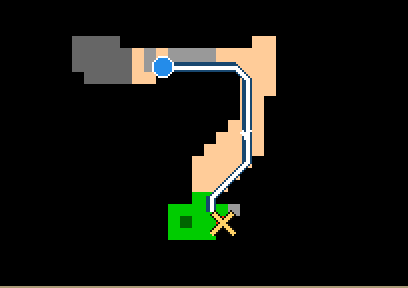
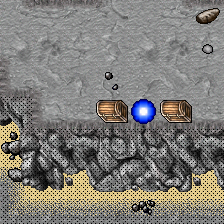
- 1purple key
- Use the chest.
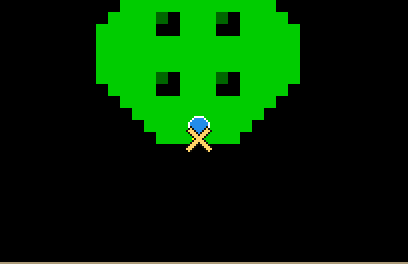
Enter the portal.
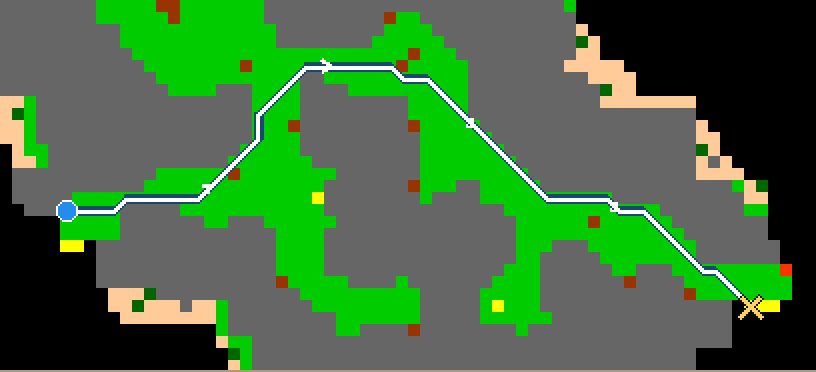
Follow the ramp down.
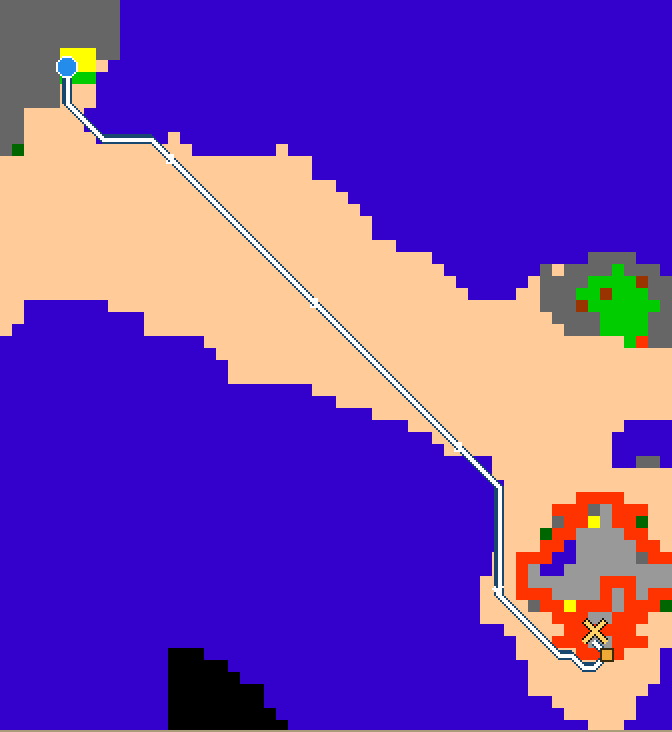
Use the matching key on this door, then open it.
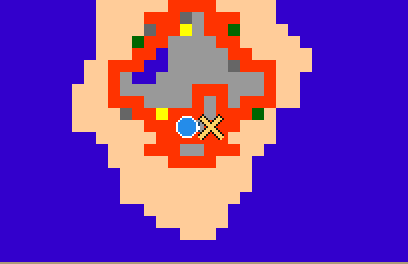
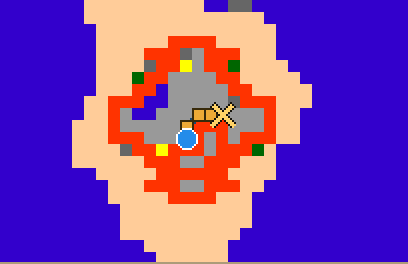
Stand next to the marked bush and use a machete on it, then continue through the cut opening.
Stand next to the marked bush and use a machete on it, then continue through the cut opening.
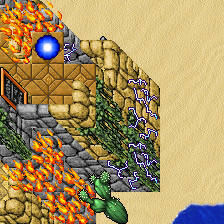
- 1purple key
- Use the chest.
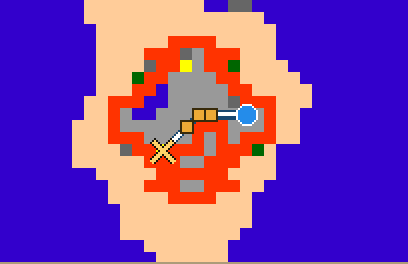
Enter the portal.
Stand next to the marked bush and use a machete on it, then continue through the cut opening.
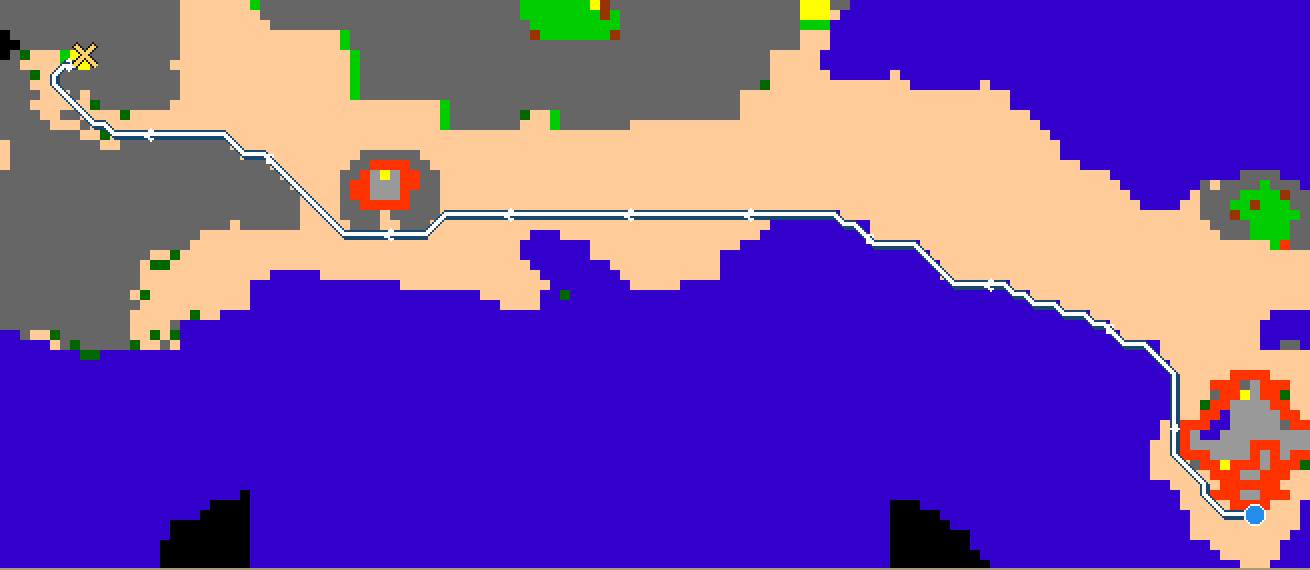
Follow the ramp up.
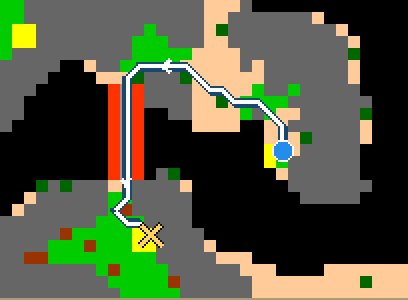
Follow the ramp up.
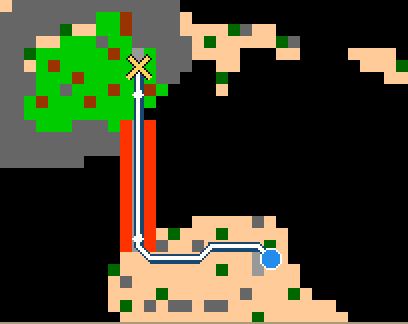
Go down using the marked hole.
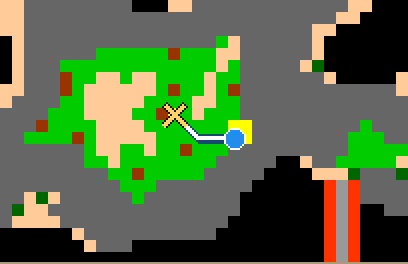
Go down through the trapdoor.
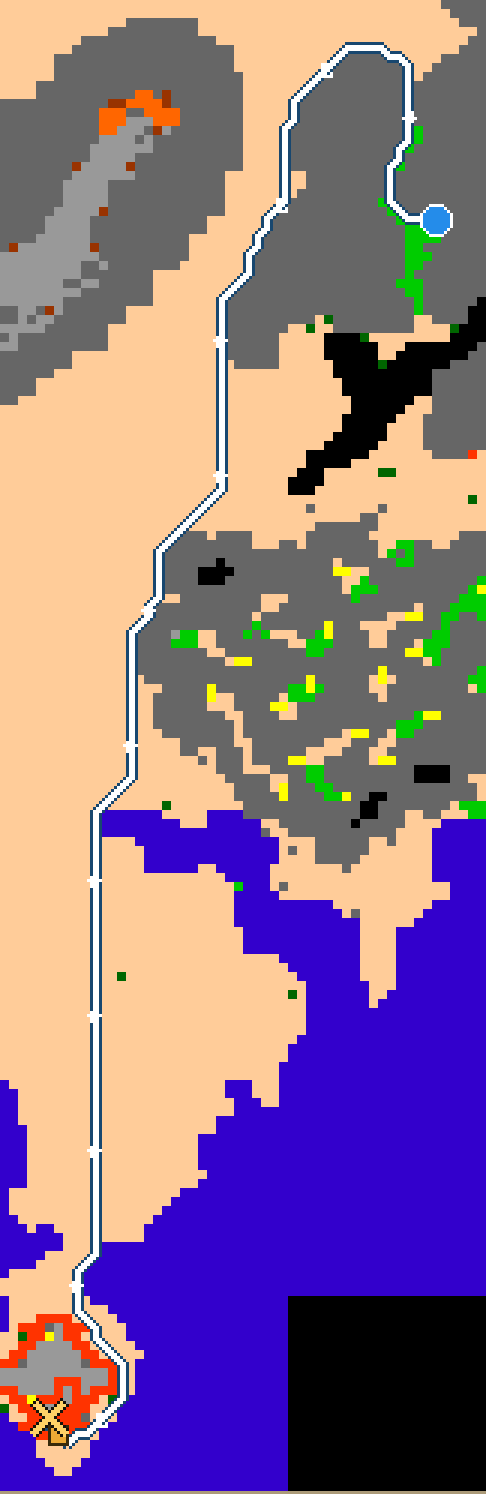
Use the matching key on this door, then open it.
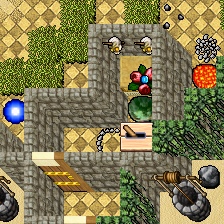
- 1Destination
- 2Place crystal coin
- 3Use this mechanism

- Use the lever.
- You are transferred to tile 1.
Go up using the marked stairs.
Follow the ramp up.
Follow the ramp down.
Climb the ladder.
Follow the ramp up.
Go down using the marked hole.
Follow the ramp down.
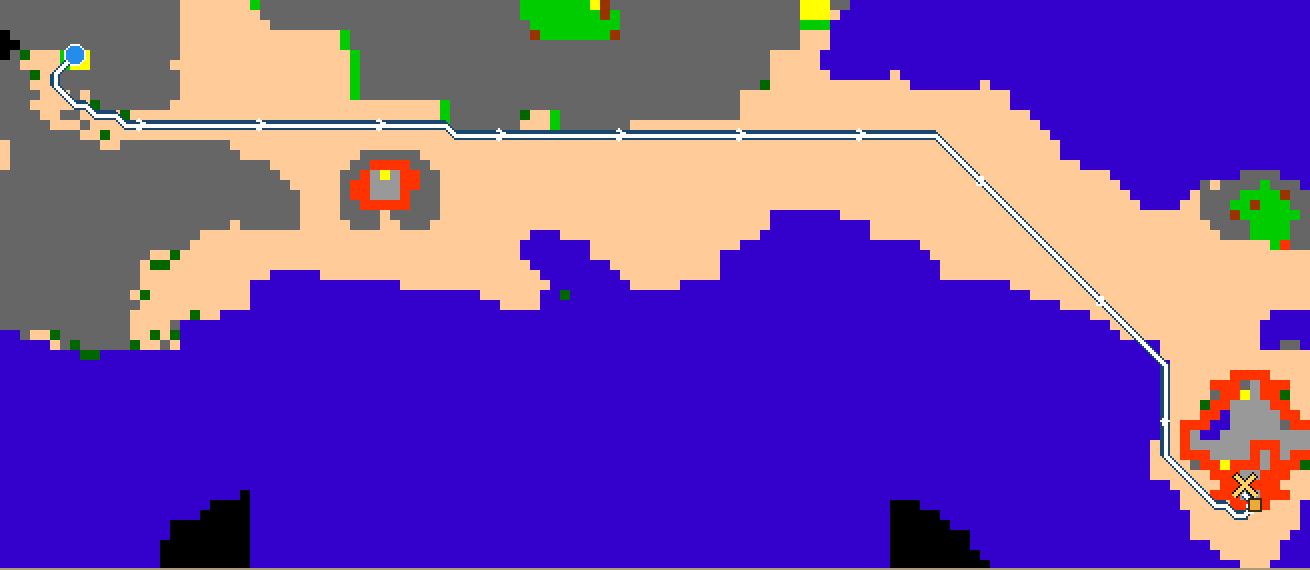
Use the matching key on this door, then open it.
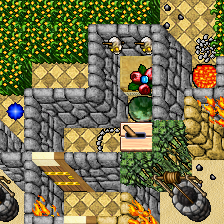
- 1Destination
- 2Place crystal coin
- 3Use this mechanism
- Use the lever.
- You are transferred to tile 1.
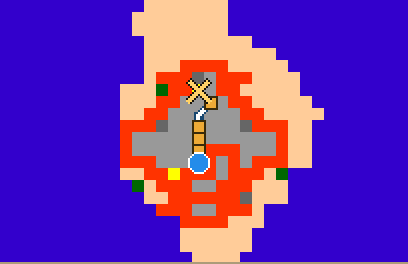
Go up using the marked stairs.
Stand next to the ripe wheat and use a scythe on it. The cut wheat remains on the field; continue through the cleared opening.
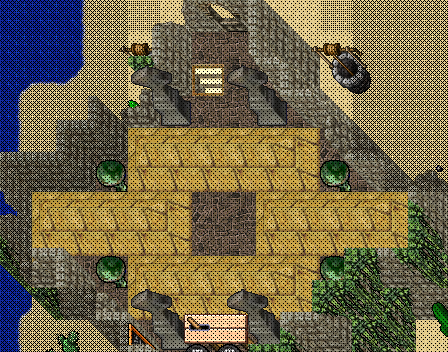
- 1Place black castle
- 2Place black king
- 3Portal
- 4Portal
- 5Use this mechanism
- 6Portal
- 7Portal
- 8Place black queen
- 9Place black castle


- Use the lever.
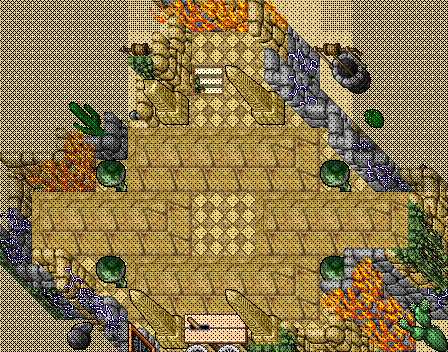
- 1Place white castle
- 2Place white king
- 3Portal
- 4Portal
- 5Use this mechanism
- 6Portal
- 7Portal
- 8Place white queen
- 9Place white castle
- Enter the portal 3.
- Enter the portal 6.
- Enter the portal 4.
- Enter the portal 7.
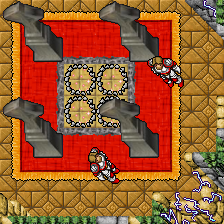
- 1Arrival area
- 2Arrival area
- 3Arrival area
- 4Arrival area
Go up using the marked stairs.
Stand next to the marked bush and use a machete on it, then continue through the cut opening.
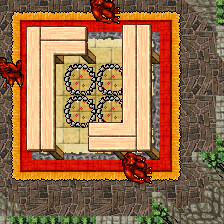
- 1Arrival area
- 2Arrival area
- 3Arrival area
- 4Arrival area


- Use the lever.
- Enter the portal 3.
- Enter the portal 6.
- Enter the portal 4.
- Enter the portal 7.
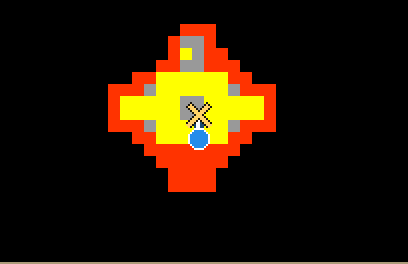
Complete the listed requirements and activate the quest mechanism.
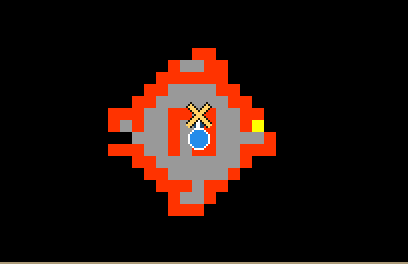
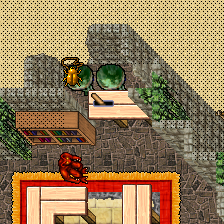
- 1Place scarab amulet
- 2Use this mechanism

- Use the lever.
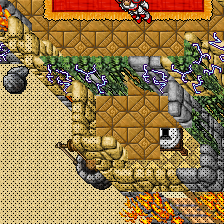
- 1Portal
- Enter the portal.
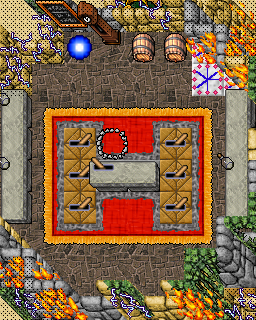
- 1Arrival area
- 2Switch LEFT
- 3Switch LEFT
- 4Switch LEFT
- 5Use this mechanism
- 6Switch RIGHT
- 7Switch RIGHT
- 8Switch LEFT
- 9Portal
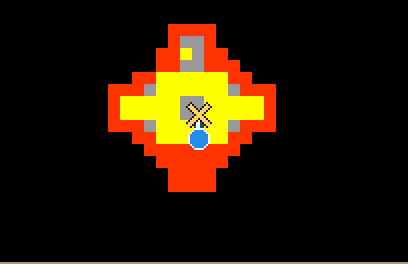
Complete the listed requirements and activate the quest mechanism.
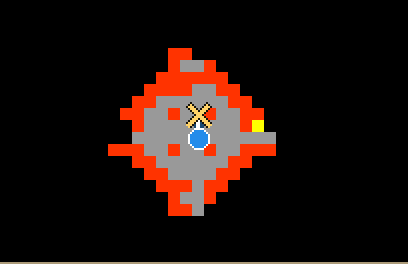
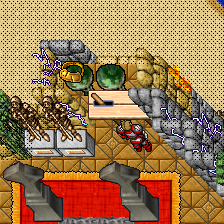
- 1Place ancient amulet
- 2Use this mechanism

- Use the lever.
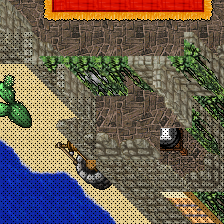
- 1Portal
- Enter the portal.
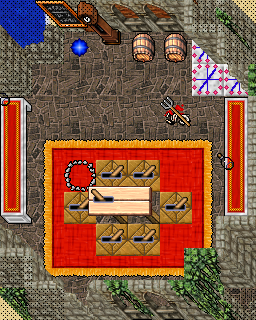
- 1Arrival area
- 2Switch RIGHT
- 3Switch RIGHT
- 4Use this mechanism
- 5Switch LEFT
- 6Switch LEFT
- 7Switch LEFT
- 8Switch RIGHT
- 9Portal
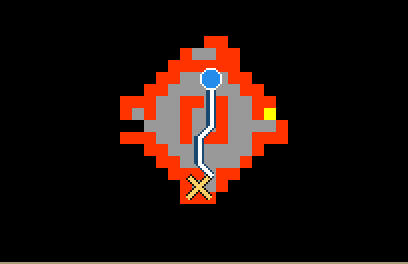
Complete the listed requirements and activate the quest mechanism.
- Set the switch 3 to RIGHT (handle tilted right; see reference image).
- Set the switch 6 to LEFT (handle tilted left; see reference image).
- Set the switch 2 to RIGHT (handle tilted right; see reference image).
- Set the switch 8 to RIGHT (handle tilted right; see reference image).
- Set the switch 5 to LEFT (handle tilted left; see reference image).
- Set the switch 7 to LEFT (handle tilted left; see reference image).
- Use the main lever 4.
- Enter the portal.
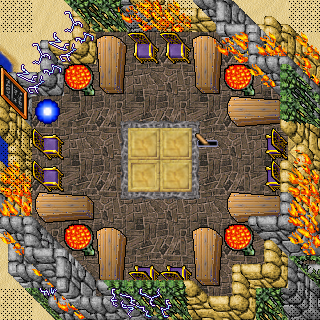
- 1Player 1
- 2Player 3
- 3Arrival area
- 4Player 2
- 5Player 4
- 6Use this mechanism
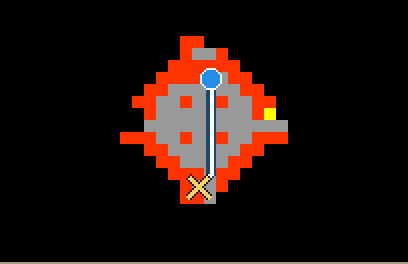
Complete the listed requirements and activate the quest mechanism.
- Set the switch 2 to LEFT (handle tilted left; see reference image).
- Set the switch 6 to RIGHT (handle tilted right; see reference image).
- Set the switch 3 to LEFT (handle tilted left; see reference image).
- Set the switch 7 to RIGHT (handle tilted right; see reference image).
- Set the switch 4 to LEFT (handle tilted left; see reference image).
- Set the switch 8 to LEFT (handle tilted left; see reference image).
- Use the main lever 5.
- Enter the portal.
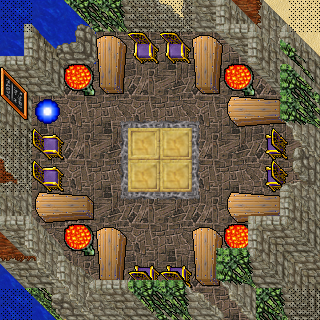
- 1Player 5
- 2Player 7
- 3Arrival area
- 4Player 6
- 5Player 8
Enter with your team
Shared approach — Players 1–4
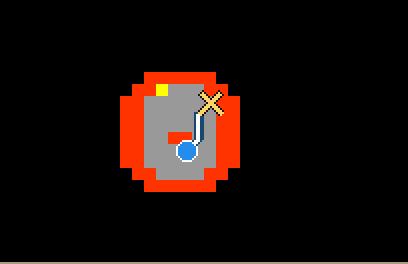
Complete the listed requirements and activate the quest mechanism.
Shared approach — Players 5–8
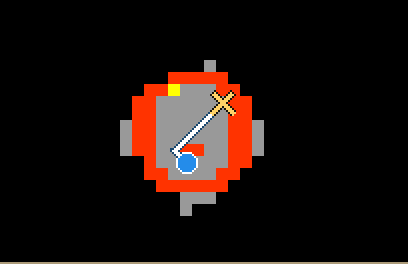
Complete the listed requirements and activate the quest mechanism.
Stand on the marked team tile while the team activates the trial.
- Assemble four players on position 1, position 4, position 2 and position 5.
- Assemble four more players on position 1, position 4, position 2 and position 5.
- Use the lever.
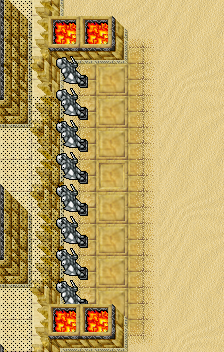
- 1Arrival area
- 2Arrival area
- 3Arrival area
- 4Arrival area
- 5Arrival area
- 6Arrival area
- 7Arrival area
- 8Arrival area
- The team is transferred to tiles 1, 2, 3, 4, 5, 6, 7, 8; continue through the tower trials.
Open the five seals
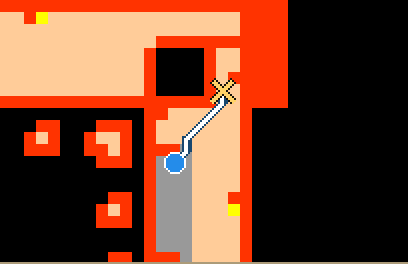
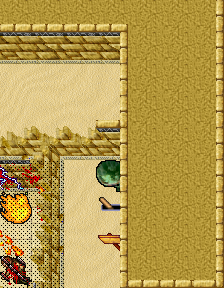
- 1Portal
- 2Arrival area
- 3Place boss token
- 4Use this mechanism
- Obtain the quest token from Lloth.
- Place the token at tile 3.
- Use the lever; one token is consumed.
- Enter the portal.
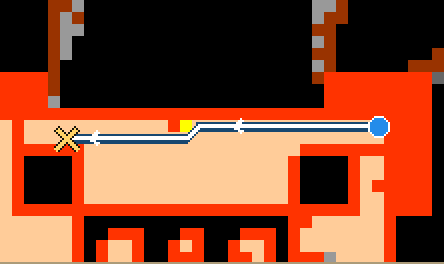
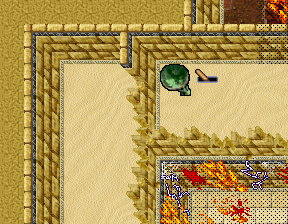
- 1Arrival area
- 2Place boss token
- 3Portal
- 4Use this mechanism
- Obtain the quest token from Ratharon.
- Place the token at tile 2.
- Use the lever; one token is consumed.
- Enter the portal.
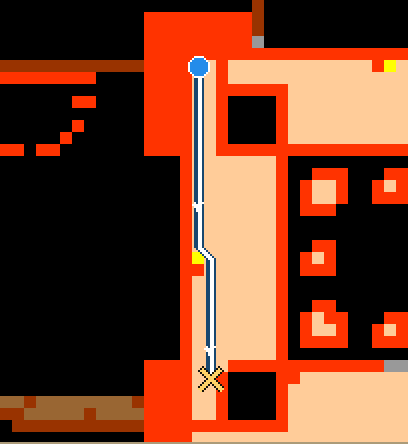
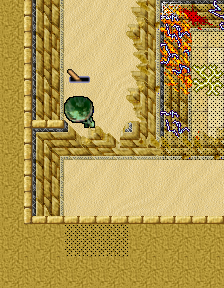
- 1Use this mechanism
- 2Place boss token
- 3Arrival area
- 4Portal
- Obtain the quest token from Alzinash.
- Place the token at tile 2.
- Use the lever; one token is consumed.
- Enter the portal.
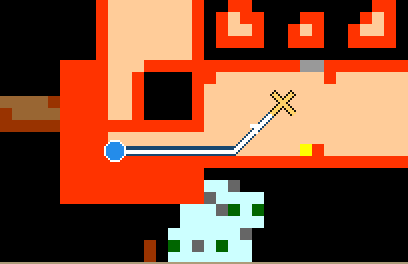
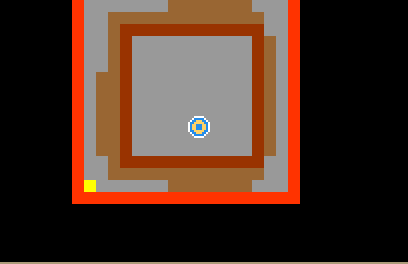
Enter the portal.
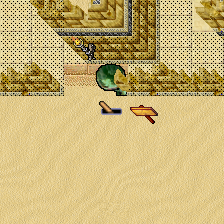
- 1Portal
- 2Place boss token
- 3Use this mechanism
- Obtain the quest token from Kefas.
- Place the token at tile 2.
- Use the lever; one token is consumed.
- Enter the portal.
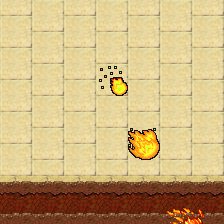
- 1Arrival area
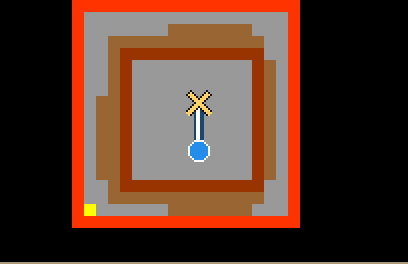
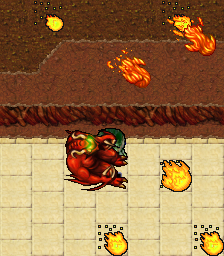
- 1Portal
- 2Arrival area
- 3Place boss token
- 4Use this mechanism
- Obtain the quest token from Dargitael.
- Place the token at tile 3.
- Use the lever; one token is consumed.
- Enter the portal.
Collect your vocation’s rewards
Knight
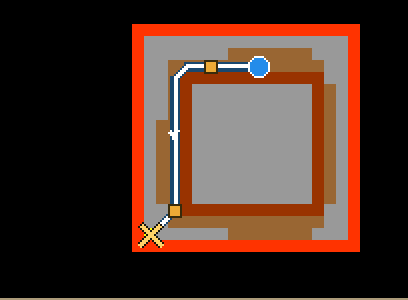
Enter the portal.
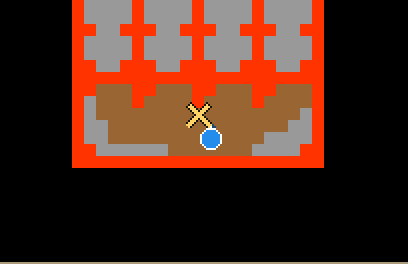
After completing the trial, reach the common corridor before choosing your own profession’s reward room.
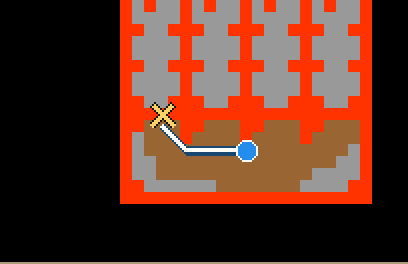
Stand directly in front of the closed door and use it to pass through. The door remains closed.
Follow only the branch for the profession permanently selected by this character; the other profession routes are separate alternatives.
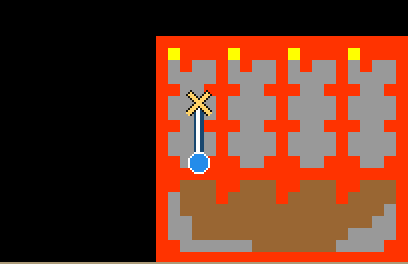
Follow only the branch for the profession permanently selected by this character; the other profession routes are separate alternatives.
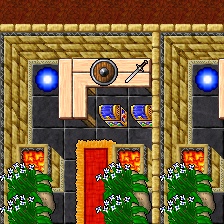
- 1Two Towers — shielding Training Reward
- Use the reward object.
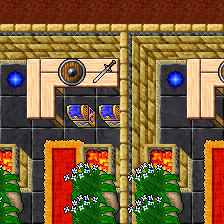
- 1Two Towers — club, sword and axe fighting Training Reward
- Use the reward object.
Sorcerer
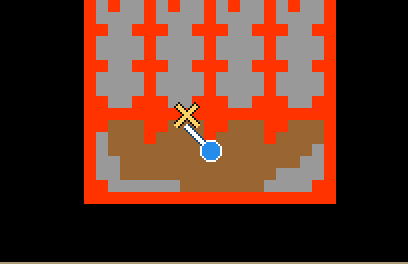
Stand directly in front of the closed door and use it to pass through. The door remains closed.
Follow only the branch for the profession permanently selected by this character; the other profession routes are separate alternatives.
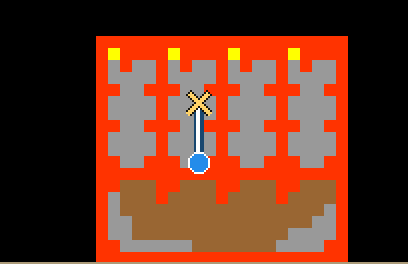
Follow only the branch for the profession permanently selected by this character; the other profession routes are separate alternatives.
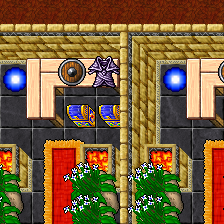
- 1battle mage cape
- At this spot, use the treasure chest.
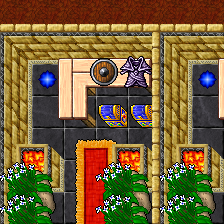
- 1Two Towers — shielding Training Reward
- Use the reward object.
Druid
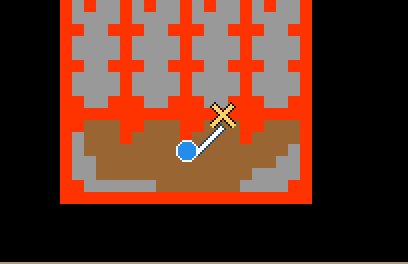
Stand directly in front of the closed door and use it to pass through. The door remains closed.
Follow only the branch for the profession permanently selected by this character; the other profession routes are separate alternatives.
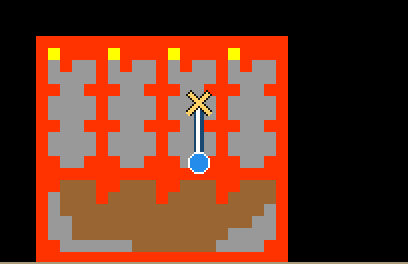
Follow only the branch for the profession permanently selected by this character; the other profession routes are separate alternatives.
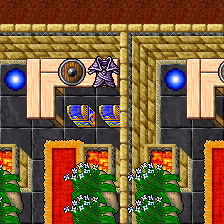
- 1battle mage cape
- At this spot, use the treasure chest.
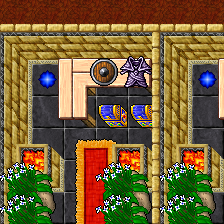
- 1Two Towers — shielding Training Reward
- Use the reward object.
Paladin
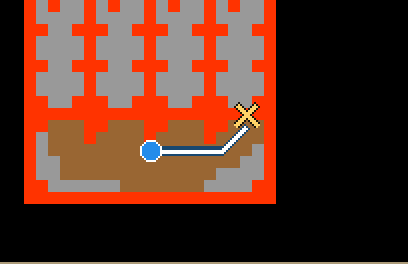
Stand directly in front of the closed door and use it to pass through. The door remains closed.
Follow only the branch for the profession permanently selected by this character; the other profession routes are separate alternatives.
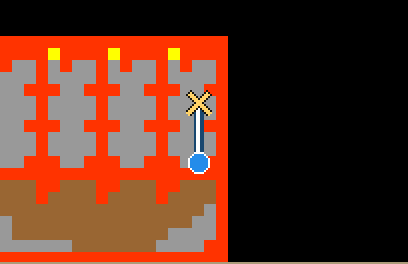
Follow only the branch for the profession permanently selected by this character; the other profession routes are separate alternatives.
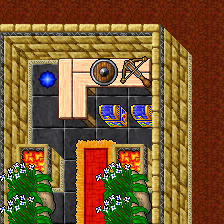
- 1Two Towers — shielding Training Reward
- Use the reward object.
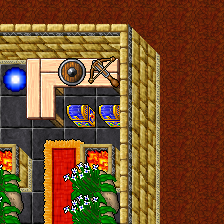
- 1Two Towers — distance fighting Training Reward
- Use the reward object.
Notes
- SkillRate applies to these base training points. Each of the six skill chests has its own one-time completion marker.
- The final reward rooms are profession alternatives. Enter only the room for your own profession; knights, sorcerers, druids and paladins follow separate illustrated branches.