
Winged Quest
| Type | Quest walkthrough | ||
|---|---|---|---|
| Starting point | Dismal Swamp | ||
Choose one   Choose one   | |||
Requirements
- Level 300 or higher.
- 3 players.
- No team member may have already claimed the related quest reward.
- Enough carrying capacity and inventory space for the rewards.
Monsters


Show spoiler
Enter with the three participants
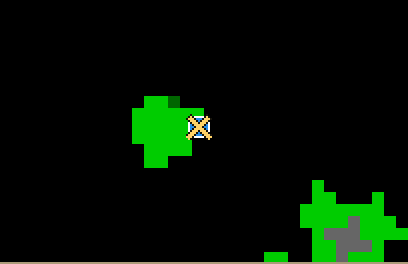
Follow the ramp down.
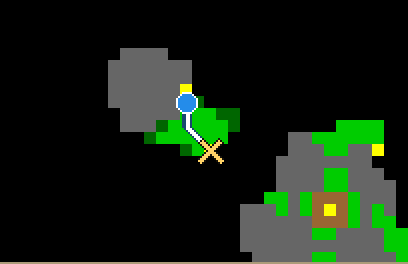
Follow the ramp down.
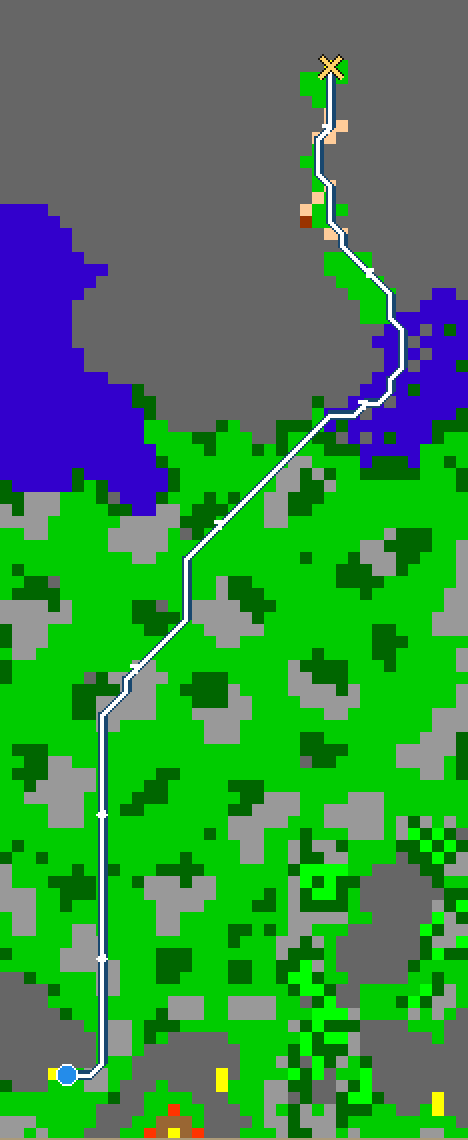
Enter the portal.
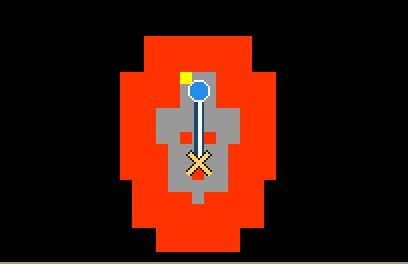
All players follow this shared approach. Each player must meet its requirements. At the staging area, follow the short route to your own numbered position.
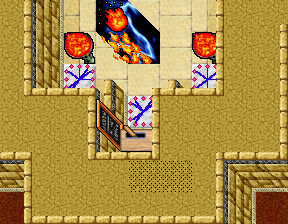
- 1Player 1
- 2Godfather
- 3Use this mechanism
- 4Player 2
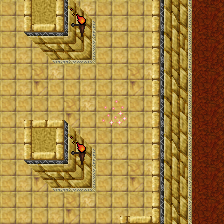
- Player 1 stands at position 1.
- The Godfather stands at tile 2 and operates the lever when Player 1 and Player 2 are on their own pads.
- Player 2 stands at position 4.
- Use the lever. Each player is transferred to the corresponding destination.
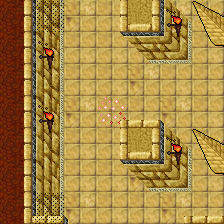
- 1Player 1 arrival
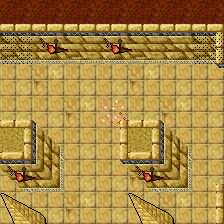
- 1Godfather arrival
- 1Player 2 arrival
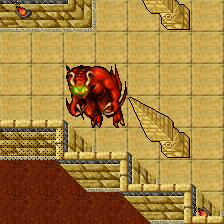
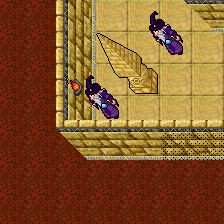
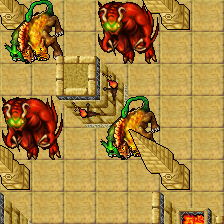
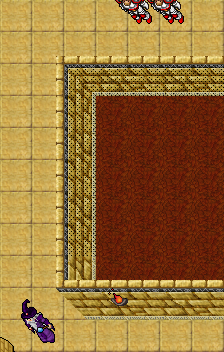
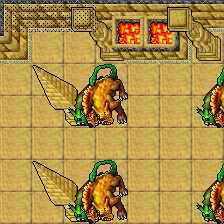
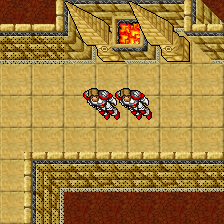
Follow the participant routes
Godfather
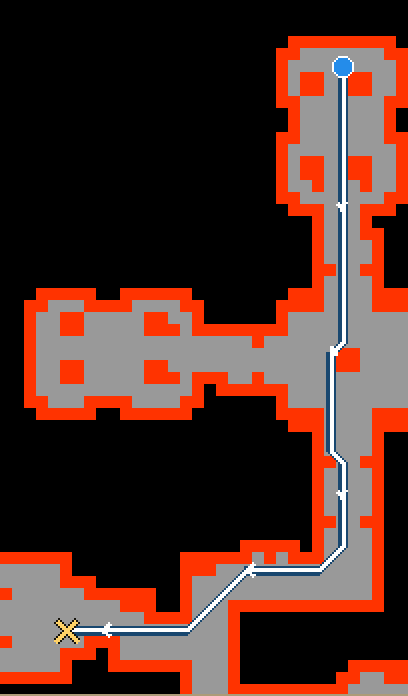
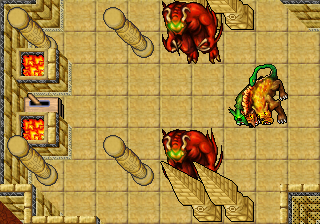
- 1Use this mechanism
- Use the lever.
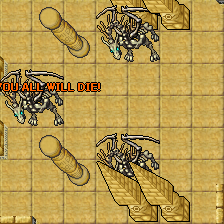
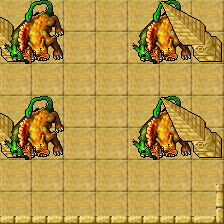
- Defeat 1 × Hellhound, 2 × Demon.
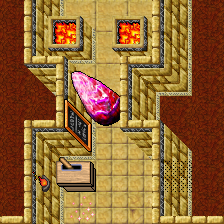
- 1Changed quest object
- The barrier opens.
Godfather / Player 1
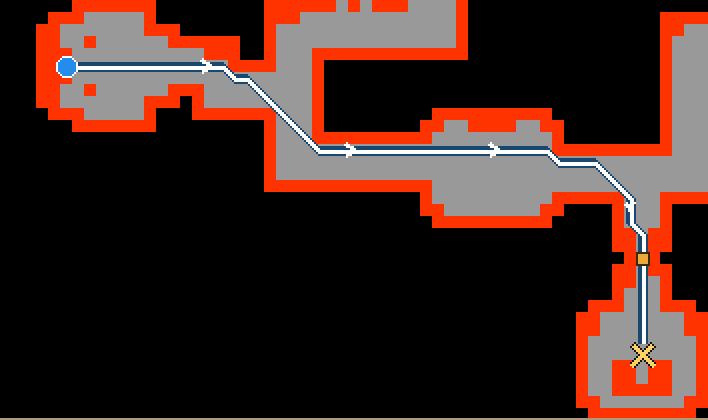
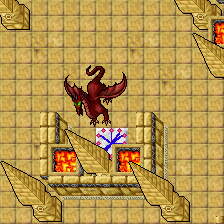
Defeat Ratharon and collect its quest token before continuing.
Complete the linked mechanism and use its main control before crossing the changed tile.
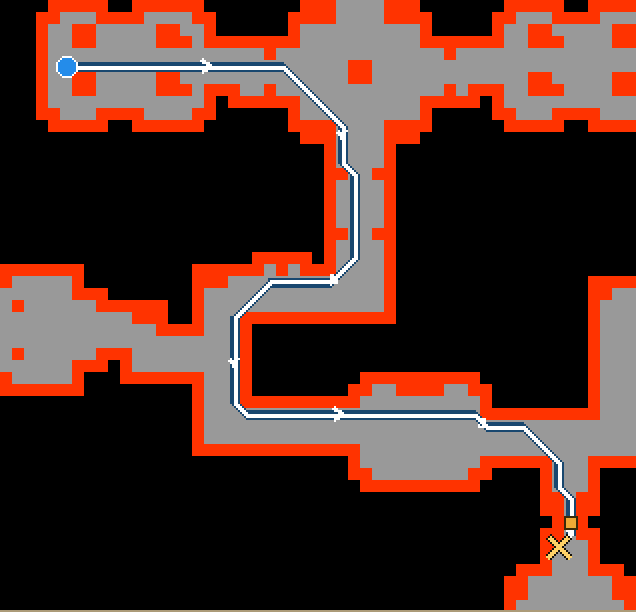
Player 1 uses the lever after the Godfather has placed the Ratharon token and is waiting on the remote pad. Player 1 stays here; only the Godfather is transferred.
Complete the linked mechanism and use its main control before crossing the changed tile.
Godfather: Stand on the marked team tile while the team activates the trial.
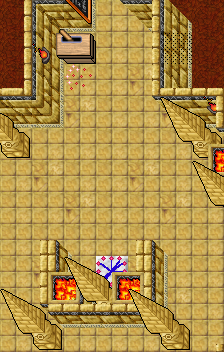
- 1Winged Trial — Shahina Entry
- 2Place token here
- 3Player position
- The Godfather defeats Ratharon and collects the Ratharon quest token.
- Place it at tile 2.
- The Godfather waits on the remote pad.
- Player 1 uses the lever after the Godfather has placed the token and is waiting on the remote pad. One token is consumed.
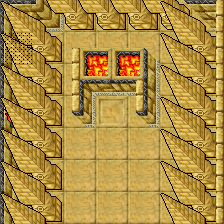
- 1Destination
- Only the Godfather is transferred to tile 1. Player 1 stays beside the lever.
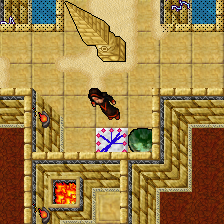
- 1Referenced place
- The mechanism also summons Shahina.
Player 1 / Player 2
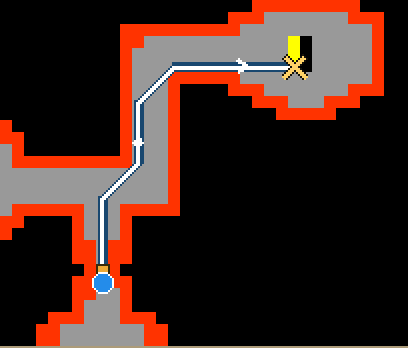
Follow the ramp down.
Complete the linked mechanism and use its main control before crossing the changed tile.
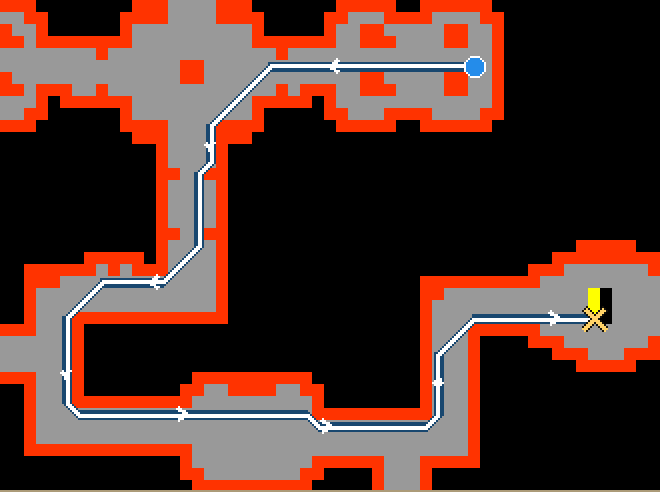
Follow the ramp down.
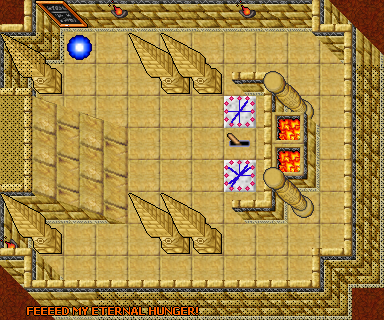
- 1Player 1
- 2Use this mechanism
- 3Player 2
- Player 1 stands at position 1.
- Player 2 stands at position 3.
- Use the lever. Each player is transferred to the corresponding destination.
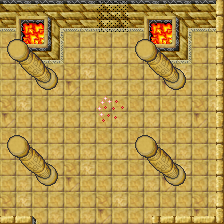
- 1Player 1 arrival
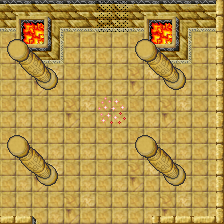
- 1Player 2 arrival
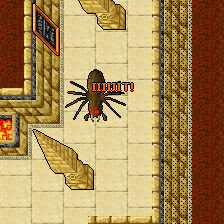
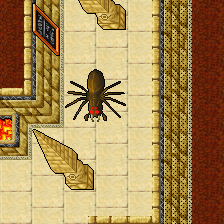
Optional route information
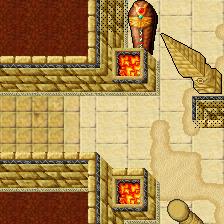
- 1Step here
- 2Arrival area
- Boundary reference: Step on the marked tile 1.
- Boundary reference: The tile transfers you to tile 2.
Optional route information
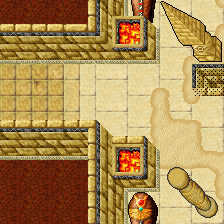
- 1Step here
- 2Arrival area
- Boundary reference: Step on the marked tile 1.
- Boundary reference: The tile transfers you to tile 2.
Player 1
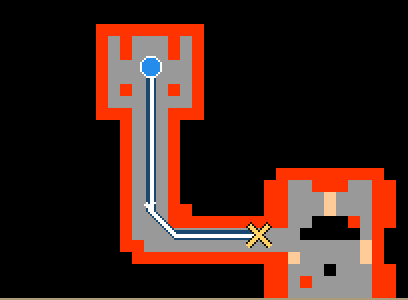
Step onto the marked quest tile after completing its access requirements.
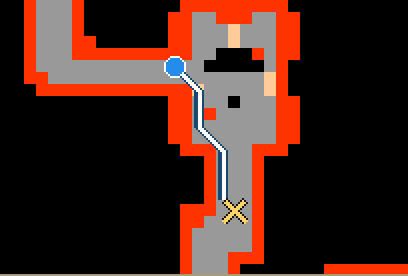
Defeat Old Pardosa and collect its quest token before continuing.
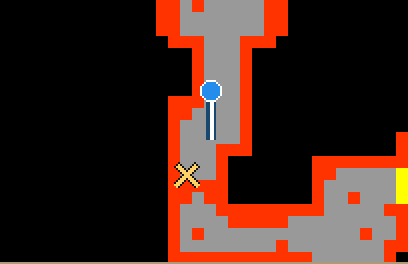
Place one quest token obtained by this participant on the marked offering square.
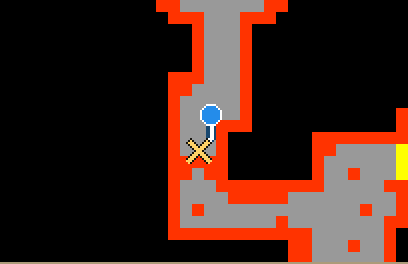
Step onto the marked quest tile after completing its access requirements.
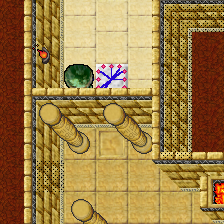
- 1Place a matching boss quest token
- 2Step here
- 3Arrival area
- Place one ancient key token at tile 1 before entering the marked tile. This is the token dropped by Old Pardosa, Rezaka or Shahina.
- Step onto the exact marked tile 2.
- You are transferred to tile 3; one token is consumed after successful entry.
Optional route information
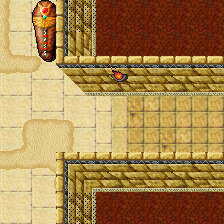
- 1Arrival area
- 2Step here
- Boundary reference: Step on the marked tile 2.
- Boundary reference: The tile transfers you to tile 1.
Optional route information
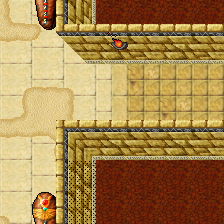
- 1Arrival area
- 2Step here
- Boundary reference: Step on the marked tile 2.
- Boundary reference: The tile transfers you to tile 1.
Player 2
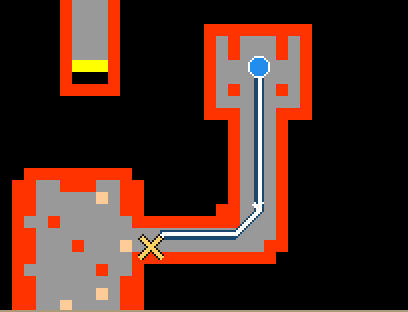
Step onto the marked quest tile after completing its access requirements.
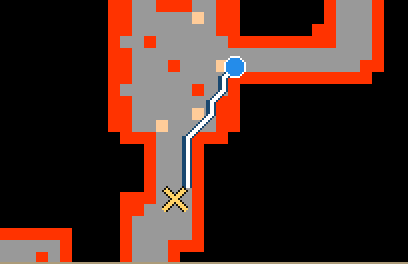
Defeat Old Pardosa and collect its quest token before continuing.
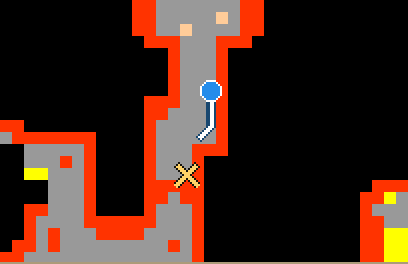
Place one quest token obtained by this participant on the marked offering square.
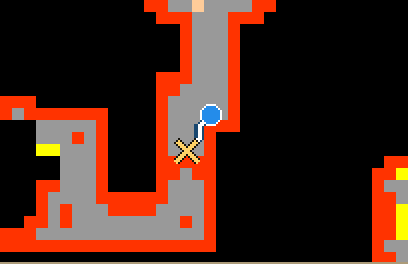
Step onto the marked quest tile after completing its access requirements.
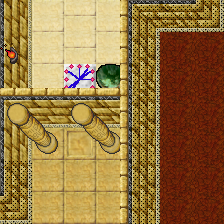
- 1Step here
- 2Arrival area
- 3Place a matching boss quest token
- Place one ancient key token at tile 3 before entering the marked tile. This is the token dropped by Old Pardosa, Rezaka or Shahina.
- Step onto the exact marked tile 1.
- You are transferred to tile 2; one token is consumed after successful entry.
Godfather
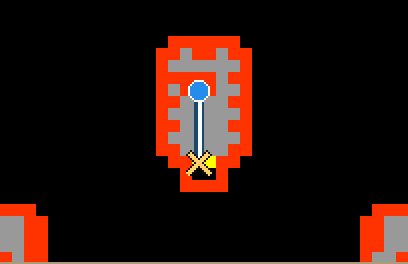
Follow the ramp down.
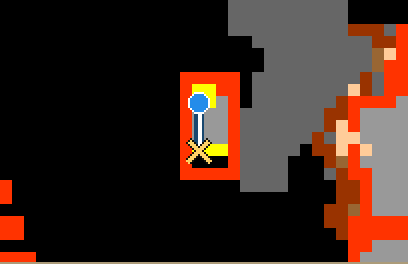
Follow the ramp down.
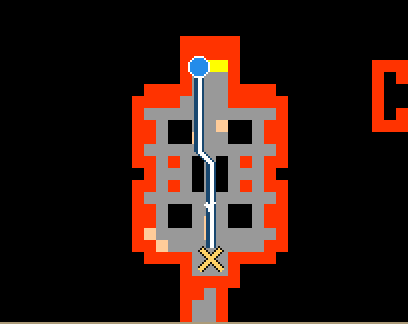
Defeat Shahina and collect its quest token before continuing.
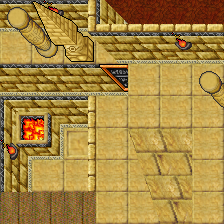
- 1Step here
- 2Arrival area
- 3Place a matching boss quest token
- Place one ancient key token at tile 3 before entering the marked tile. This is the token dropped by Old Pardosa, Rezaka or Shahina.
- Step onto the exact marked tile 1.
- You are transferred to tile 2; one token is consumed after successful entry.
Reunite the team
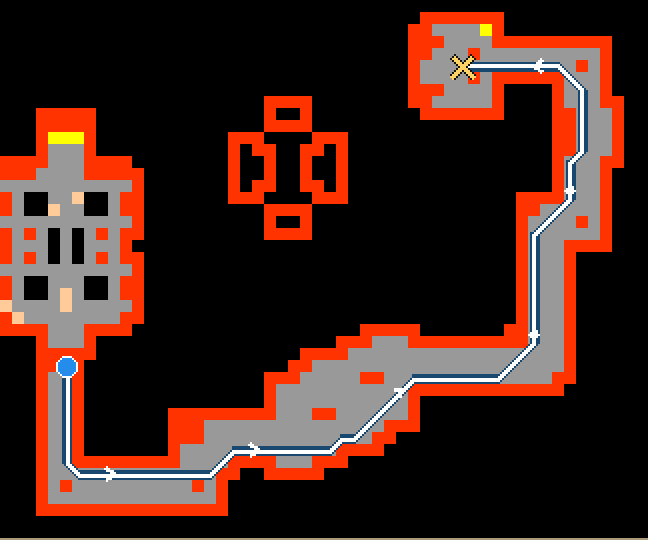
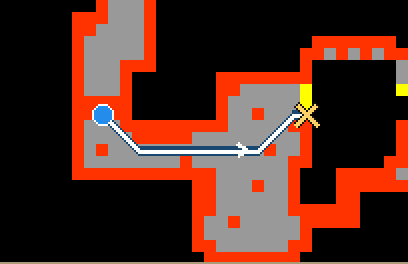
Follow the ramp down.
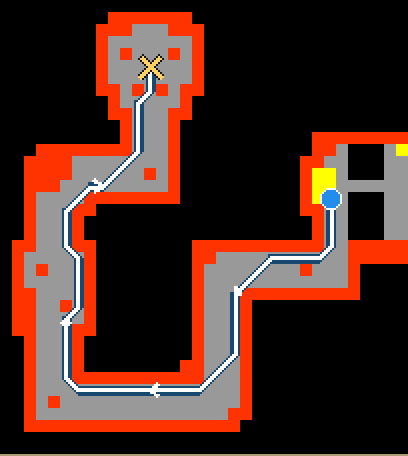
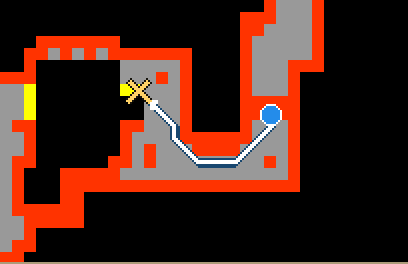
Follow the ramp down.
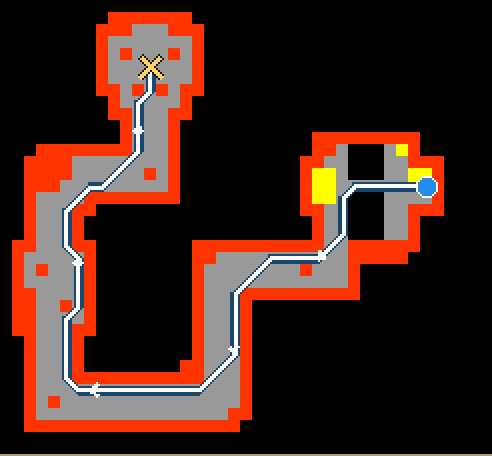
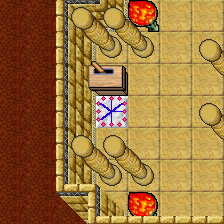
- 1Use this mechanism
- 2Godfather
- The Godfather stands at tile 2 after finishing the Shahina branch.
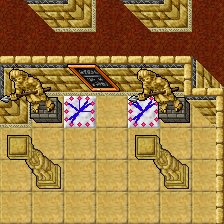
- 1Player 1
- 2Player 2
- Player 1 stands at position 1 after finishing the left Old Pardosa branch.
- Player 2 stands at position 2 after finishing the right Old Pardosa branch.
- Use the lever. Each player is transferred to the corresponding destination.
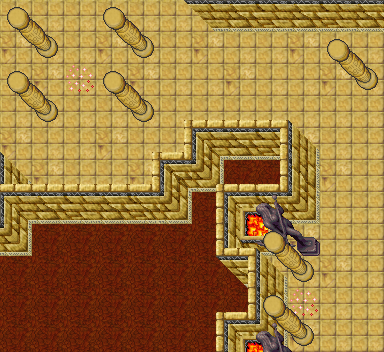
- 1Player 1 arrival
- 2Godfather arrival
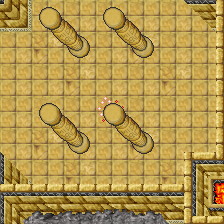
- 1Player 2 arrival
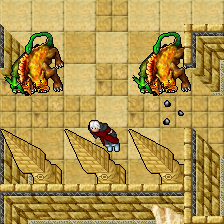
Reach the reward room
Optional route information
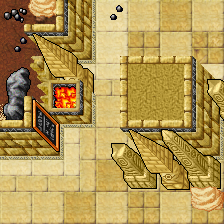
- 1Step here
- 2Arrival area
- Boundary reference: Step on the marked tile 1.
- Boundary reference: The tile transfers you to tile 2.
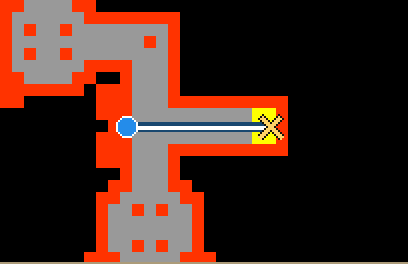
Follow the ramp up.
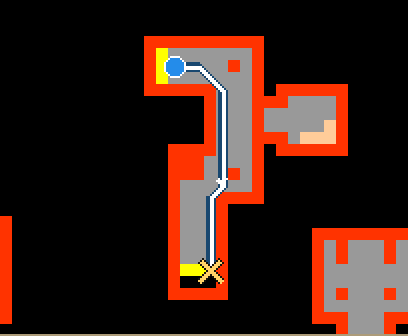
Follow the ramp down.
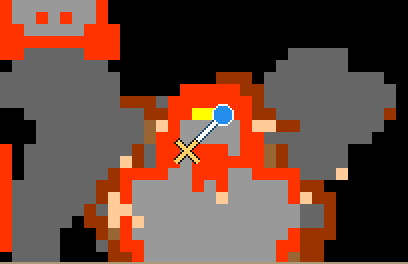
Step onto the marked quest tile after completing its access requirements.
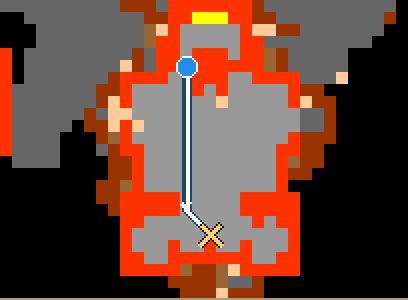
Defeat Rezaka and collect its quest token before continuing.
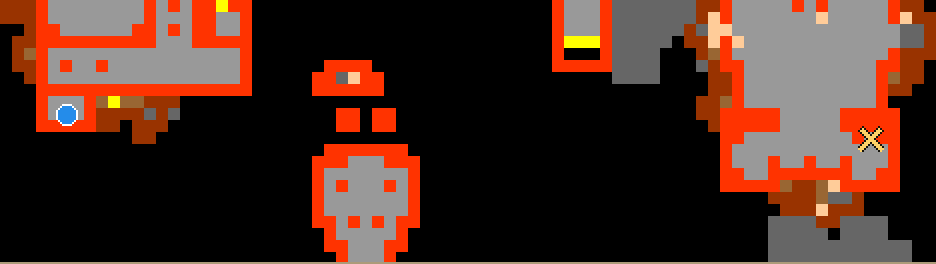
This participant walks to and enters the actual created portal to reach the treasury.
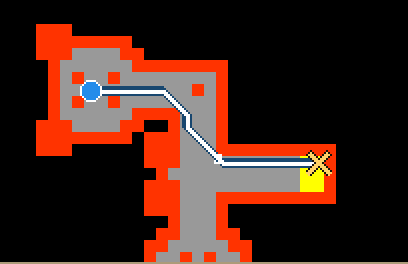
Follow the ramp up.
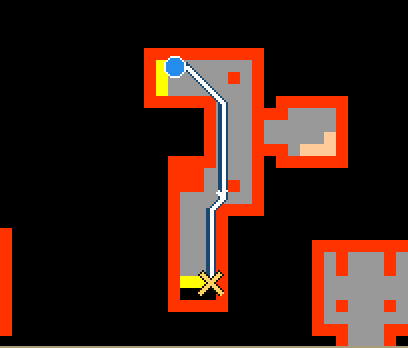
Follow the ramp down.
Step onto the marked quest tile after completing its access requirements.
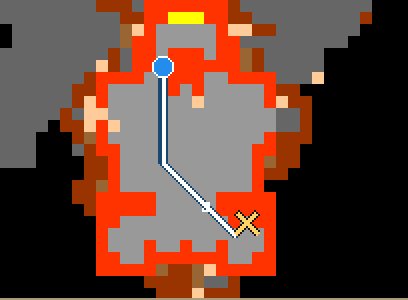
Complete the listed requirements and activate the quest mechanism.
This participant walks to and enters the actual created portal to reach the treasury.
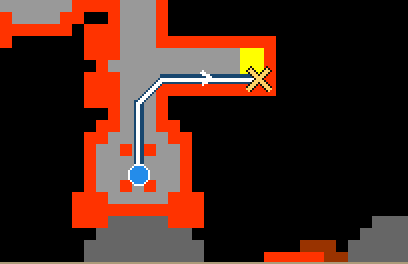
Follow the ramp up.
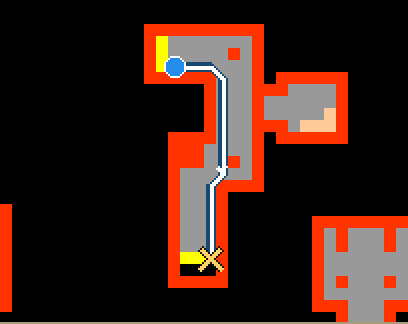
Follow the ramp down.
Step onto the marked quest tile after completing its access requirements.
Complete the listed requirements and activate the quest mechanism.
This participant walks to and enters the actual created portal to reach the treasury.
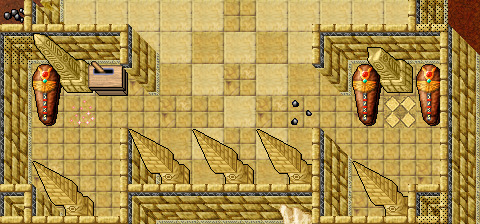
- 1Place token here
- 2Winged Trial — Boss Key Portal
- 3Passage
- Obtain the Old Pardosa, Rezaka or Shahina quest key.
- Place it at tile 1.
- Use the lever. One token is consumed.
- Enter the portal.
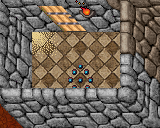
- 1Destination
Choose one reward from each pair
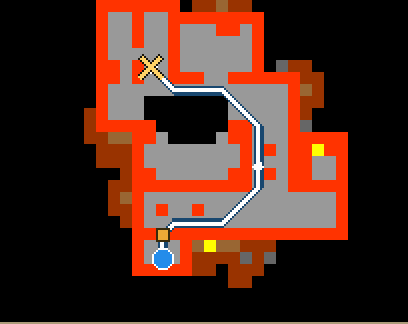
These are alternative reward branches. Choose the reward allowed for your profession; claiming one can lock the other choices.
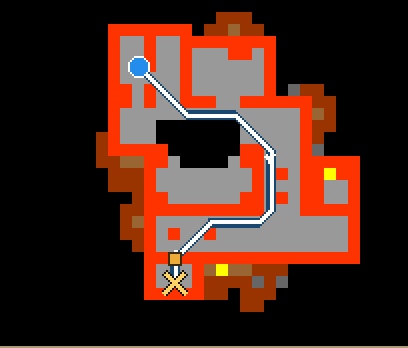
Return to this participant’s common treasury approach after taking their selected reward.
These are alternative reward branches. Choose the reward allowed for your profession; claiming one can lock the other choices.
Return to this participant’s common treasury approach after taking their selected reward.
These are alternative reward branches. Choose the reward allowed for your profession; claiming one can lock the other choices.
Return to this participant’s common treasury approach after taking their selected reward.
These are alternative reward branches. Choose the reward allowed for your profession; claiming one can lock the other choices.
Return to this participant’s common treasury approach after taking their selected reward.
These are alternative reward branches. Choose the reward allowed for your profession; claiming one can lock the other choices.
Return to this participant’s common treasury approach after taking their selected reward.
These are alternative reward branches. Choose the reward allowed for your profession; claiming one can lock the other choices.
Return to this participant’s common treasury approach after taking their selected reward.
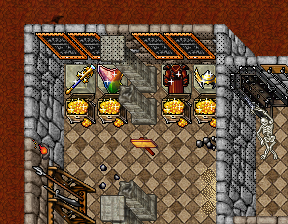
- 1Choose scepter of lost souls
- 2Choose rainbow shield
- 3Choose archmage coat
- 4Choose winged helmet
- Each participant chooses one reward from each of the two pairs shown above. Claiming one chest locks only the other chest in that pair.
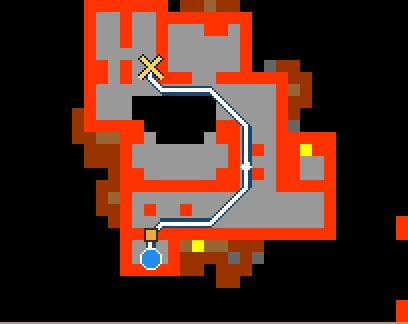
These are alternative reward branches. Choose the reward allowed for your profession; claiming one can lock the other choices.
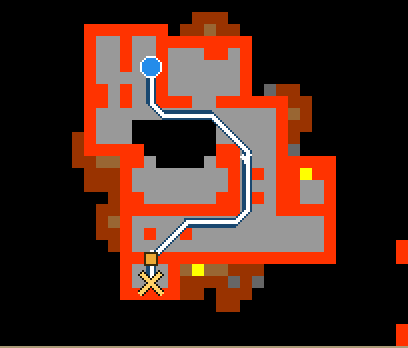
Return to this participant’s common treasury approach after taking their selected reward.
These are alternative reward branches. Choose the reward allowed for your profession; claiming one can lock the other choices.
Return to this participant’s common treasury approach after taking their selected reward.
These are alternative reward branches. Choose the reward allowed for your profession; claiming one can lock the other choices.
Return to this participant’s common treasury approach after taking their selected reward.
These are alternative reward branches. Choose the reward allowed for your profession; claiming one can lock the other choices.
Return to this participant’s common treasury approach after taking their selected reward.
These are alternative reward branches. Choose the reward allowed for your profession; claiming one can lock the other choices.
Return to this participant’s common treasury approach after taking their selected reward.
These are alternative reward branches. Choose the reward allowed for your profession; claiming one can lock the other choices.
Return to this participant’s common treasury approach after taking their selected reward.
Notes
- The Godfather, Player 1 and Player 2 follow separate branches after the first entry and reunite at the three-person convergence. Each participant carries and places the token needed for their own branch.
- The initial team-entry lever is used once for this team. The walkthrough never resets or reuses it to manufacture another approach.
- Each participant enters the final portal separately and chooses their own personal reward from each pair.